Prices
Exhibiting at an event for the first time can feel overwhelming. There are decisions to make, costs to consider, and a lot of moving parts that aren't always obvious until you're already committed. From choosing the right stand to understanding what equipment you’ll need, it's easy to overlook key details or spend more than necessary.
This guide is designed to simplify the process. Whether you're a small business, a startup, or trying exhibitions for the first time, it'll walk you through everything you need to know. From planning and budgeting to setting up your stand and making the most of the day, you'll have a clear starting point and a practical checklist to follow.
Exhibiting doesn't need to be complicated. With the right preparation, it can be one of the most effective ways to promote your business, meet potential customers, and build your brand.
Before you start booking a stand or designing graphics, take a step back and ask yourself one simple question: what do you actually want to get out of this exhibition? It might sound obvious, but this is where a lot of people go wrong. If you don't have a clear goal, it's much harder to make the right decisions later on.
Your goal could be:
Once you know your main objective, everything else becomes easier. For example, if your goal is to generate leads, you'll want a stand that encourages conversation and a simple way to capture contact details. If you're selling products, you'll need space to display stock, take payments, and store items safely.
Your goal also influences:
Try to keep your focus on one primary goal. You can achieve other things along the way, but having a clear priority will help you stay on track and get better results. A simple way to think about it is this: if someone asked you after the event whether it was successful, what would need to happen for you to say yes?
Once you know your goal, the next step is working out your budget. This is where it's easy to underestimate costs, especially if it's your first time exhibiting. One of the most common mistakes is assuming the stand fee is the total cost. In reality, that's often only part of the overall spend.
As a rough guide, your stand space might make up around half of your total budget. The rest goes on everything else needed to actually show up and exhibit properly.
Things to factor in include:
It's also worth setting aside a small contingency budget. Unexpected costs do come up, and having a buffer means you won't be caught off guard. Planning ahead will save you money. Many exhibitors charge significantly higher prices for anything ordered on the day, so it's always better to book extras in advance where possible.
Timing is just as important as budgeting. Give yourself enough time to:
Leaving things until the last minute usually leads to higher costs and unnecessary stress. A good rule to follow is simple: if it can be done early, do it early. It'll almost always be cheaper, easier, and far less stressful.
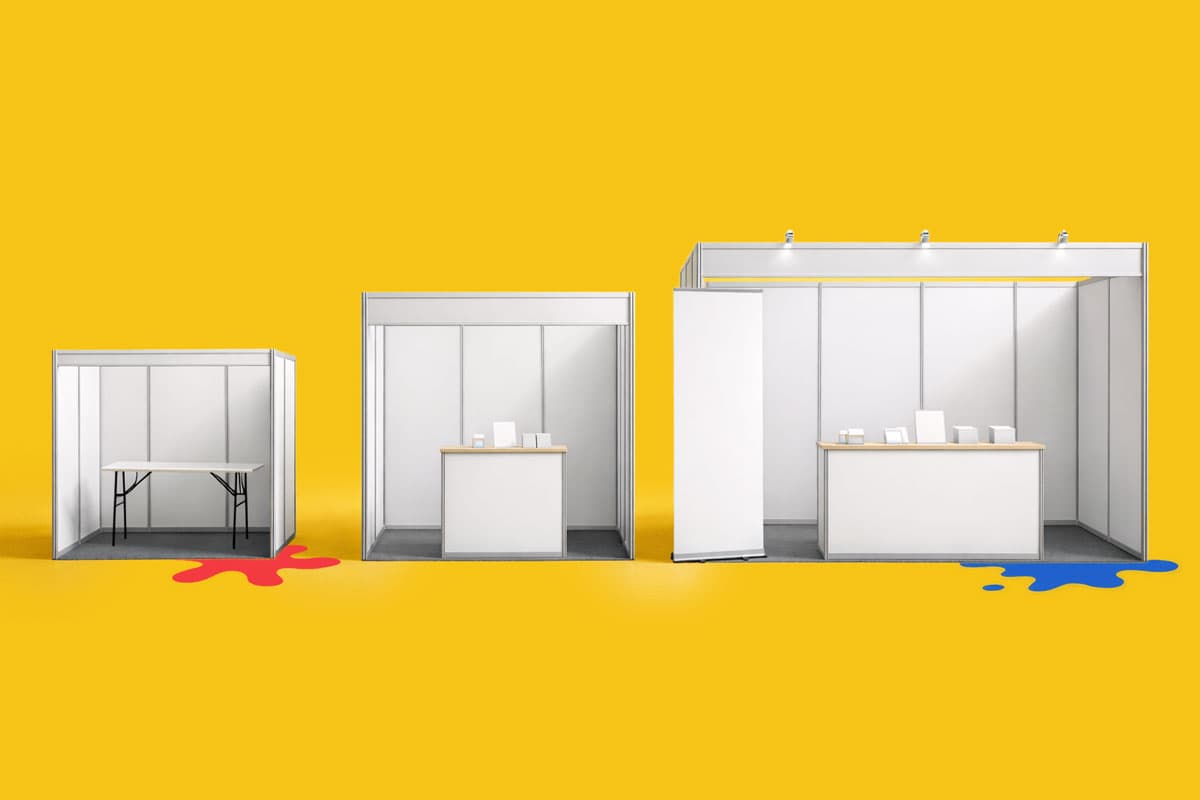
Choosing the right stand is one of the biggest decisions you'll make, and it has a direct impact on both your budget and how you present your business. The stand you choose will shape how much space you have, how flexible your setup can be, and how visitors experience your brand on the day.
Most exhibitions offer two main options: shell scheme or space only.
A shell scheme is usually the most straightforward and cost effective option, especially if it's your first time exhibiting. It gives you a ready made structure to work with, which can take away some of the complexity and make planning much more manageable.
It typically includes:
It's a ready to use space you can customise with your own graphics and display materials. For many exhibitors, this is a practical starting point because it gives you a defined area without needing to build everything from scratch.
When booking a shell scheme, pay close attention to:
These details can make a big difference to how you design the space and how visible your stand will be. Corner stands are often more noticeable and can attract more foot traffic, but they can also come at a higher cost, so it's important to weigh up the added exposure against your budget.
Space only gives you an empty area to build a completely custom stand. This option offers much more flexibility and is often chosen by businesses that want a more bespoke or high impact setup.
This option offers:
Because you are starting with an empty space, you have the freedom to create something that fits your brand more exactly. That can be a big advantage if you want a stronger visual presence or a more tailored visitor experience.
However, it also comes with higher costs and more planning. You'll usually need to work with a stand builder and organise everything yourself, from walls and flooring to lighting and electrics. If you're new to exhibiting, shell scheme is often the safer and more manageable choice, while space only is usually better suited to businesses with a larger budget or more experience.
Whichever option you choose, there are usually additional extras you'll need to consider. These are the details that help turn an empty or basic stand space into something practical, comfortable, and ready to use on the day.
This might include:
Some of these may seem like small additions, but they can make a big difference to how your stand looks and functions. They can also add up quickly, so make sure you factor them into your budget early on rather than treating them as last minute extras.
Not all stand locations are equal. A cheaper stand might be positioned away from main walkways or high traffic areas, which can affect how many people pass by and how much visibility you get throughout the event.
Before you book, take time to review the event floor plan carefully. Look for:
It's also worth thinking about where people are most likely to pause, queue, or naturally gather, as these areas can often bring more visibility. A well positioned stand can make a big difference to your overall results, so it's worth thinking beyond just the price when making your decision.
Once your stand is booked, the next step is deciding how it's going to look. This is your chance to make an impression, but it doesn't need to be complicated or expensive to be effective. The most important thing to remember is clarity. People will often only glance at your stand as they walk past, so your message needs to be easy to understand at a distance.
Focus on:
Your main message should sit at eye level where possible, so it's easy to spot without people having to stop and study the stand. If someone can't quickly tell what you do within a few seconds, you risk being overlooked.
Don't forget the practical details too. It's surprising how many stands look great visually but miss simple information that helps people take the next step. Make sure your website address is clearly visible, and consider adding a QR code people can quickly scan for more information, contact details, or a sign up page.
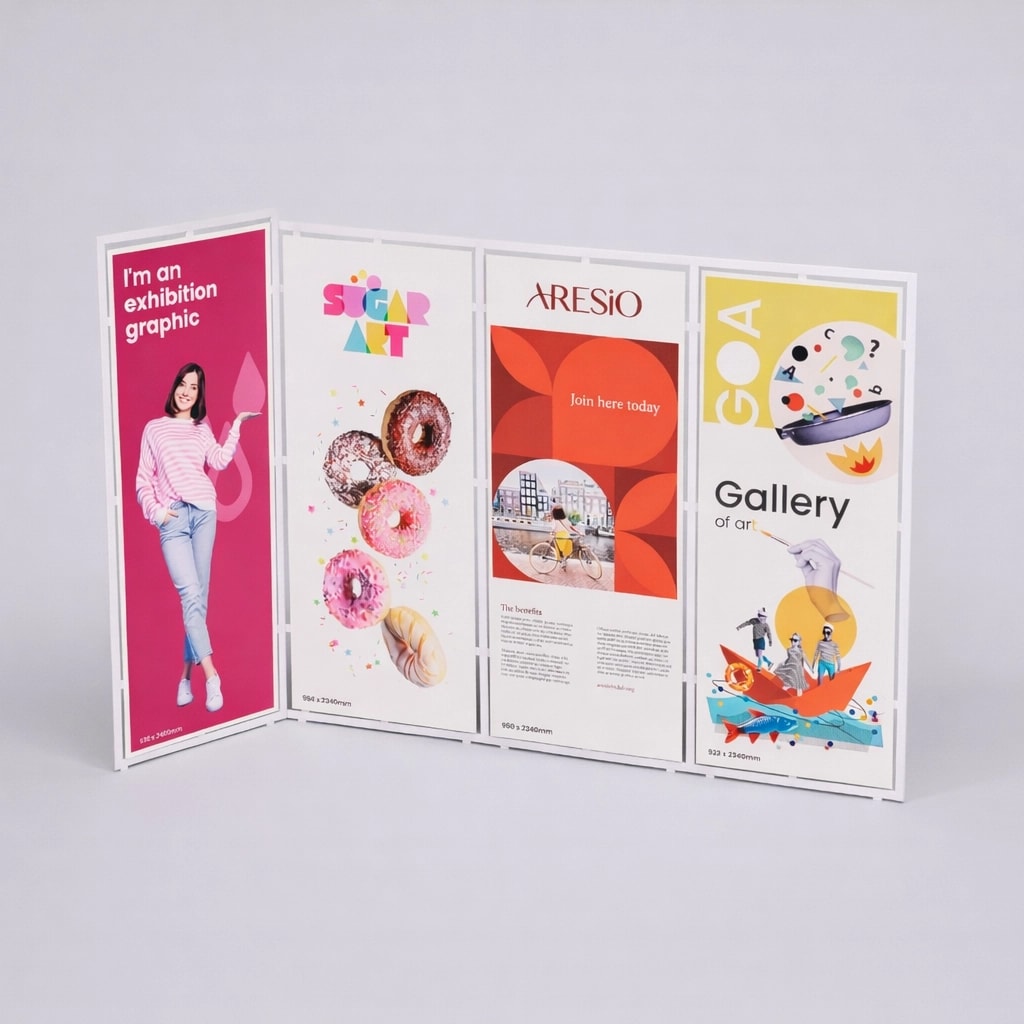
If you're using a shell scheme, you'll likely be adding graphics to the panels provided by the organiser. These are one of the most common display options and usually form the main visual backdrop of your stand.
Exhibition panels are ideal if you want to cover the stand walls with branded artwork and create a more polished look than leaving the plain shell scheme visible. They can help turn a basic space into something that feels much more professional and on brand.
Well designed, professionally printed graphics can make a significant difference to how your stand is perceived.
Make sure you:
It's also worth checking whether there are gaps between panels, support poles, or areas that can't be covered. Getting the sizing wrong can lead to last minute reprints, awkward joins, or important parts of your design being hidden.
A good panel design should do more than just look attractive. Use the space to clearly show who you are, what you do, and why someone should stop and speak to you.
Foamex boards are lightweight PVC display boards that can be printed with your graphics and attached to stand walls or used as standalone display pieces.
They're a popular choice because they give a clean, professional finish without the cost of a full custom stand. They also feel more solid and premium than some other lightweight options.
They can also be cut into custom shapes, which makes them useful for logos, product outlines, or attention grabbing display pieces. If you want to add interest without spending heavily on a full build, foamex can be a really flexible option.
They’re especially useful if you want your stand to feel more layered and less flat.
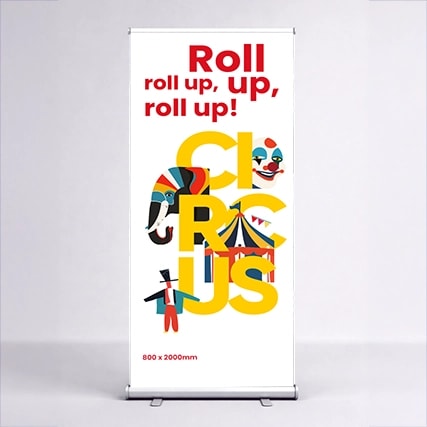
Roller banners are one of the most straightforward display options and are often a good starting point for first time exhibitors.
They are printed graphics that roll up into a base unit, making them easy to transport, quick to set up, and simple to reuse across different events.
Roller banners work well for adding clear messages, highlighting a key product or service, or filling empty areas on a stand. They're also useful if you have a smaller setup or need something flexible that can be used in other places, such as reception areas, pop ups, conferences, or sales meetings.
That said, they usually work best as part of a wider stand setup rather than the only feature. On their own, they can sometimes feel a bit basic, but combined with other display elements they can still be very effective.
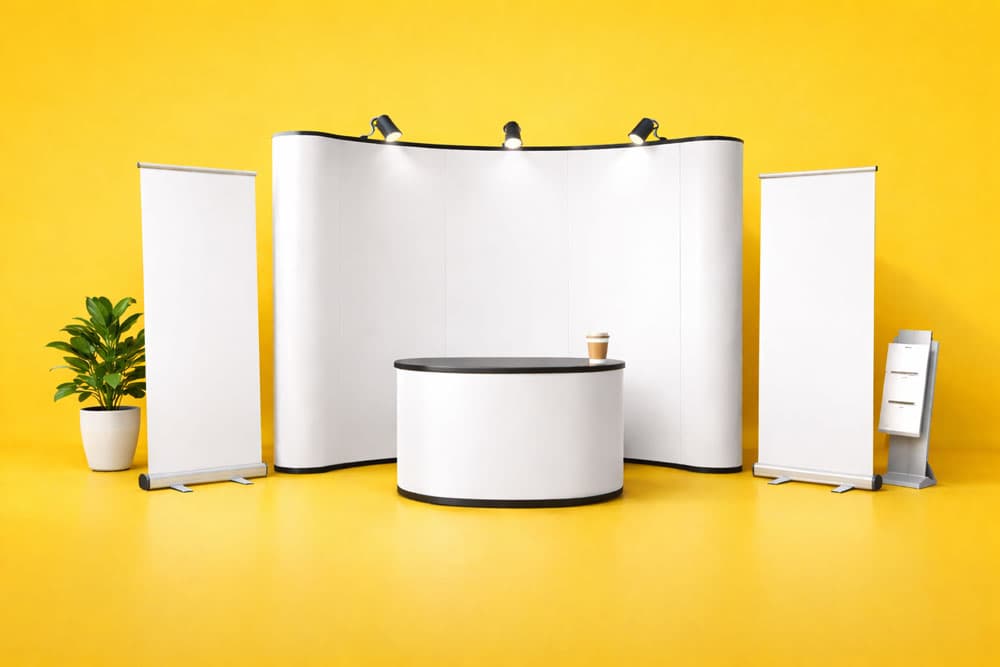
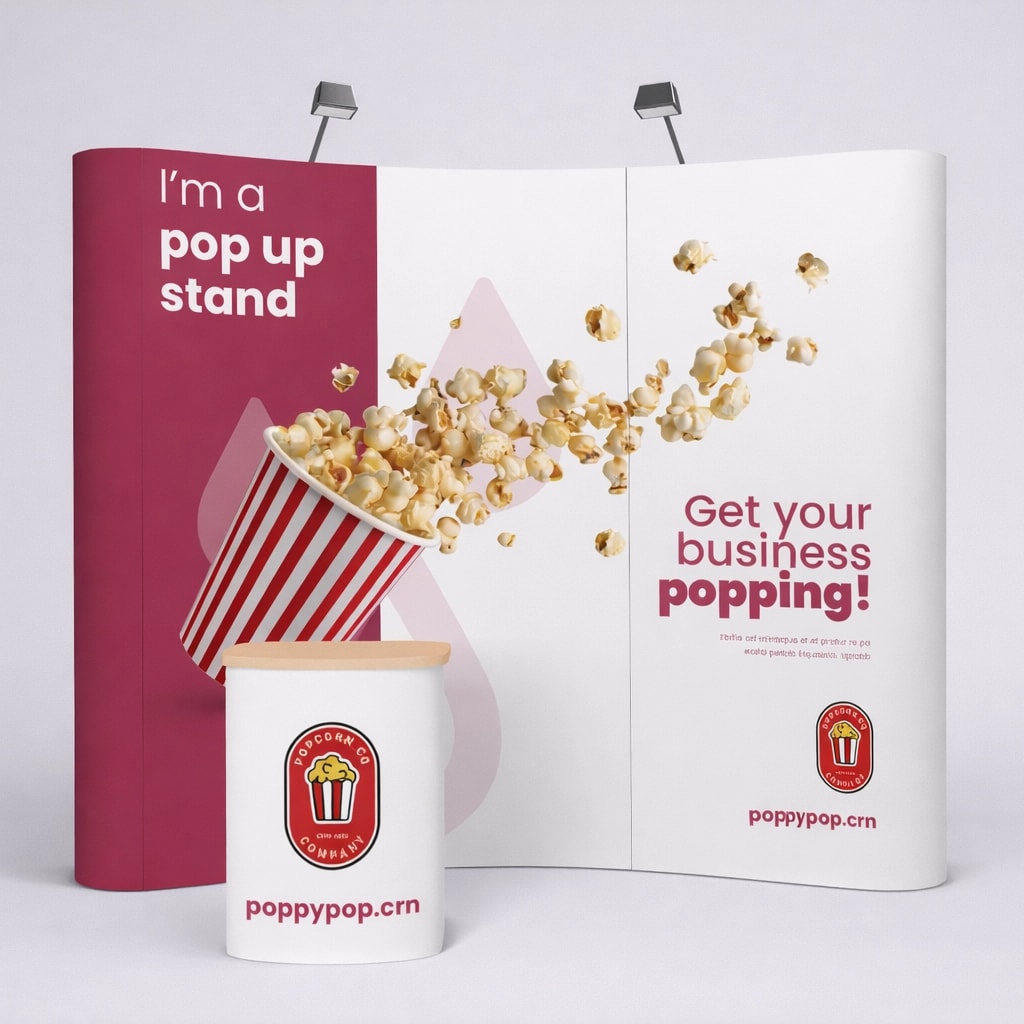
Curved display systems are a more premium reusable stand option. They usually consist of a lightweight frame with stretched graphics that create a smooth, seamless backdrop.
These systems are designed to give a stronger visual impact than individual banners or simple wall panels. The curved shape can make the stand feel more finished and can help your display stand out from more standard flat wall setups.
Although they cost more upfront, they can be a smart investment if you plan to exhibit regularly. Everything is designed to pack down neatly, transport easily, and be reused across multiple events, which can save time and money in the long run.
They're a good option if you want something that looks more substantial but still needs to be practical and portable.
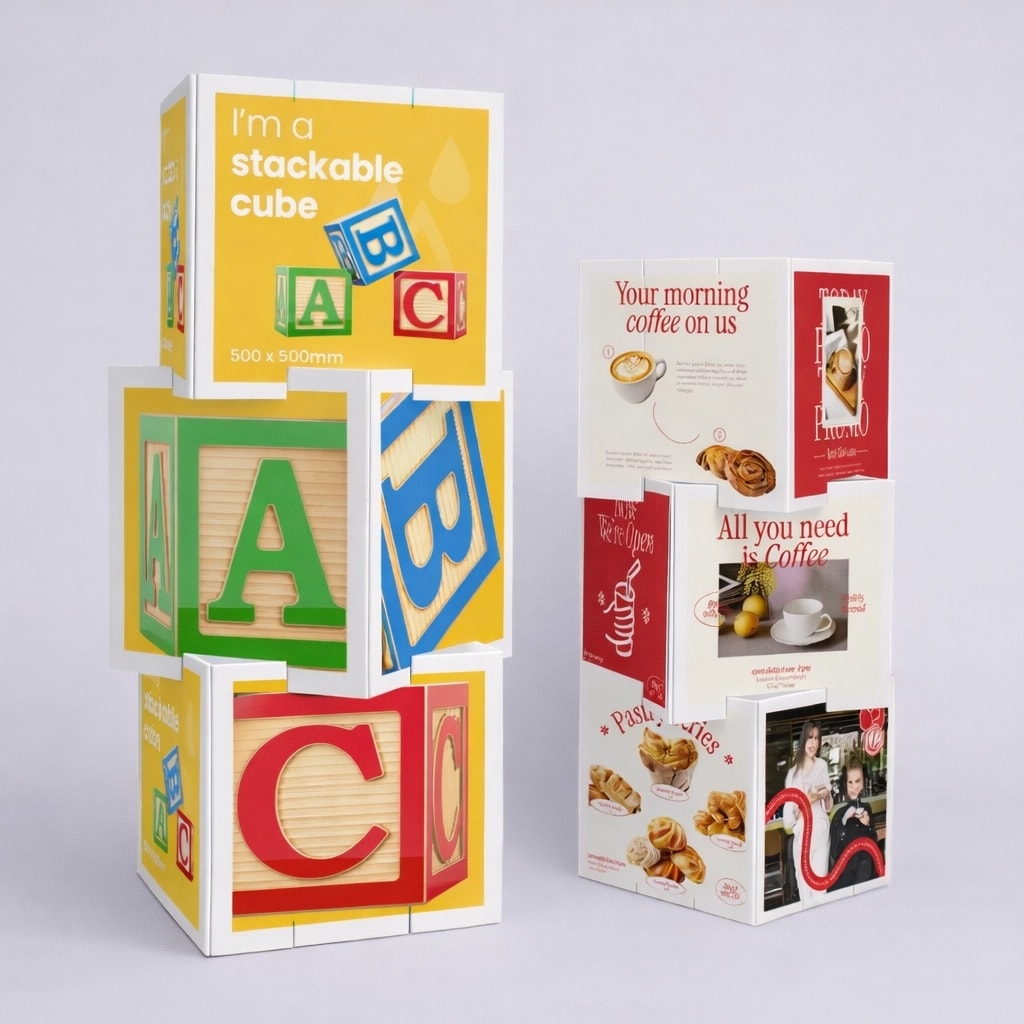
To make your stand more engaging, consider adding:
These kinds of extras help by giving your stand more personality and making it feel less flat or generic. They can add height, structure, and points of interest that catch people's attention as they walk past.
Stackable cubes can be used to display products, create levels, or break up empty space. Cut outs can help highlight key messages or products in a more visual way. Selfie frames and interactive props can encourage people to stop, take photos, and engage with your stand rather than simply walking by.
They can also help create natural conversation starters. If someone pauses to look at a display feature, that's your chance to begin a conversation. In some cases, they can even support social media visibility if visitors are sharing photos from your stand.
Used well, these extra elements don't just decorate the space. They help make your stand more noticeable, more memorable, and more inviting.
Less is usually more. It's better to have a clean, focused stand with a strong message than one that's overcrowded with too much information.
Once your stand is designed, it's time to think about what you'll actually bring with you. This covers both what you need to run your stand smoothly and what visitors will take away after interacting with you.
Takeaway items play an important role in extending your presence beyond the event itself. They give people something to refer back to, share with others, or act on after they've left your stand.
Common and effective options include:
Business cards are essential for quick and easy contact sharing. They're ideal for one to one conversations and make it simple for someone to reach out after the event. They can also be handed out in high volume, making them a core item for any exhibitor.
Flyers are useful for promoting a specific product, service, or offer. They give you more space than a business card to explain what you do and can be designed to highlight key benefits, pricing, or limited time deals. They're particularly effective if you want to direct people to a website, promotion, or event.
Brochures and booklets allow you to go into more detail. These are ideal if you offer a range of services or products and want to give potential customers something they can take away and review properly later. They can also help support sales conversations by giving structure to what you're explaining on the stand.
You can also enhance your printed materials by including:
The aim is to make it easy for someone to take the next step after they've left your stand.
These are the items that help you operate effectively throughout the day and make sure your stand runs smoothly once visitors start arriving. While stand design and printed materials are important, it is often these practical details that keep everything working properly behind the scenes.
Think about:
Having these essentials ready in advance helps you feel more organised and makes it easier to respond quickly when the stand gets busy. It also means you are less likely to miss opportunities because something simple has been overlooked.
If you're collecting information, keep it simple. A basic form or spreadsheet on a tablet can work just as well as paid badge scanning tools, especially if you're working to a budget. The most important thing is choosing a system that is easy to use, quick to manage, and reliable throughout the day.
What you wear helps shape how your brand is perceived and makes your team easy to identify on a busy show floor.
Branded t shirts are one of the simplest and most effective options. They create a consistent look across your team and act as a moving advertisement as staff walk around the event. They're also comfortable for long days and can be reused across multiple exhibitions.
Name badges make interactions more personal and approachable. When visitors can see a name, it helps build trust and makes conversations feel more natural. They also make it easier for people to follow up afterwards if they've spoken to a specific member of your team.
Branded aprons are a great option if you're demonstrating products, offering samples, or working hands on. They not only protect clothing but also provide additional branding space at the front of the stand. They're particularly useful for food, craft, or product based businesses where staff are actively engaging with items throughout the day.
Together, these elements help your team look organised, professional, and aligned with your brand.
Make sure you have enough materials to last the full event. Running out of key items like business cards or flyers can mean missed opportunities that are difficult to recover on the day.
No matter how well you plan your stand, there are always small things that can catch you out on the day. Having a basic kit with you can save time, money, and a lot of unnecessary stress. Once you're at the venue, you're often limited to what the organisers or on site suppliers can provide, and simple items can come at a much higher cost than expected. Putting together a small exhibition kit in advance means you're prepared for quick fixes and last minute adjustments.
Make sure you bring:
Hook and loop tape is particularly useful if you're attaching graphics to shell scheme panels. Buying it in advance can save you from paying inflated prices at the venue and gives you more flexibility when positioning your displays.
It's also worth thinking about how you'll manage power and day to day practicalities. A lot of stands now rely on phones, tablets, card readers, or other devices, so making sure everything stays charged and ready to use is a key part of being prepared.
Bring:
Even if you don't expect to use much power, it's always better to have what you need with you rather than be caught short. If you're relying on phones or tablets for payments, demonstrations, or lead capture, keeping everything powered is essential to avoid interruptions and make sure the stand runs smoothly throughout the day.
Depending on the event, you may also need specific items for setup and breakdown. These are easy to overlook, but they can be essential if the venue has strict build and breakdown rules in place.
Check the exhibitor guide in advance for requirements such as:
Requirements can vary depending on the venue, the type of event, and the setup conditions on site. Some venues have strict rules during these periods, so it's always better to be prepared than to be delayed or denied access. Having the right safety items with you from the start helps avoid unnecessary problems and keeps setup moving efficiently.
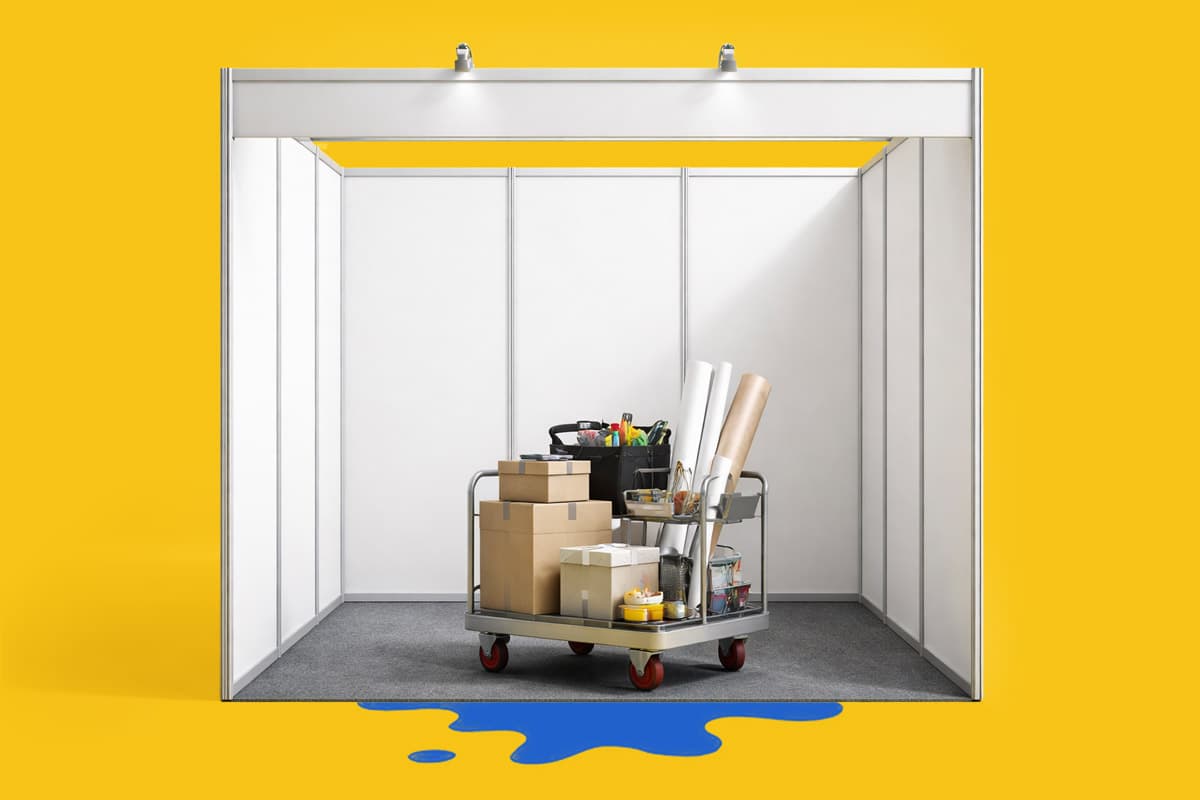
Getting everything into the venue can be more challenging than expected, especially if you're carrying stock, printed materials, stand displays, or heavier equipment. What seems manageable when packing the car can feel very different when you're moving everything across a car park, through a loading bay, and onto the show floor.
It helps to bring some form of moving equipment with wheels. The exact option will depend on what you're transporting, but the main aim is the same: to make moving your items quicker, easier, and far less physically demanding.
Consider bringing:
Anything with wheels will help reduce strain, speed up setup, and make it much easier to move multiple items at once rather than carrying everything by hand. This can be especially useful if parking or loading areas are some distance from your stand.
A step ladder is also well worth bringing if you're setting up taller elements. Having one with you makes installation easier, safer, and much more efficient, especially when you're working to a tight schedule.
Pack your kit the day before and double check everything before you leave. It's much easier to deal with missing items at home than when you're already on site.
There are a few key things that are easy to overlook when planning your exhibition, but they can have a big impact on how your stand looks and performs on the day.
These are often the extras that aren't included as standard and can become expensive if left until the last minute.
Lighting can make a huge difference to how your stand looks. Exhibition halls are often lit with strong overhead lighting, which can leave your space feeling flat, dull, or easy to overlook, especially in a busy environment where many stands are competing for attention.
Adding your own lighting helps:
Good lighting can also help products look better, make your stand feel more polished, and draw attention to the areas you most want visitors to notice. It's one of those details that can have a bigger impact than people expect.
It's always best to order lighting in advance. On site pricing is often significantly higher, and availability can be limited. Planning ahead gives you more choice, helps you avoid unnecessary extra costs, and means one less thing to worry about when you arrive.
Many exhibition venues have poor mobile signal, especially when the space is busy. If you're planning to take payments, demonstrate a website or app and capture leads online, you'll need a reliable connection.
Most organisers offer dedicated wifi packages, but these should be booked ahead of time. Relying on mobile data can be risky, so it's worth planning for this properly.
Parking is another detail that's easy to miss until the last minute, but it can have a big impact on how smoothly your setup goes. Knowing where to go, when you can arrive, and how unloading works can save a lot of time and frustration on the day.
Check in advance:
It's also worth finding out whether there are separate arrangements for cars, vans, or loading bays, as this can vary from venue to venue. Some organisers offer exhibitor parking at a reduced rate if booked early, so it's worth checking this as part of your planning. A little preparation here can make arrival much easier and help your setup get off to a better start.
If the event runs over multiple days, or if you have an early setup slot, it's worth thinking about accommodation well in advance.
Some organisers offer special exhibitor hotel rates, so check whether this is available before booking. Staying nearby can make setup easier, reduce travel stress, and help your team arrive feeling more prepared.
If budget is a concern, it may also be worth looking at nearby Airbnb options. These can sometimes offer a more affordable alternative, especially for longer stays or if several team members are sharing.
A general rule to follow is simple: anything you can order in advance, do it. On site purchases and last minute bookings are almost always more expensive, and in some cases items may not even be available. Planning ahead not only saves money, but also gives you peace of mind that everything will be ready when you arrive.
Setup and breakdown are often the most time pressured parts of exhibiting. You’re usually working within tight time slots, alongside many other exhibitors, so planning ahead is essential. These parts of the day can feel rushed, but a little preparation beforehand can make the whole process much smoother and far less stressful.
Before the event, make sure you read the exhibitor guide thoroughly. It will usually contain all the practical information you need to know before arriving on site, and it's often the first place to check if you are unsure about anything. It will include important details such as:
Taking the time to go through this properly can save a lot of problems later on. Missing key information here can easily cause delays, confusion, or unexpected issues on the day, especially when time is already tight.
Time on site is often limited, so the more you can prepare in advance, the smoother things will go. The aim is to arrive with as much ready to go as possible, rather than trying to work everything out once you are in the venue.
A few simple steps can make a big difference:
Doing these jobs ahead of time can save valuable minutes during setup and help you avoid unnecessary stress when you arrive.
When you arrive, focus on building your stand in stages:
Working in this order helps you stay organised and keeps the setup process more manageable. It also ensures the most important parts are in place first, so you can then focus on the details that bring the stand together.
Exhibition halls can be busy and sometimes chaotic during setup. Give yourself enough time and try to arrive as early as your access slot allows. Wear comfortable clothing and be prepared to move around, lift items, and adjust your setup as needed.
If you’re working as a team, assign clear roles so everyone knows what they’re responsible for. This can speed things up and avoid confusion.
Before the event opens, make sure everything is working as expected. Even if you tested things before leaving, it's still worth checking again once you are fully set up on site. Small issues can happen during transport or installation, and it's far better to catch them before visitors start arriving.
Check:
Take a few minutes to go through each part of your setup properly rather than assuming everything is fine. If something is not working, you will usually have a much better chance of fixing it before the event begins than once the venue is busy and your stand is active.
At the end of the event, breakdown often happens quickly, so it's important to stay organised. By this point everyone is usually tired and keen to get home, but rushing can lead to damaged materials, misplaced items, or extra stress.
Keep in mind:
A little structure goes a long way here. If you pack carefully and methodically, it will make loading out much easier and it will also make your next event much simpler when you come to unpack everything again.
Rubbish disposal is something that is often overlooked, but it can easily become an issue at the end of an event. Some venues have strict rules, and leaving waste behind can result in additional charges or unnecessary delays while you clear the space.
Check in advance what’s expected and make sure you:
It's a small detail, but being prepared for disposal makes breakdown much smoother. It also helps you leave the stand in good order and avoid any last minute problems when time is already tight.
Once everything is set up, the main event begins. You might already be tired from setup, but this is where the real value of exhibiting comes from. This is your opportunity to meet people, start conversations, and make the effort you put into planning really count.
Once everything is set up, the main event begins. You might already be tired from setup, but this is where the real value of exhibiting comes from.
Be Approachable
First impressions matter. People will often decide within seconds whether to stop or keep walking, so the way you and your team present yourselves can have a big impact. Make sure you:
Being approachable doesn't need to mean being overly pushy. Often, a simple smile or greeting is enough to make someone feel comfortable stopping at your stand and starting a conversation.
Not everyone will approach you first, so be ready to start conversations yourself. Keep it natural and low pressure. The aim is to make people feel welcome rather than putting them on the spot. Simple openers work well, such as:
These kinds of questions help break the ice and create a more relaxed interaction. The goal is to create a comfortable starting point, not deliver a sales pitch straight away.
Speaking to people is valuable, but only if you can follow up afterwards. It's easy to have great conversations during the day, but without a reliable way to collect details, those opportunities can quickly be lost.
Make sure you have a simple way to collect details, such as:
Whatever system you use, make sure it's quick and easy to manage while the stand is busy. Some exhibitions offer badge scanning services, but these often come at an additional cost. If you are working to a budget, a simple system of your own can work just as effectively.
Giving people a reason to stop can make a big difference. In a busy exhibition hall, even a small point of interest can help your stand stand out and encourage people to come closer.
You could consider:
These kinds of features can help break the ice, create interest, and encourage more people to engage with your stand. They also give you a more natural way to start conversations rather than waiting for visitors to make the first move.
Every conversation is an opportunity. Even if someone isn’t an immediate customer, a positive interaction can still lead to future business or referrals.
Once the event is over, it might be tempting to switch off and move on, especially after a long and busy few days. However, what you do after the exhibition is just as important as what you did during it. Following up properly is where many of the real results come from.
Try to follow up with your leads as soon as possible, ideally within 24 to 48 hours. This is when your conversation is still fresh in their mind and they are more likely to remember you. A simple message referencing your conversation at the event can make a big difference and helps keep things personal rather than generic.
Not every lead will be at the same stage, so it helps to organise them before you start reaching out.
You might group them into:
This allows you to prioritise your time and tailor your follow up accordingly.
When you follow up, try to send information that’s relevant to what you discussed. This could be:
The more tailored your follow up is, the more likely it's to lead to a meaningful outcome.
The exhibition doesn’t end when the doors close. A strong follow up process can turn conversations into real opportunities and make all the effort you put in truly worthwhile.
Exhibiting for the first time can feel like a big step, but with the right preparation it becomes much more manageable.
From setting clear goals and planning your budget, through to designing your stand and making the most of the day itself, each part plays a role in your overall success. The more thought you put in upfront, the smoother the experience will be when you arrive on site.
It’s also worth remembering that your first exhibition is a learning experience. Not everything will be perfect, and that’s completely normal. Each event gives you a better understanding of what works, what doesn’t, and how you can improve next time.
With a clear plan, the right materials, and a focus on engaging with visitors, exhibitions can become a valuable way to grow your business, build relationships, and increase brand awareness. The key is to start prepared, stay flexible, and make the most of every opportunity.
Posted on April 2, 2026 by Emma Thompson
Related topics: