Prices
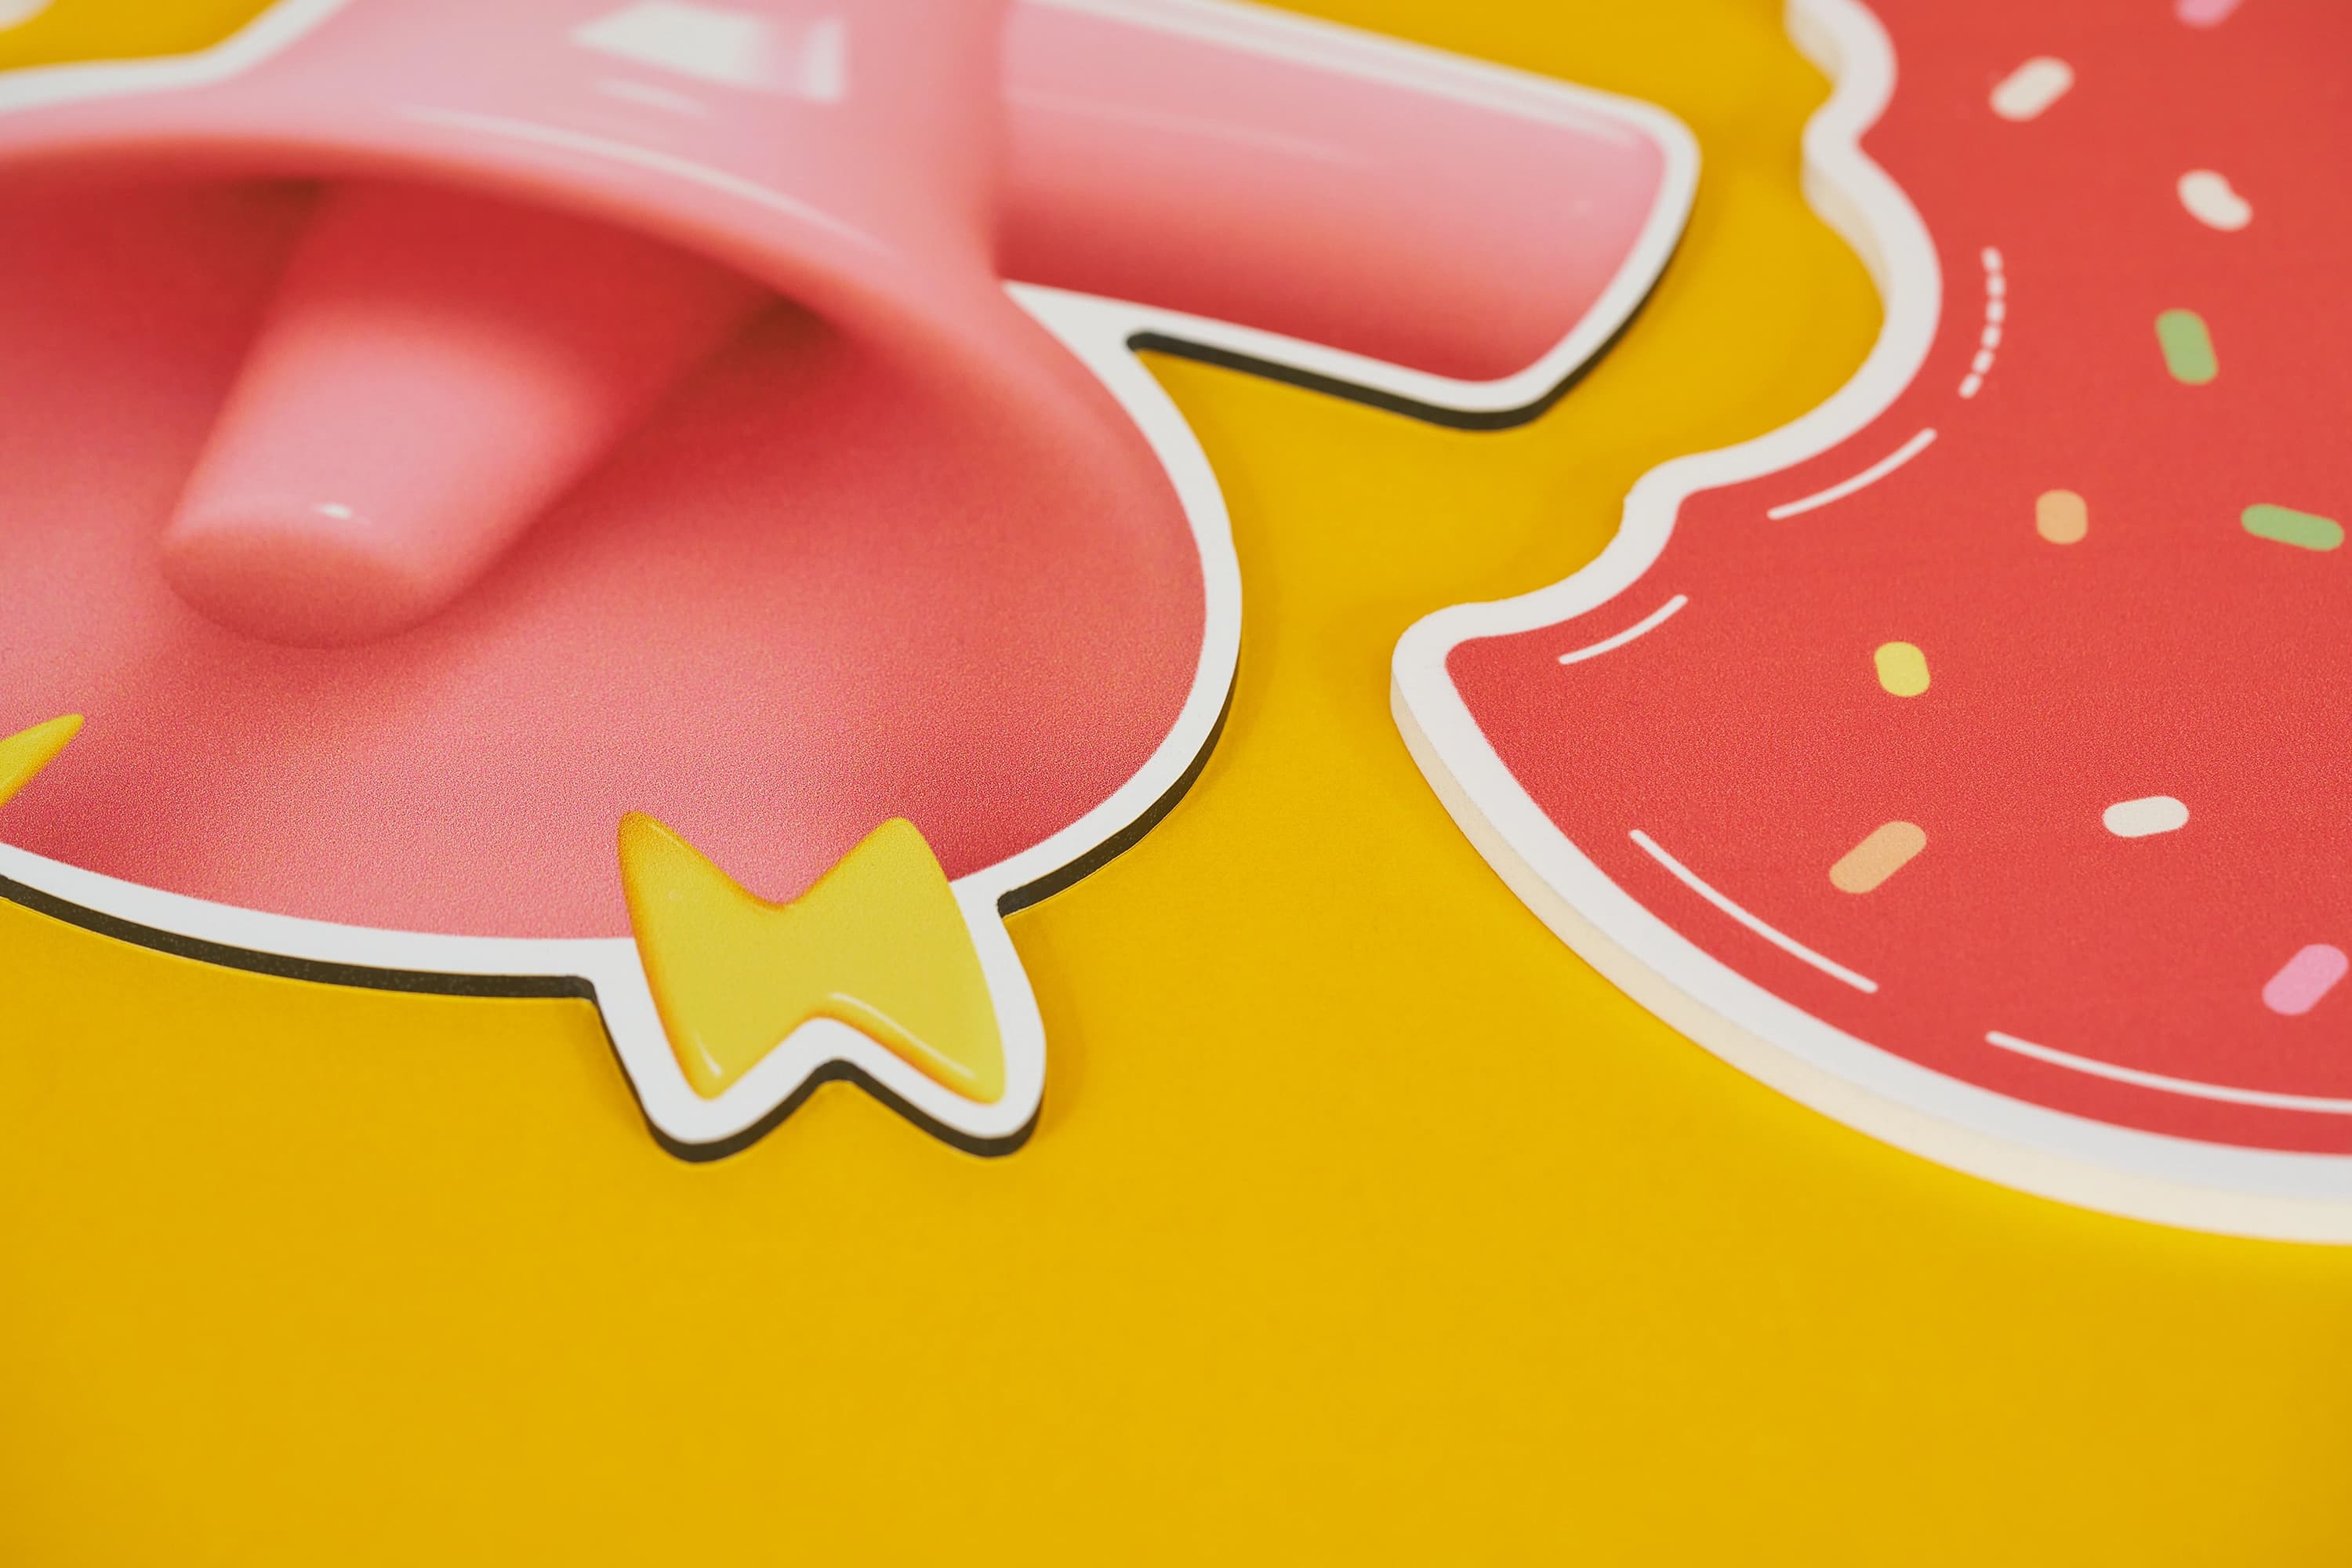
When ordering custom-shaped products, your artwork must include a dedicated digital guide for our flatbed cutting machines. Following these technical specifications ensures your product is cut precisely to your custom shape.
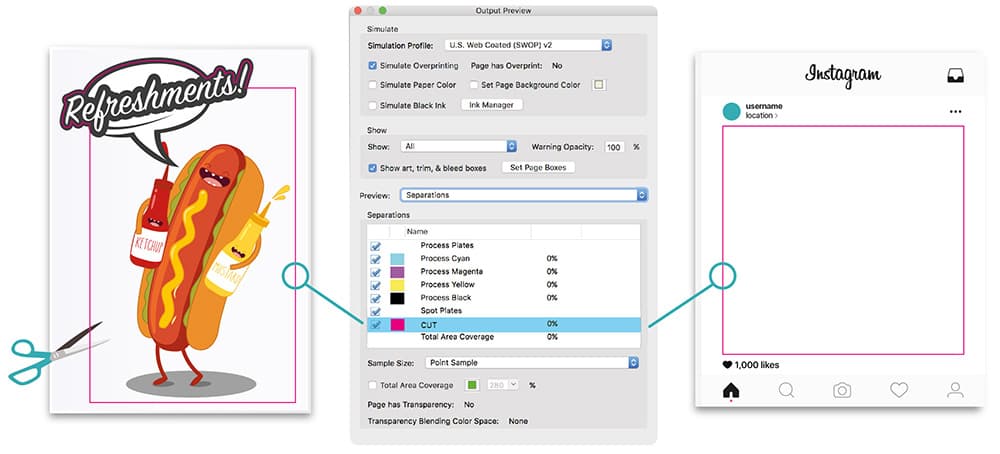
A cut path is a vector guide that tells the cutting machine exactly where to trim your design.
Vector Format: You must include a dedicated vector path within your artwork.
Placement: This path should be in the exact shape and size you require, applied to all paths whether they are on the inside or outside of your design.
Stroke Weight: Apply a stroke weight of 0.1pt (not a fill) to the path with overprint turned on.
We identify the cutting line through a specific naming convention. If this is not set correctly, the line may be printed onto your design instead of being used as a cut guide.
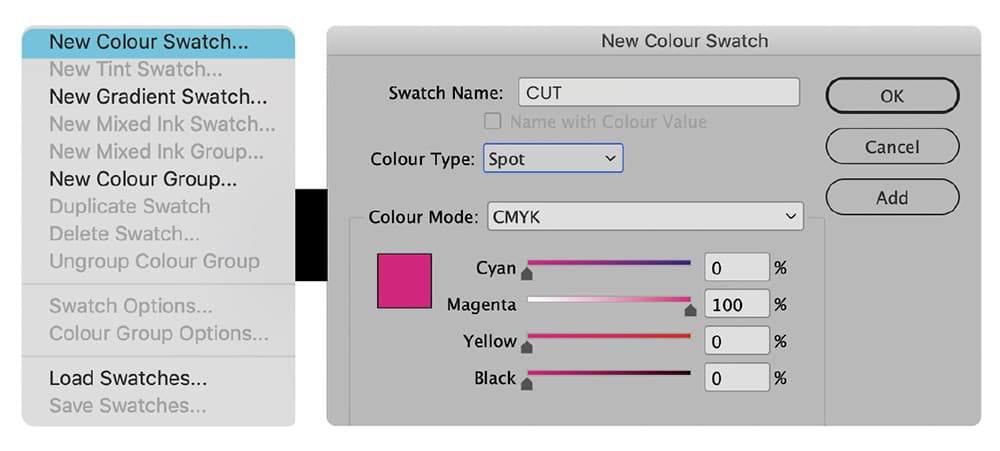
Swatch Name: You must rename your spot colour swatch exactly to CUT (all caps).
Colour Type: The swatch must be set as a Spot Colour, not CMYK.
Visual Identification: We recommend using a high-contrast colour, such as 100% Magenta, so you can easily identify the path within your document.
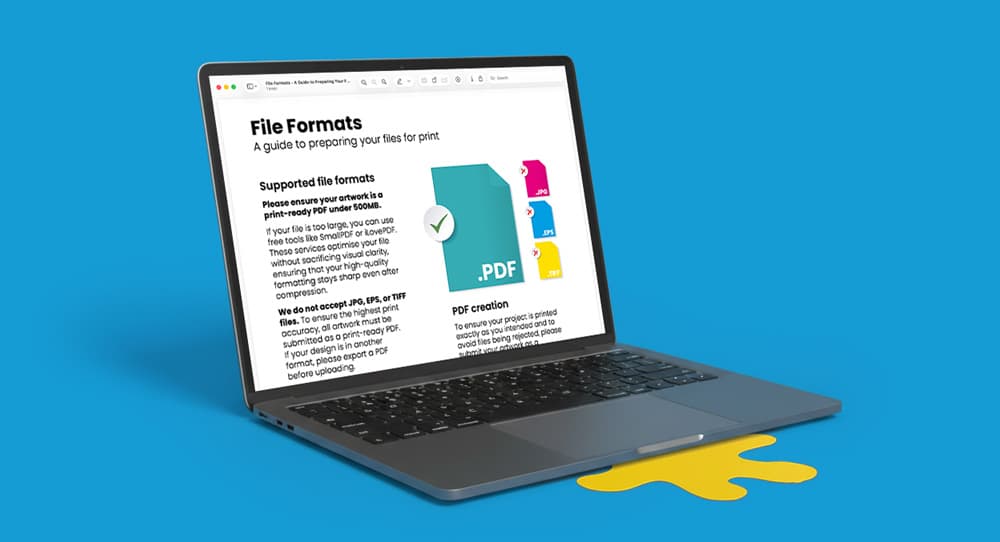
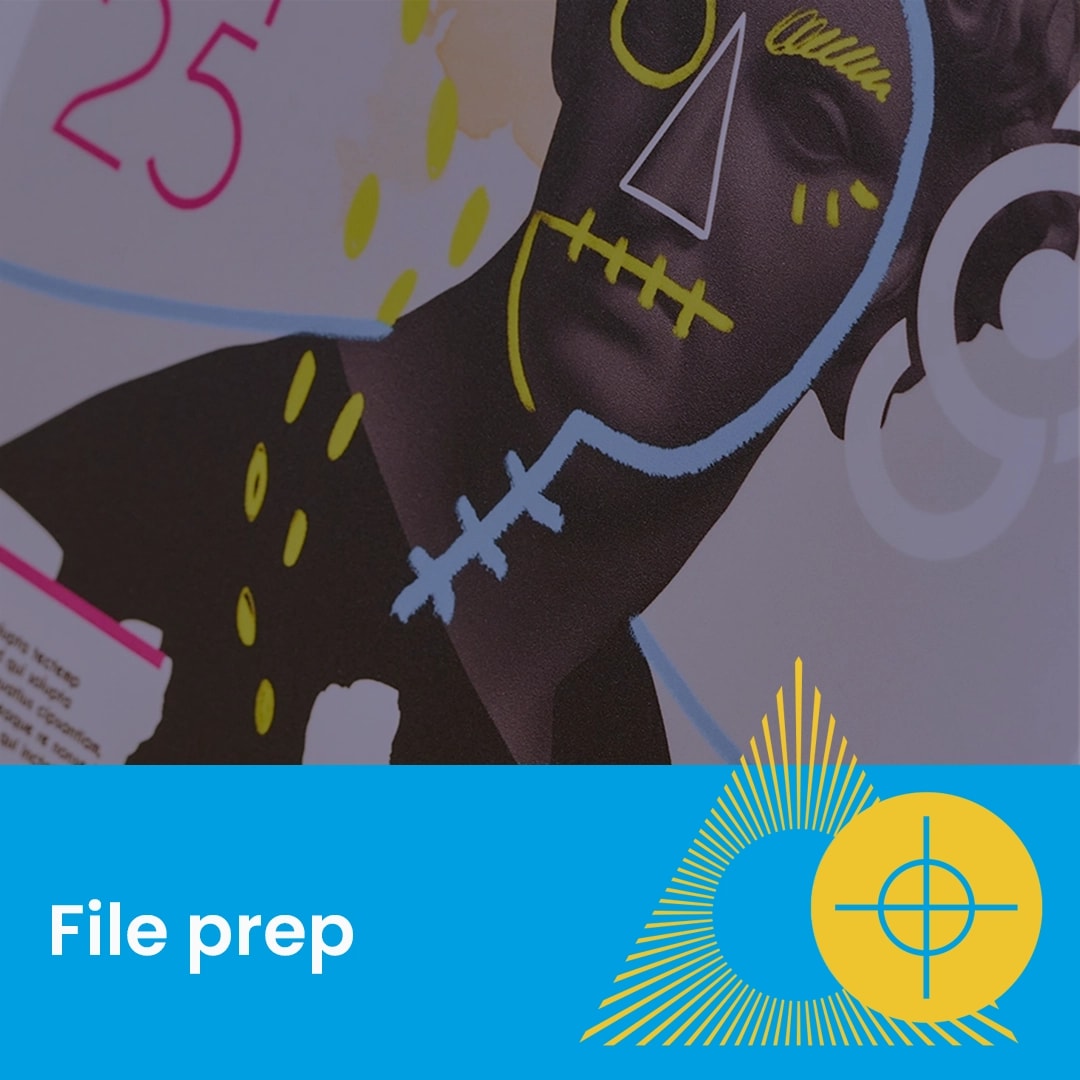
To ensure a professional finish, your source files must meet high-quality print standards.
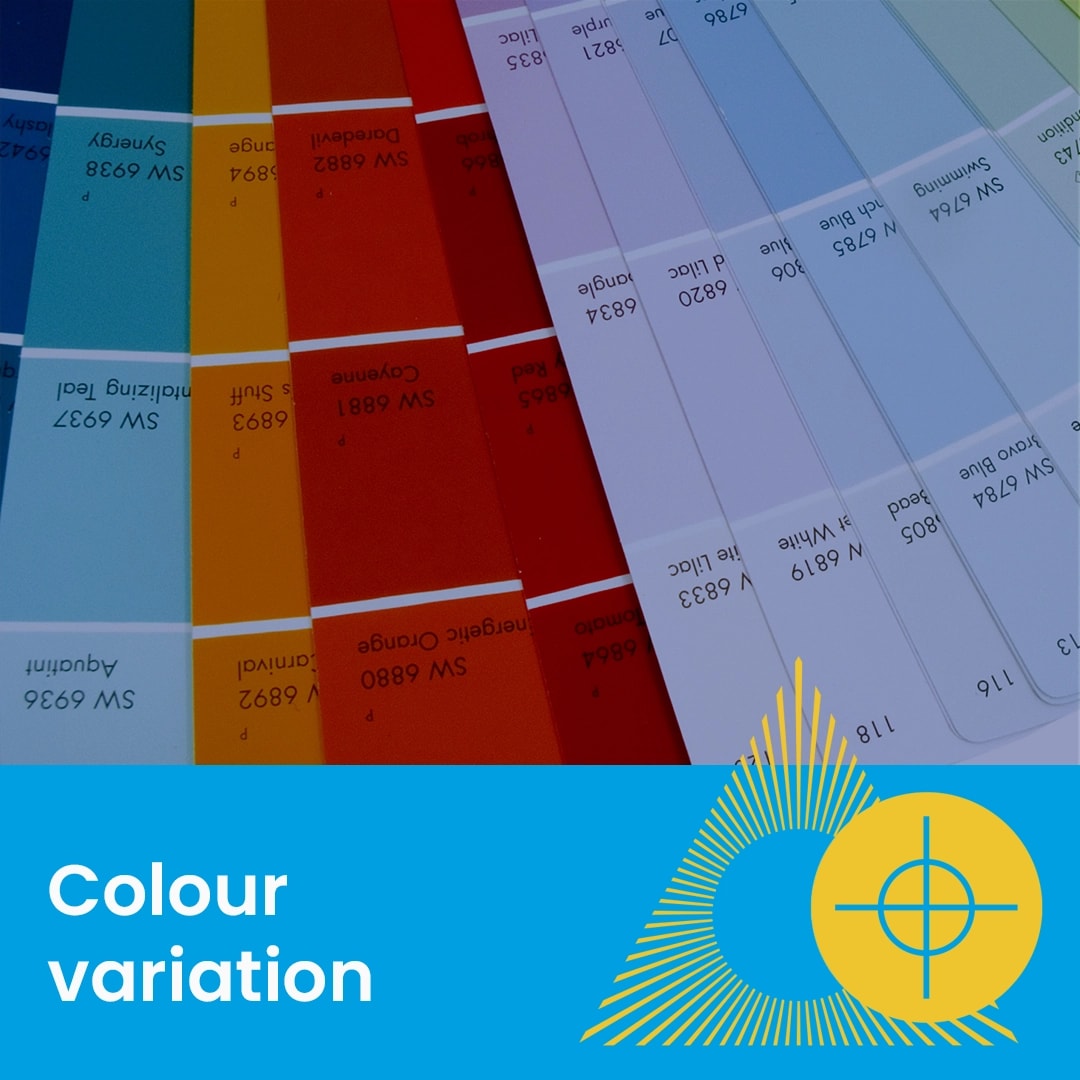
CMYK Mode: Use CMYK images in your artwork. Any RGB or Pantone colours will be automatically converted to CMYK, which may cause a colour shift.
High Resolution: Always use professional, high-resolution images of 300dpi or above. Low-quality or pixelated source files will significantly reduce the sharpness of your final print.
Need more help? Explore our additional support guides for expert advice on artwork setup, print file preparation, bleed and crop marks, colour setup, large format artwork and troubleshooting common print file issues.
Our support guides also cover paper stock selection, premium print finishes including spot UV and Scodix, preparing print-ready artwork and understanding the best setup for a wide range of printed products.
Before ordering, you can also use our artwork technical check tool to identify common artwork problems, including low resolution images, missing bleed, incorrect dimensions and RGB colour profiles.
You can also browse our full range of print products, including banners, business cards, flyers, posters and large format printing solutions.