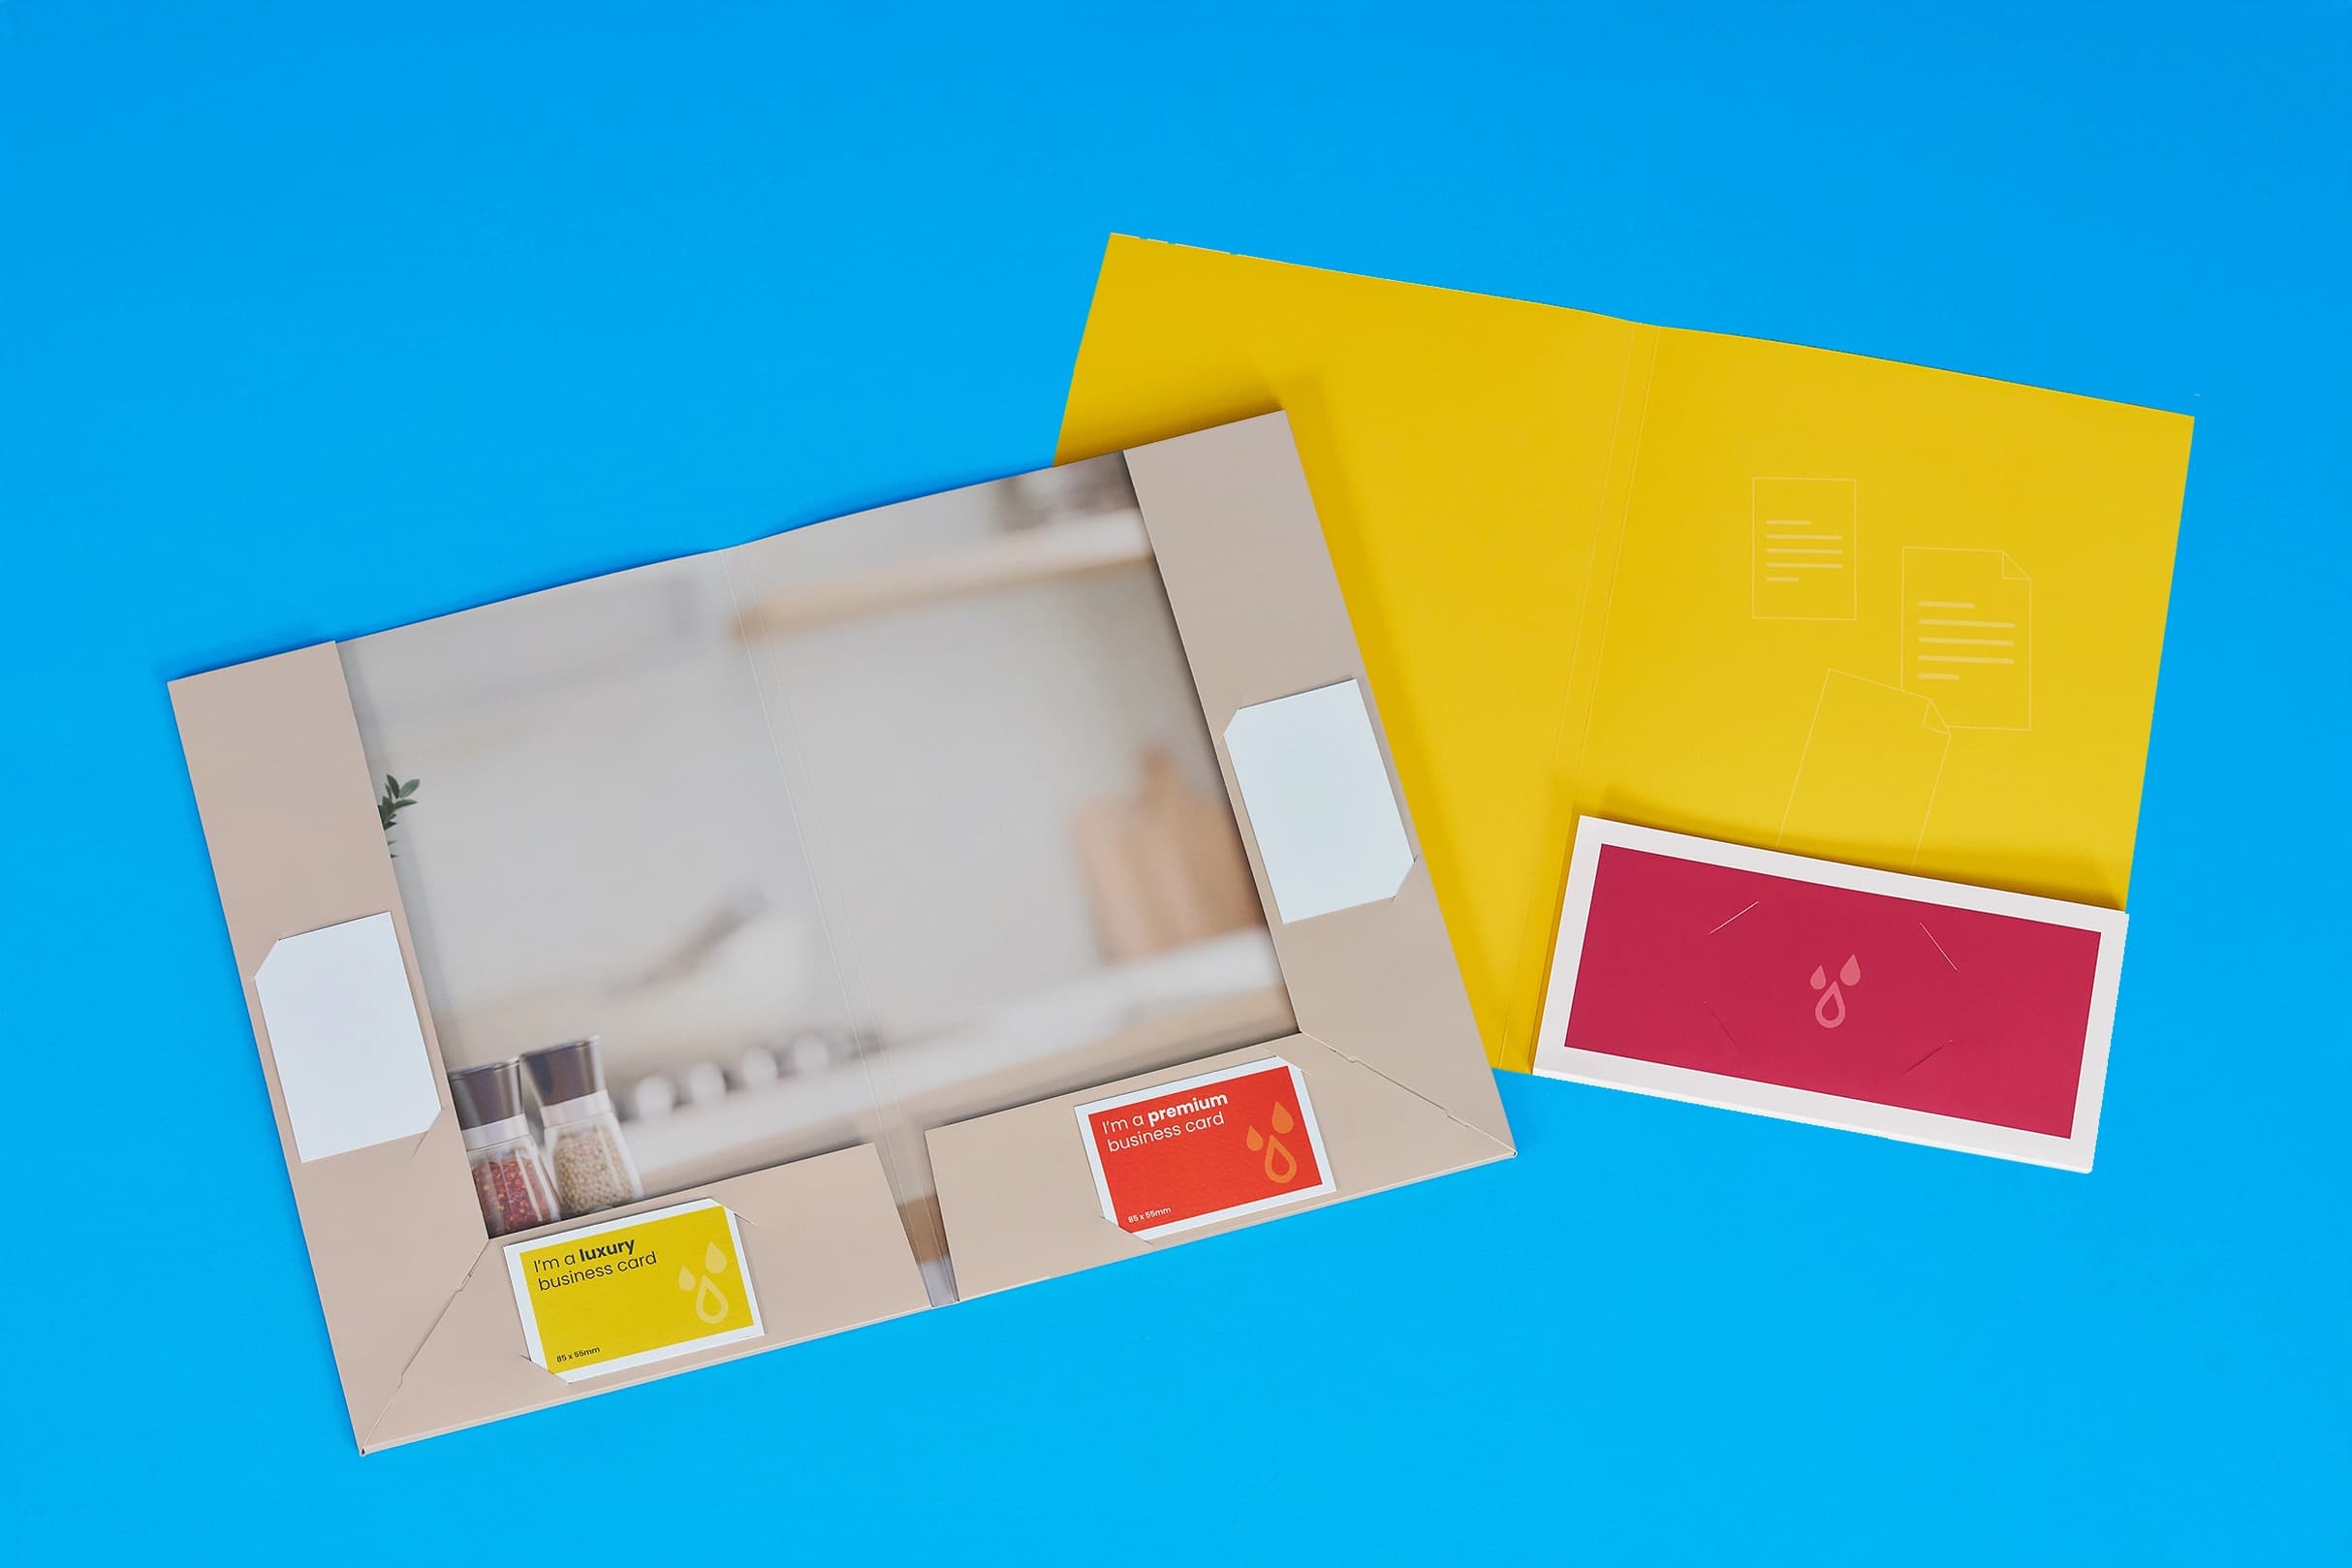
All our presentation folders are oversized to ensure your A4 or A5 documents fit comfortably inside with extra room to spare. Choosing the right assembly style depends on your storage space and how you intend to use the folders.
We offer three distinct finishes to suit your distribution needs.
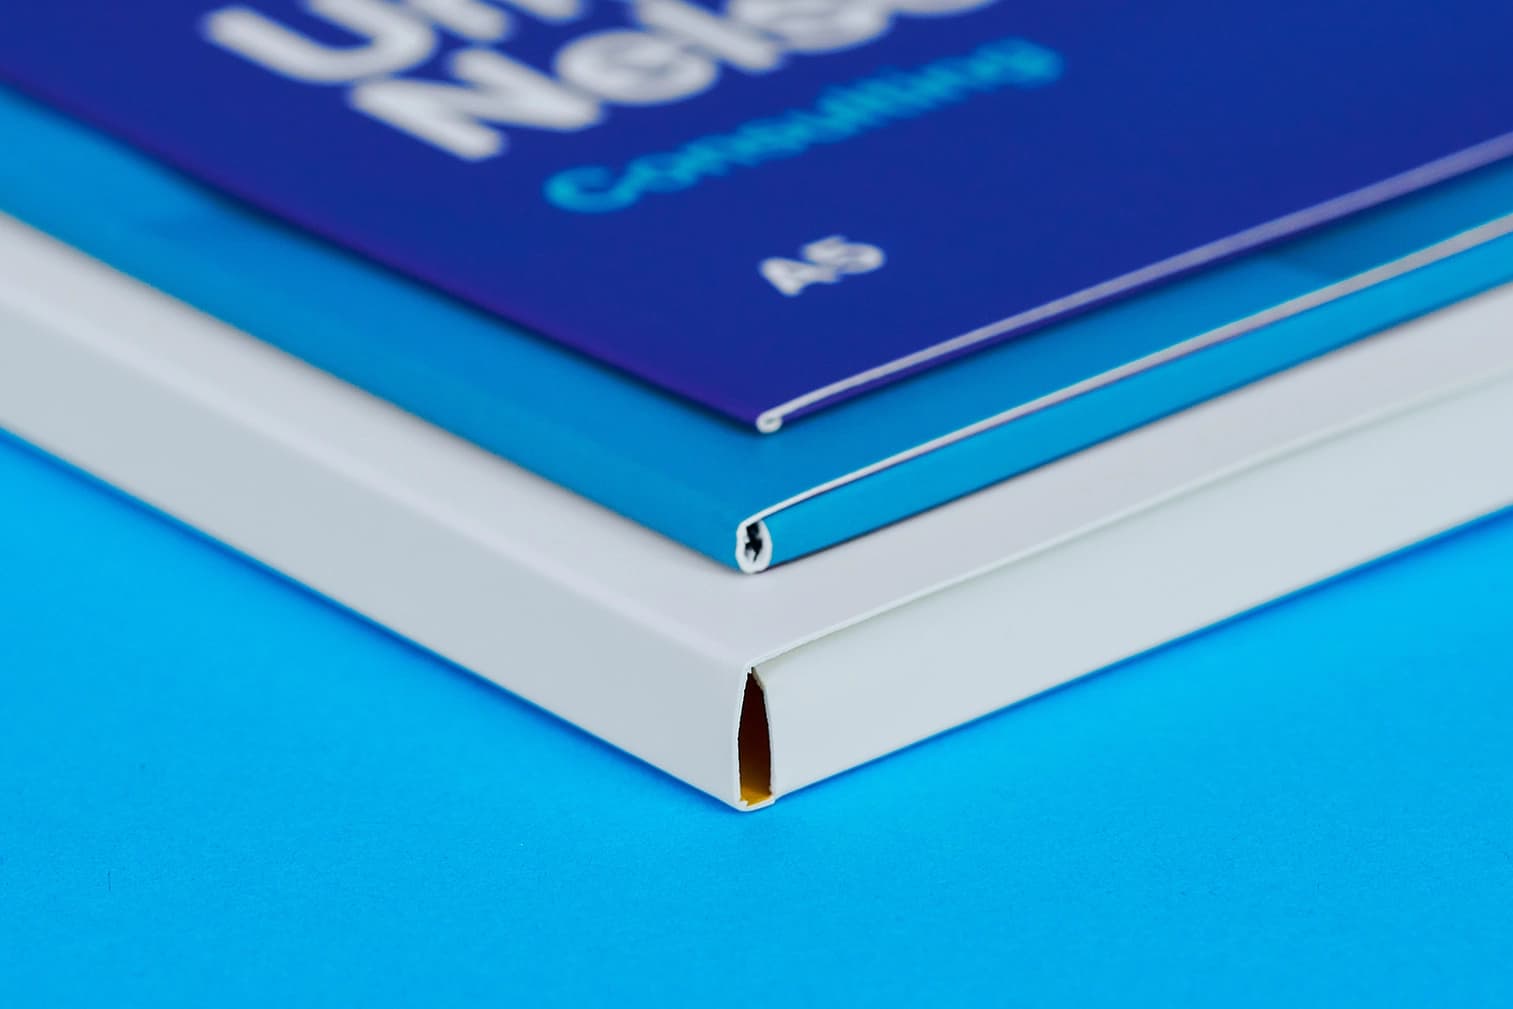
Configure your folder to suit your needs. A no capacity folder suits a few sheets, 4mm folders work for light brochure sets, while 10mm folders are ideal for bulkier collateral.
Choose single or double pockets, with the option to include or exclude business card slits for a fully customised layout.
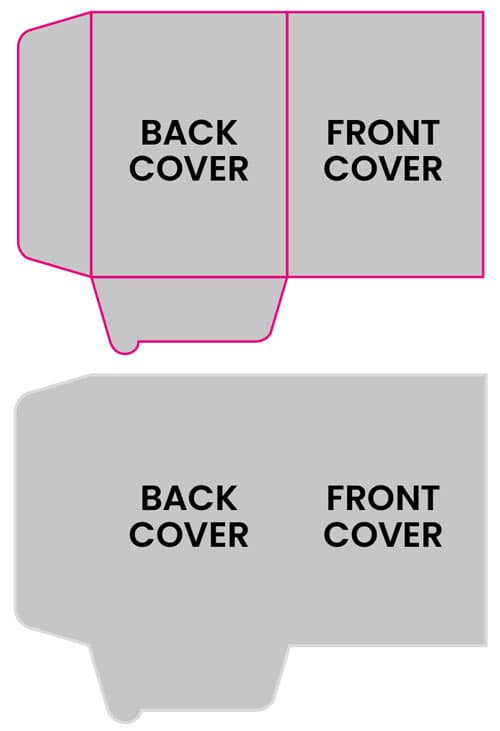
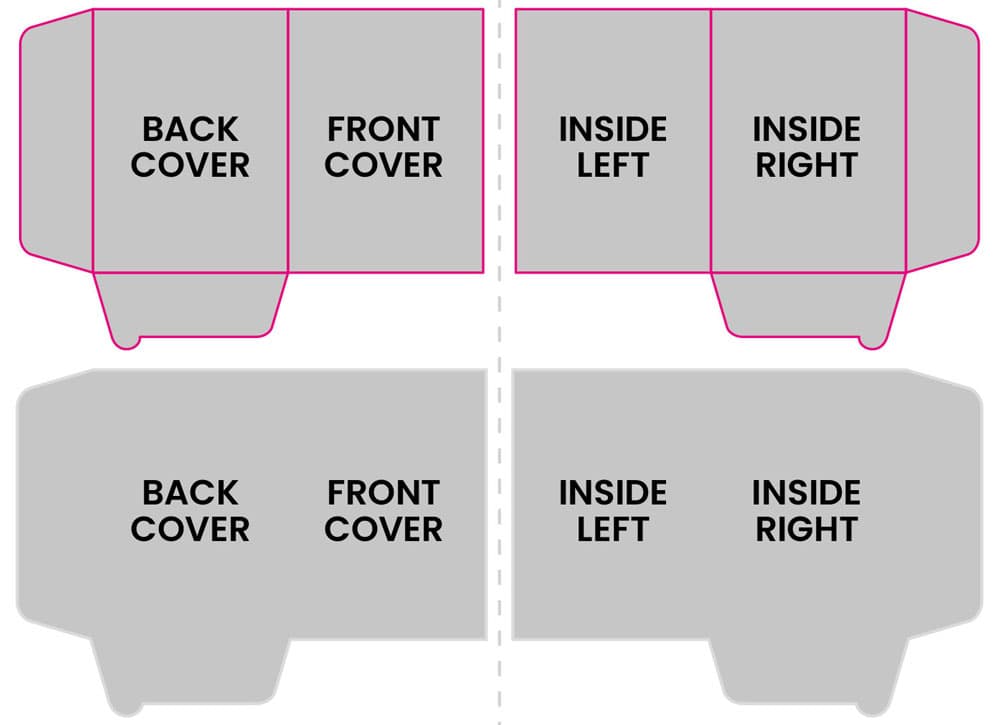
When supplying artwork for folders, precision is critical to ensure your design aligns with the physical folds and pockets. Please upload a single PDF containing the following pages:
If you only require printing on the exterior of the folder and the pocket, you must supply a two-page PDF.
For folders that require printing on the interior of the folder as well as the exterior, you must supply a four-page PDF.
To guarantee a perfect result, we recommend using our pre-set templates.
Need more help? Explore our additional support guides for expert advice on artwork setup, print file preparation, bleed and crop marks, colour setup, large format artwork and troubleshooting common print file issues.
Our support guides also cover paper stock selection, premium print finishes including spot UV and Scodix, preparing print-ready artwork and understanding the best setup for a wide range of printed products.
Before ordering, you can also use our artwork technical check tool to identify common artwork problems, including low resolution images, missing bleed, incorrect dimensions and RGB colour profiles.
You can also browse our full range of print products, including banners, business cards, flyers, posters and large format printing solutions.
Create professional presentation folders with premium print finishes, custom pocket options, and branded designs for proposals, marketing packs, and business presentations.