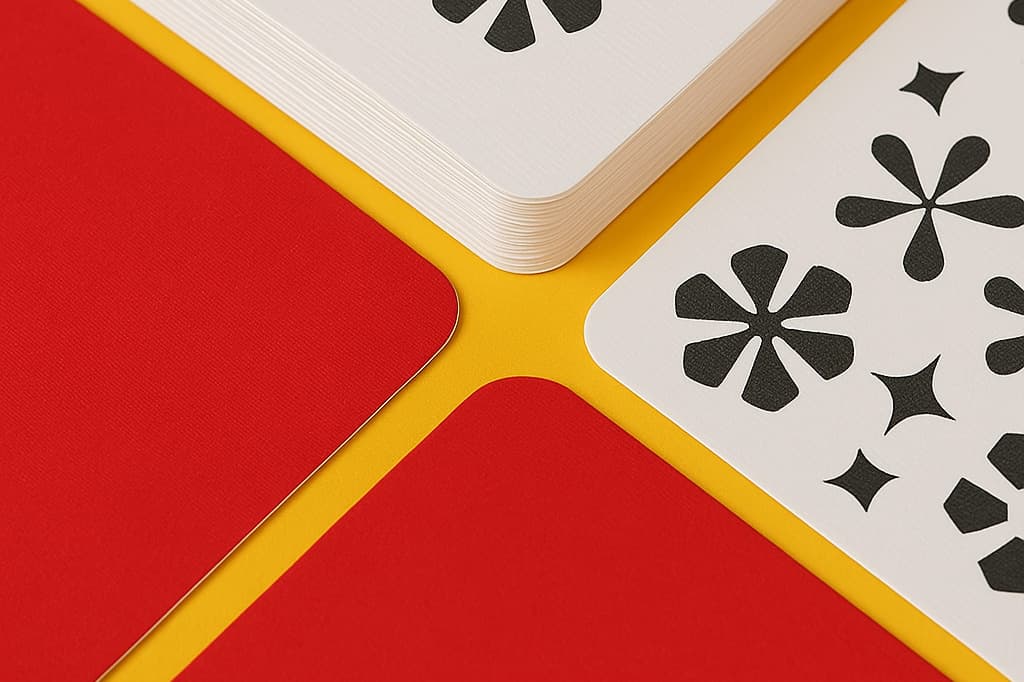
Rounded corners give your print a softer, more premium finish. We add round corners after printing, so there is no need to change your artwork. You simply select a radius when building your product.
It is important to note that you should set your artwork up as normal using standard sizes, bleed and crop marks. Do not round the corners in your design and do not add guides or marks. All you have to do is supply your artwork as a standard print-ready PDF.
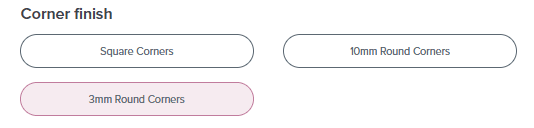
When building your product, choose 3mm or 10mm round corners in the Corner finish section. Once selected, continue through the builder and place your order as normal.
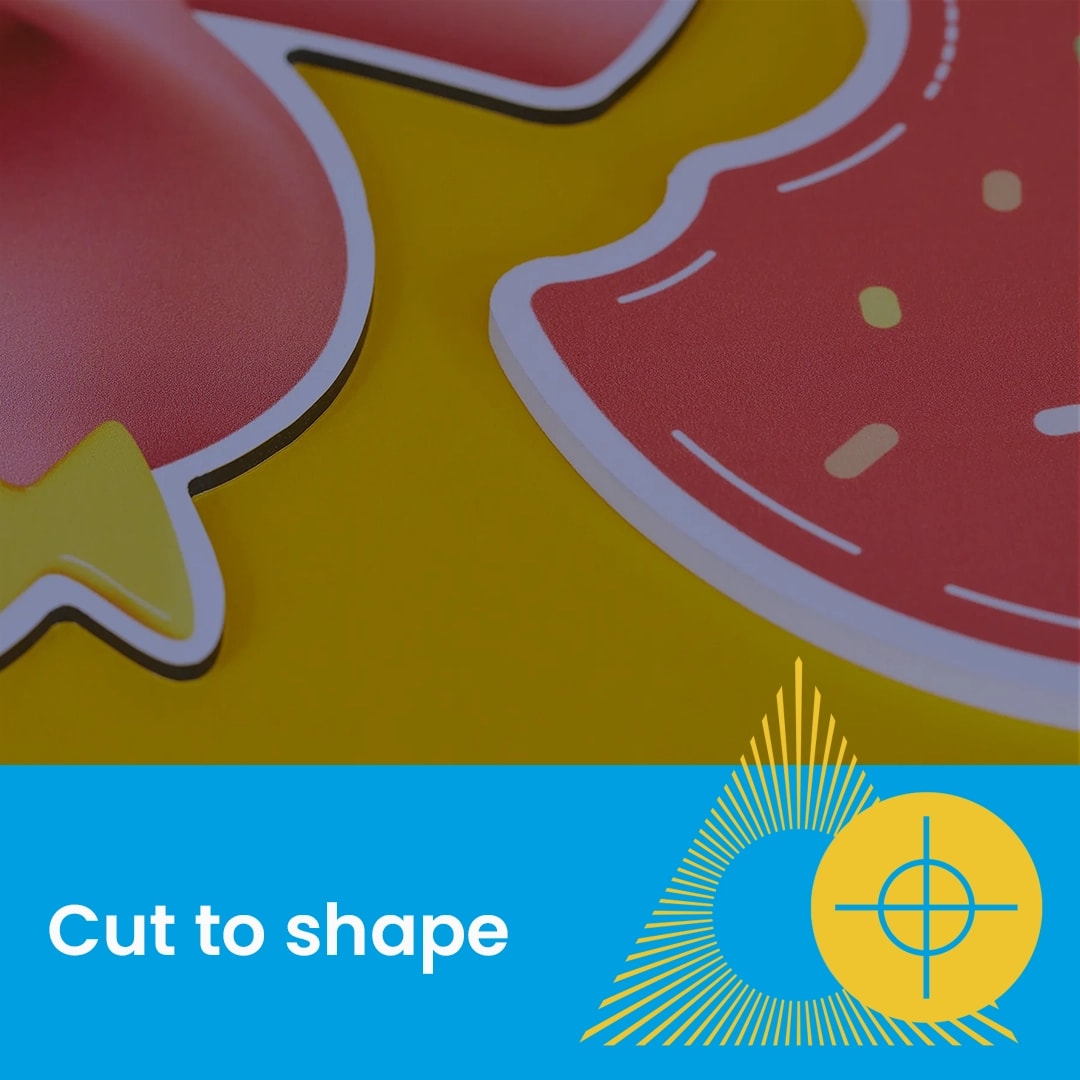
Avoid placing key details into the corners of your designs. Keep text, logos and important elements comfortably inside the edge, so that nothing looks cramped once the corners are rounded.
It can be tempting to round the corners in your design, adjust the page size or remove crop marks to match the curve, but do not do this. Rounded corners are added after printing.
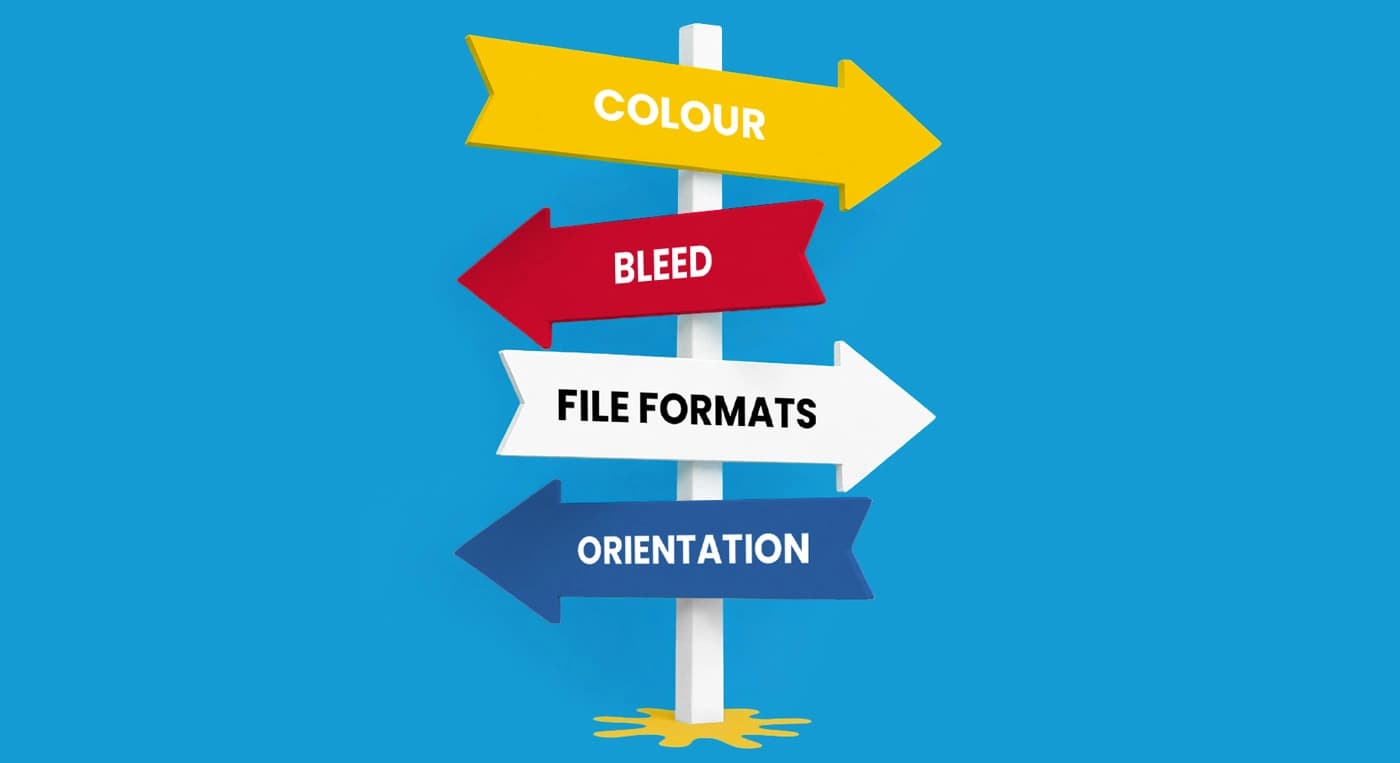
Need more help? Explore our additional support guides for expert advice on artwork setup, print file preparation, bleed and crop marks, colour setup, large format artwork and troubleshooting common print file issues.
Our support guides also cover paper stock selection, premium print finishes including spot UV and Scodix, preparing print-ready artwork and understanding the best setup for a wide range of printed products.
Before ordering, you can also use our artwork technical check tool to identify common artwork problems, including low resolution images, missing bleed, incorrect dimensions and RGB colour profiles.
You can also browse our full range of print products, including banners, business cards, flyers, posters and large format printing solutions.