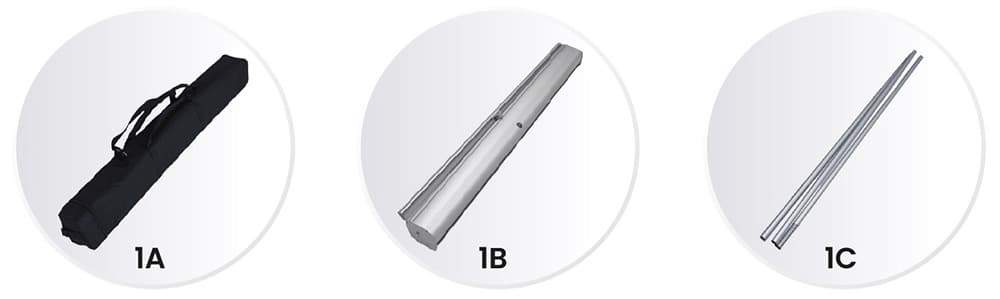
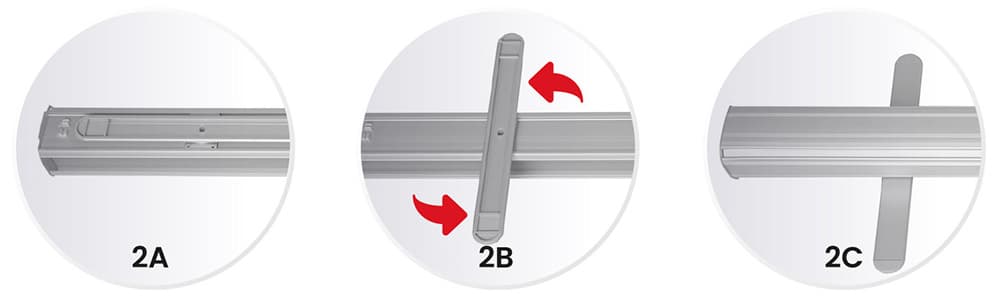
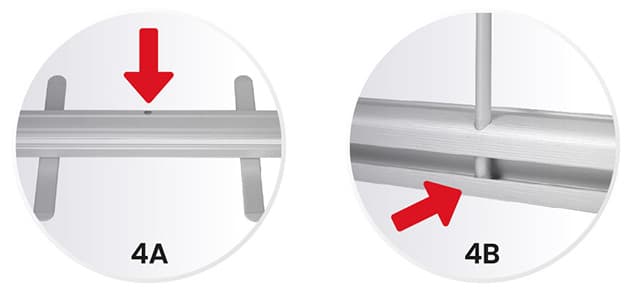
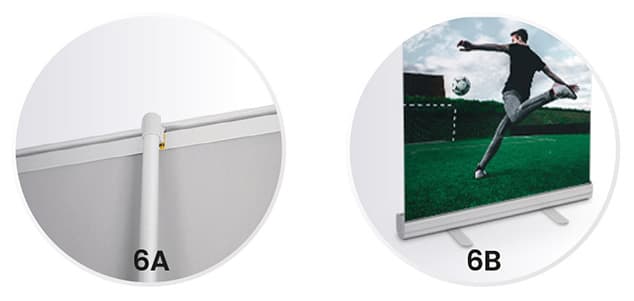
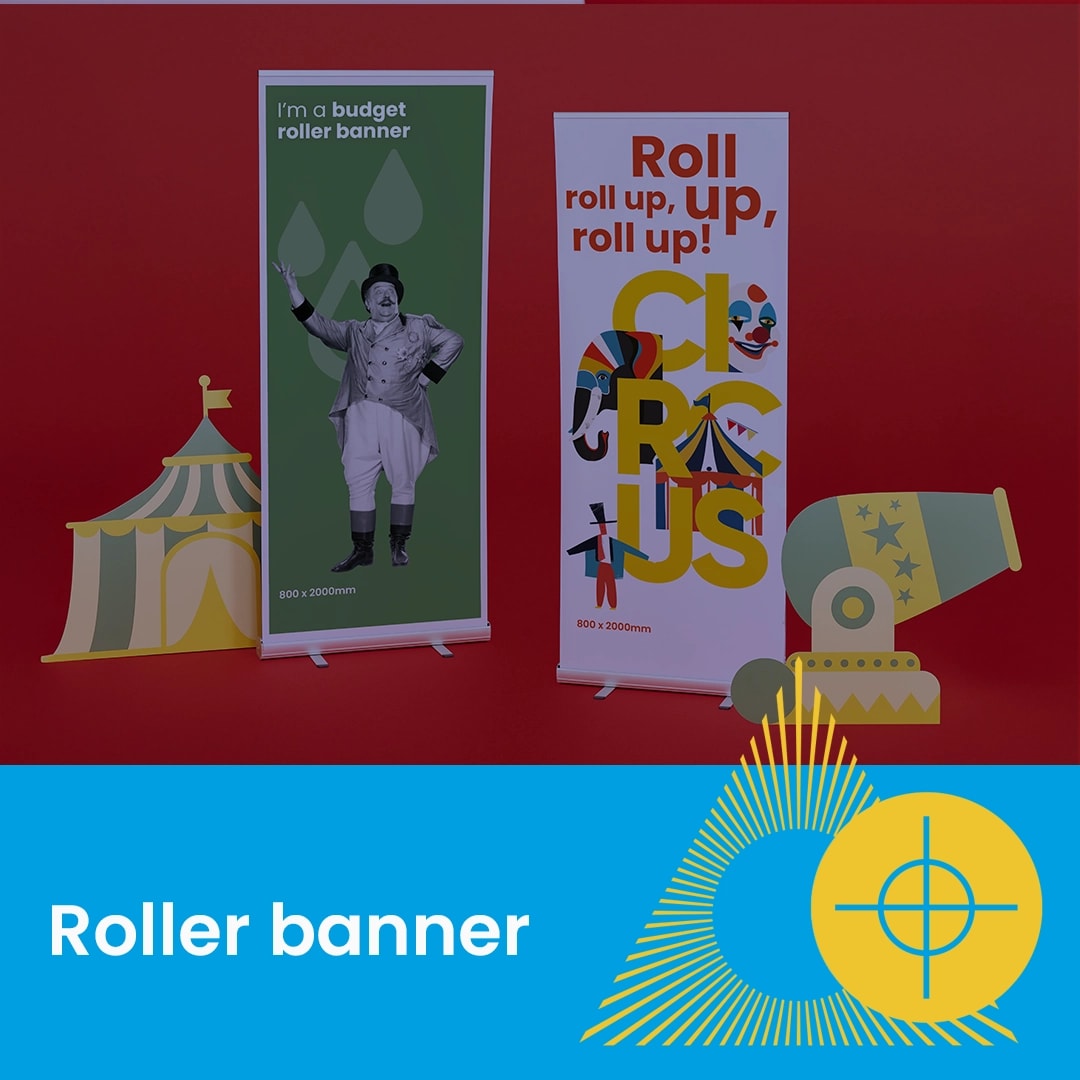
Setting up your budget roller banner or classic roller banner is a straightforward process when following these six steps. Please handle the hardware and graphics with care to ensure a professional display.
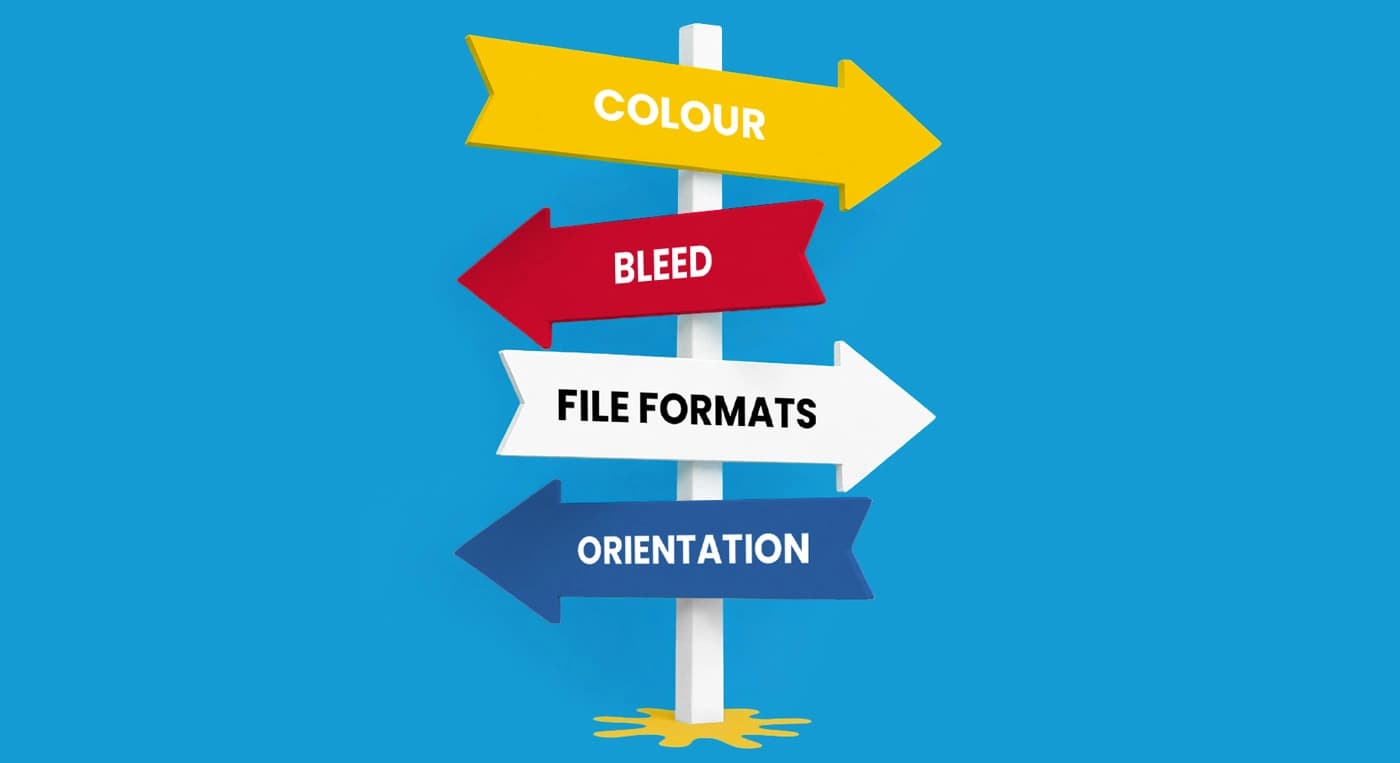
Need more help? Explore our additional support guides for expert advice on artwork setup, print file preparation, bleed and crop marks, colour setup, large format artwork and troubleshooting common print file issues.
Our support guides also cover paper stock selection, premium print finishes including spot UV and Scodix, preparing print-ready artwork and understanding the best setup for a wide range of printed products.
Before ordering, you can also use our artwork technical check tool to identify common artwork problems, including low resolution images, missing bleed, incorrect dimensions and RGB colour profiles.
You can also browse our full range of print products, including banners, business cards, flyers, posters and large format printing solutions.
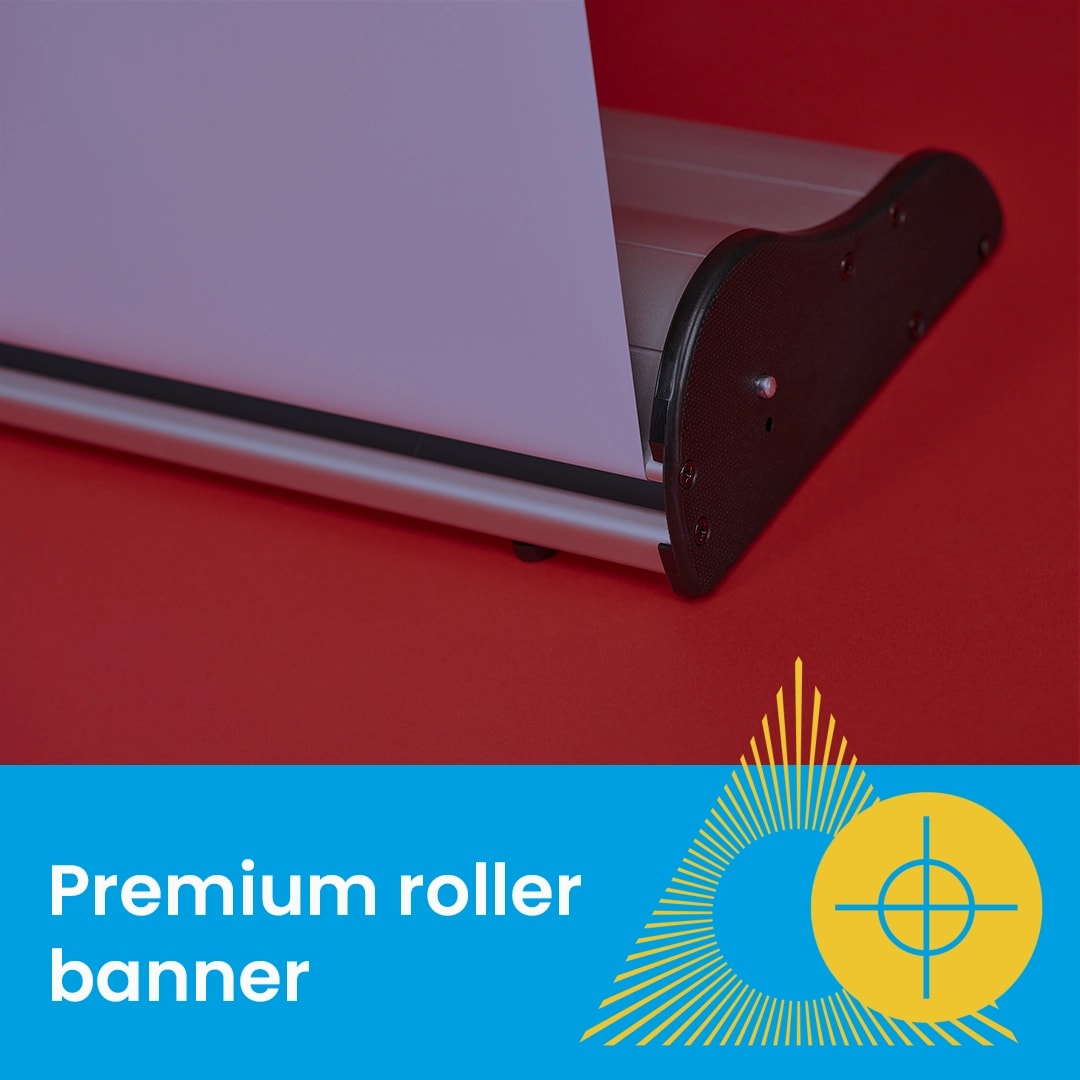
Discover premium roller banner printing designed for exhibitions, events, retail displays, presentations, and promotional branding.