Prices
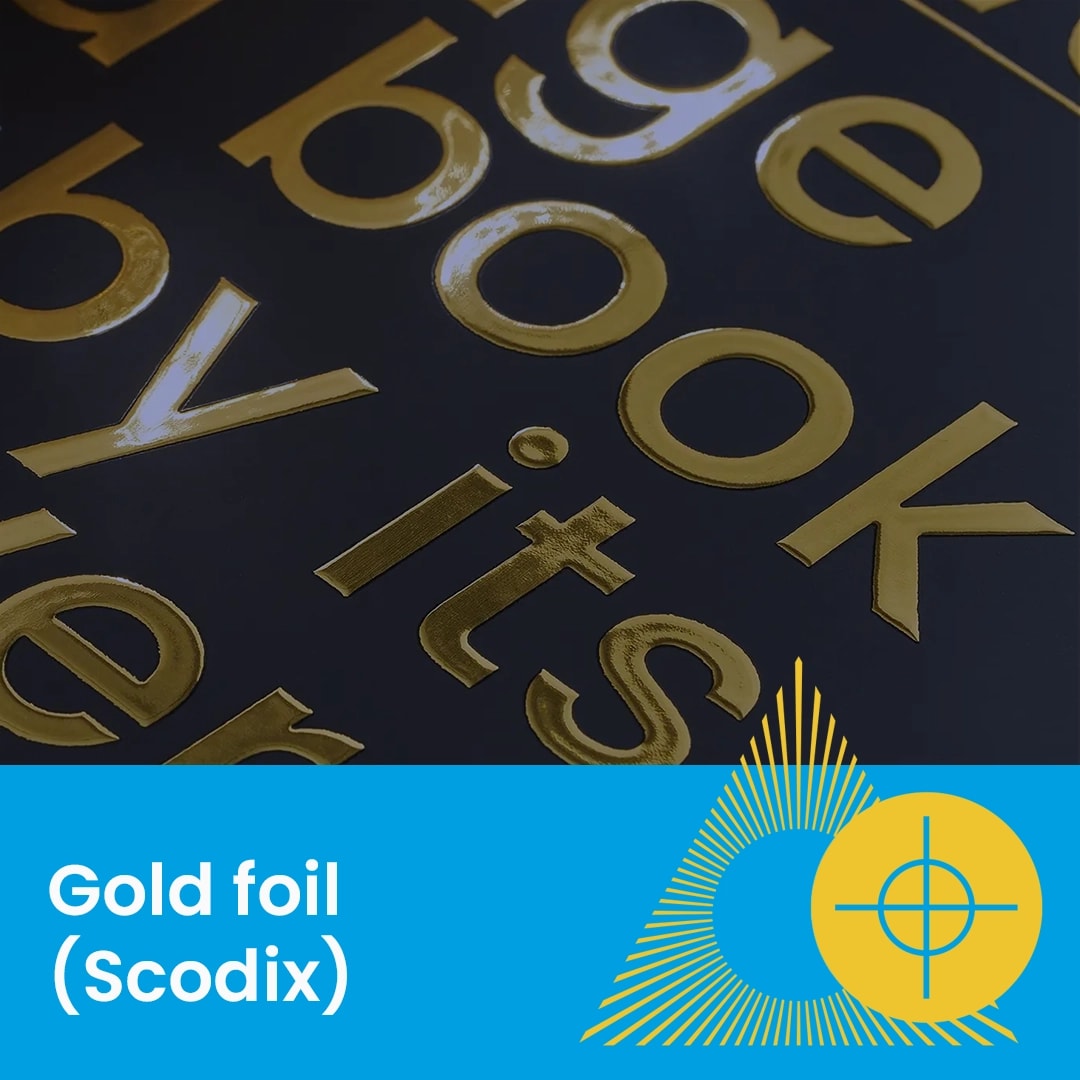
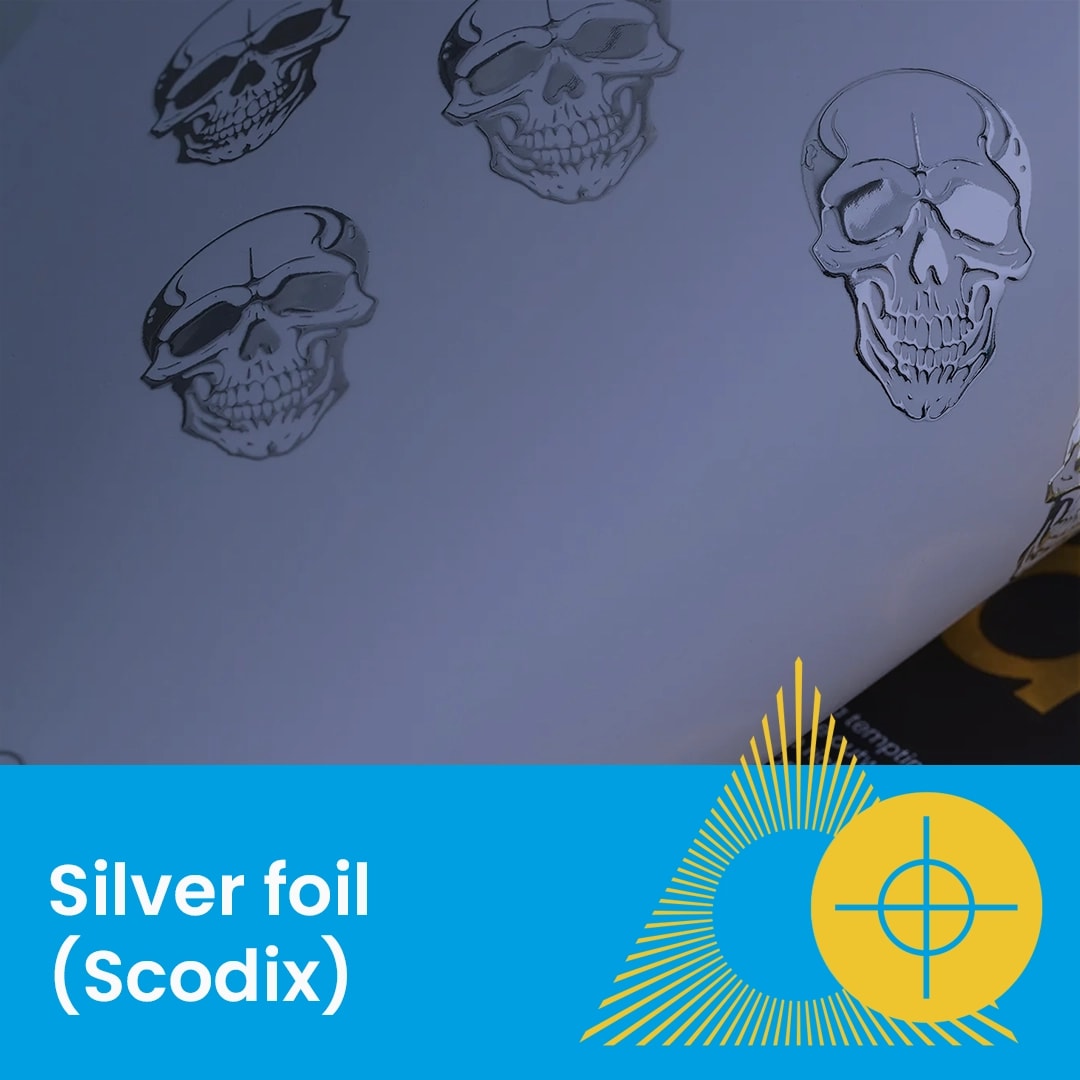
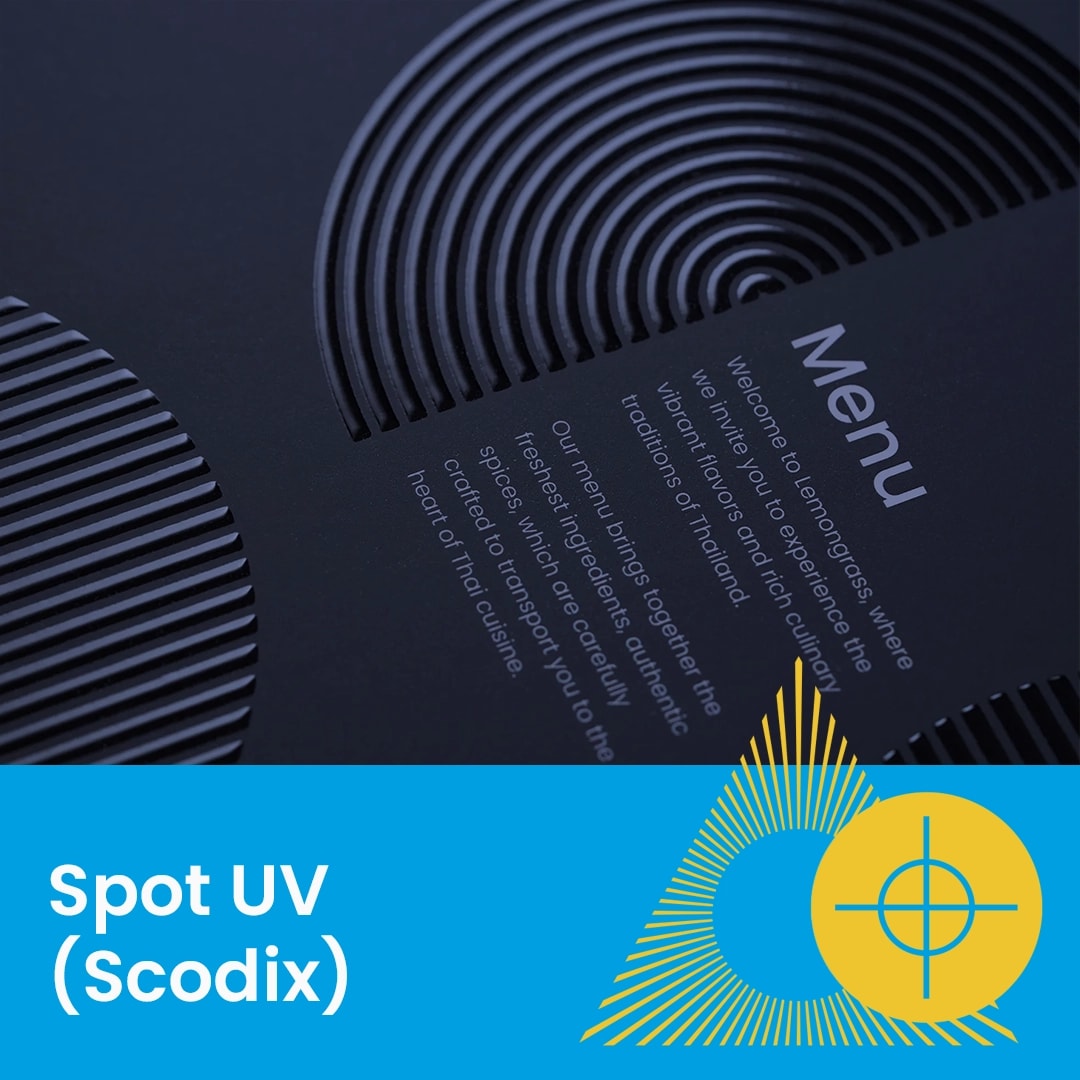
Spot UV (often referred to as Scodix) is a premium digital finish that applies a raised, gloss varnish to specific areas of your design. This adds both visual shine and a tactile, 3D texture to your business cards and other print.
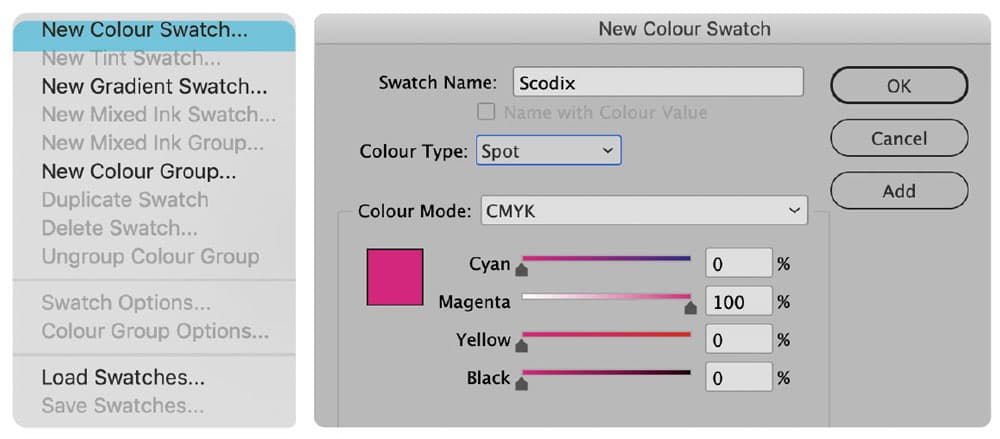
To tell our press where to apply the varnish, you must define a specific spot colour in your design software (such as Adobe InDesign or Illustrator).
Swatch Name: You must name the new swatch Scodix (case-sensitive).
Colour Type: Set the colour type to Spot Colour.
Visibility: Choose a high-contrast colour (e.g., 100% Magenta) so you can easily see where the finish is applied over your artwork.
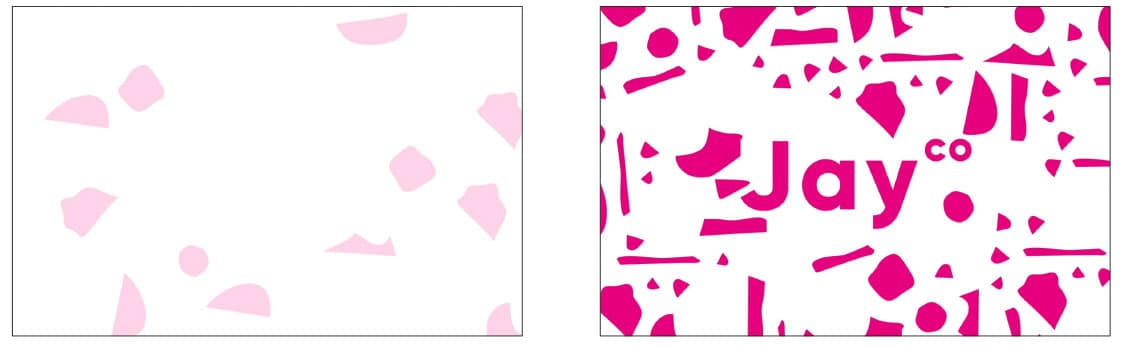
Once your colour swatch is created, you need to identify the elements you want to enhance.
Layering: Duplicate the elements you want to UV (logos, text, or patterns) and place them exactly over the original artwork.
Colouring: Apply your new Scodix colour swatch to these duplicated elements.
Build Height (Opacity): You can vary the "lift" or thickness of the varnish by adjusting the opacity of the Scodix colour swatch.
To prevent the varnish from cracking or peeling during the finishing process, you must respect the physical limits of the guillotine and folding equipment.
The 2mm Rule: Leave a 2mm clear area (no Scodix) around the outer edges of your design and any fold lines.
Why? If the Scodix varnish is cut by the guillotine or folded, it can crack, resulting in a jagged or messy edge.
Your supplied PDF should contain both the standard print elements and the Scodix elements in a single file. Below is an example showing a double sided business card.
PDF Format: Ensure your file is exported as a high-quality, multi-page PDF.
Check: Verify that the Scodix elements are set to "Overprint" to ensure the underlying colour still prints.
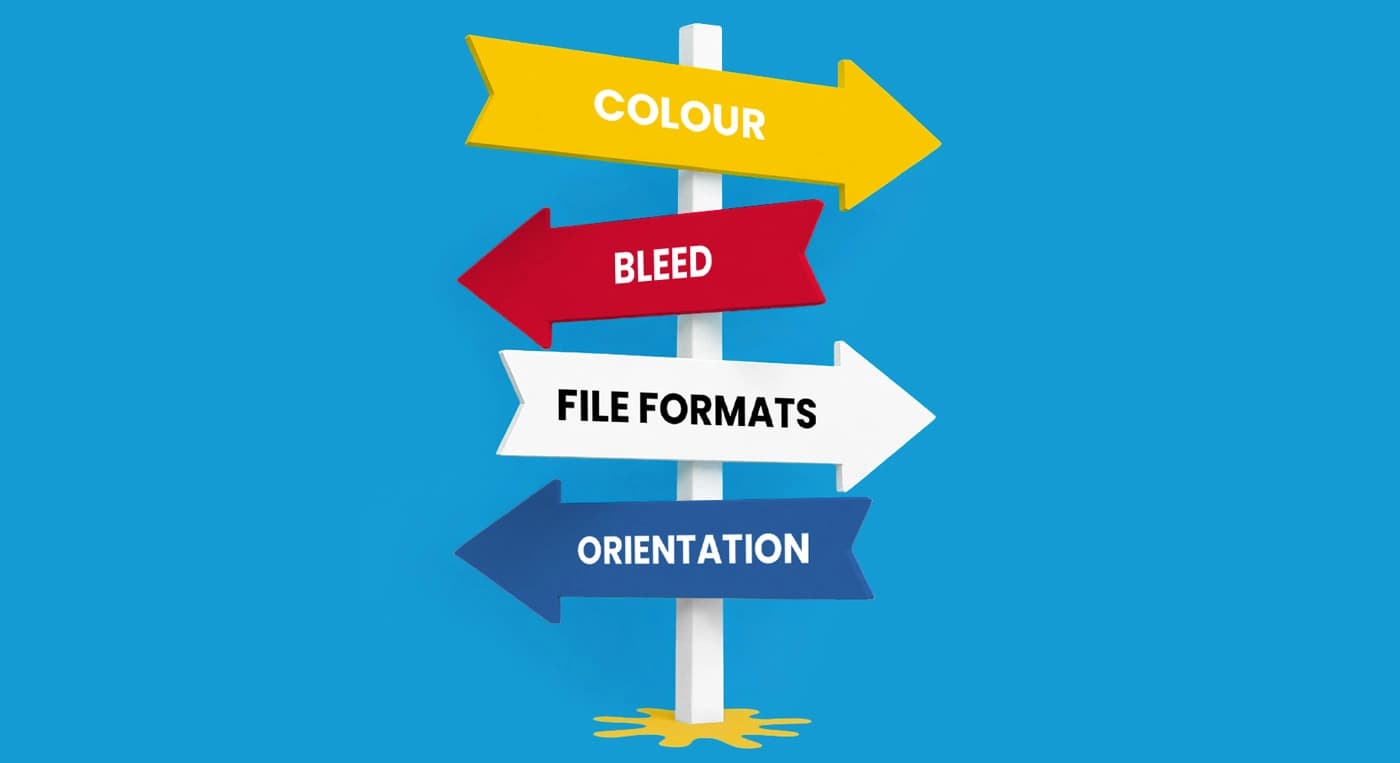
Need more help? Explore our additional support guides for expert advice on artwork setup, print file preparation, bleed and crop marks, colour setup, large format artwork and troubleshooting common print file issues.
Our support guides also cover paper stock selection, premium print finishes including spot UV and Scodix, preparing print-ready artwork and understanding the best setup for a wide range of printed products.
Before ordering, you can also use our artwork technical check tool to identify common artwork problems, including low resolution images, missing bleed, incorrect dimensions and RGB colour profiles.
You can also browse our full range of print products, including banners, business cards, flyers, posters and large format printing solutions.
Discover premium Spot UV business cards with raised gloss finishes designed to highlight key artwork details with contrast, texture and visual impact.