Prices
Wall art can change how a space feels. It can make a home more personal, help a reception area feel more polished, bring colour into an office or give a retail space a stronger visual identity.
But getting the best result isn’t just about choosing a nice image. The format, size, material, placement and artwork quality all affect how the finished piece looks once it’s on the wall.
Whether you’re printing photography, illustrations, artwork, branding, typography or a personal gift, here’s how to choose the right wall art, prepare your design for print and hang it properly.
Before you choose a product, think about where the wall art is going.
A print for a living room might need to feel warm and personal. A piece for an office, salon, studio or reception area may need to feel more polished and brand focused. A gift might need to feel premium, finished and easy to display.
Look at the wall itself too. Is it a large empty space that needs a focal point, or a smaller area that needs something simple? Is the room bright, neutral, colourful or already full of detail? The right print should work with the space, not fight against it.
For bigger walls, one large piece can create impact. For smaller areas, a set of prints or tiles can help build a gallery style display without overwhelming the room.
Different wall art formats give different results. The best choice depends on the image, the space and how you want the finished print to feel.
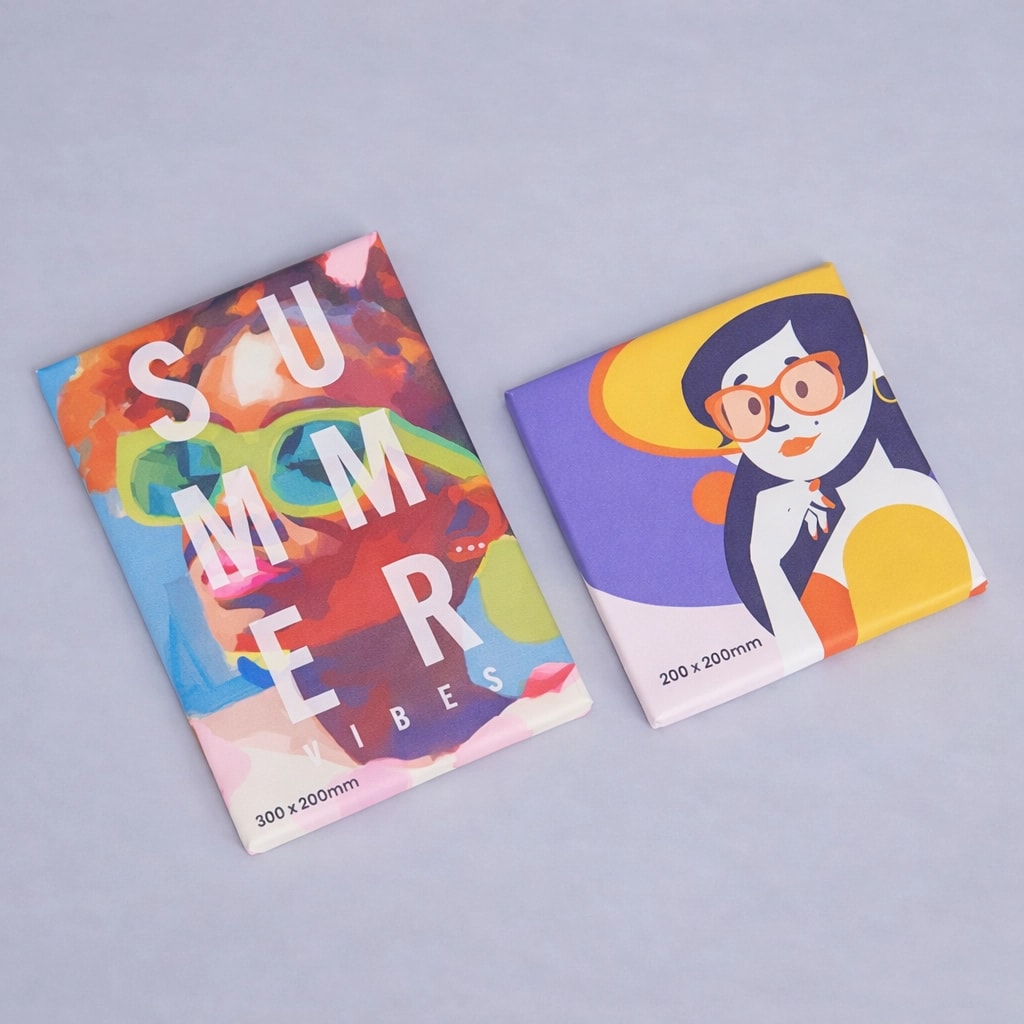
Canvas Prints are a strong choice for photography, artwork, personal images and decorative prints. They have a softer texture than a framed print or acrylic print, which can work well in homes, creative spaces, offices and galleries.
Canvas is a good option when you want the image to feel warm and tactile. It’s especially useful for portraits, landscapes, artwork, wedding images, family photography and statement pieces.
Choose a canvas print when you want wall art that feels finished without needing a separate frame.
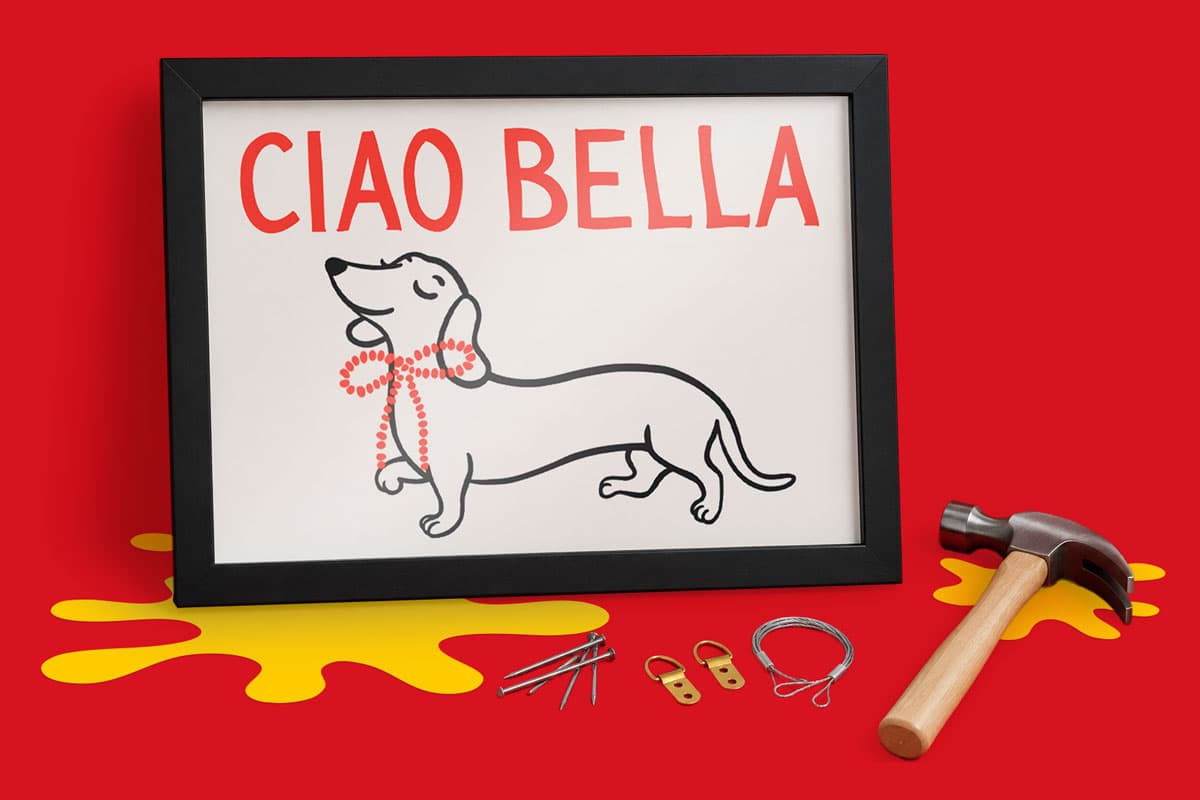
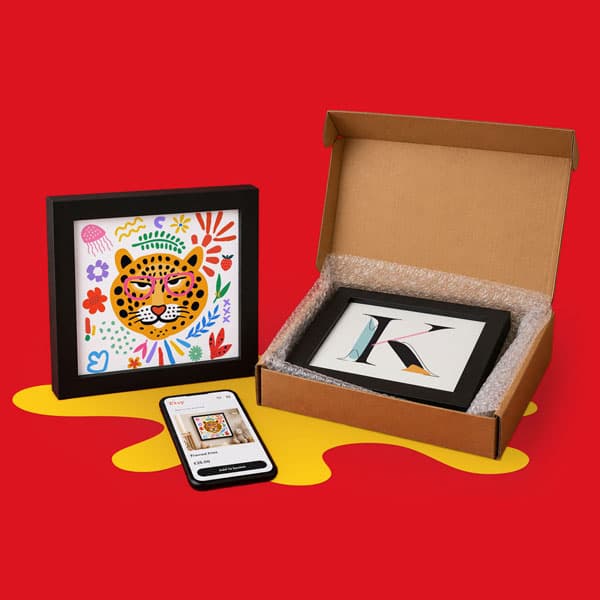
Framed Photo Prints are ideal when you want a cleaner, more polished finish. They work well for photography, posters, illustrations, typography, gallery walls, gifts and professional interior displays.
A frame gives the print structure and helps it feel more complete. It can also make wall art easier to match to a room, especially if you’re choosing between a black or white frame.
Framed prints are a strong option for offices, customer areas, home interiors, creative portfolios and premium gifts.
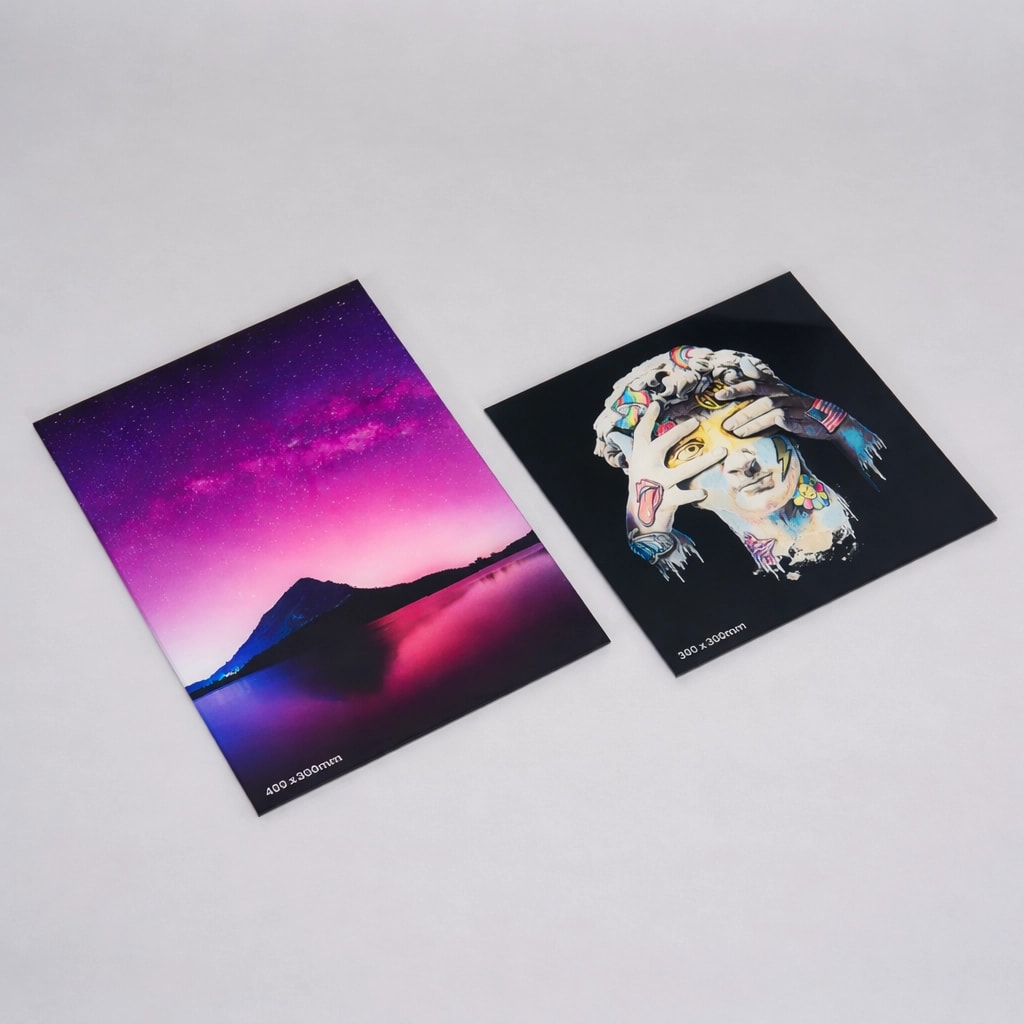
Acrylic Prints are best when you want sharp detail, strong colour and a modern finish. The glossy surface can help photography, bold artwork and colourful designs feel more striking.
They’re a good choice for contemporary interiors, salons, studios, offices, hospitality spaces and displays where the artwork needs to stand out.
Choose acrylic when you want a sleek finish with depth, clarity and visual impact.
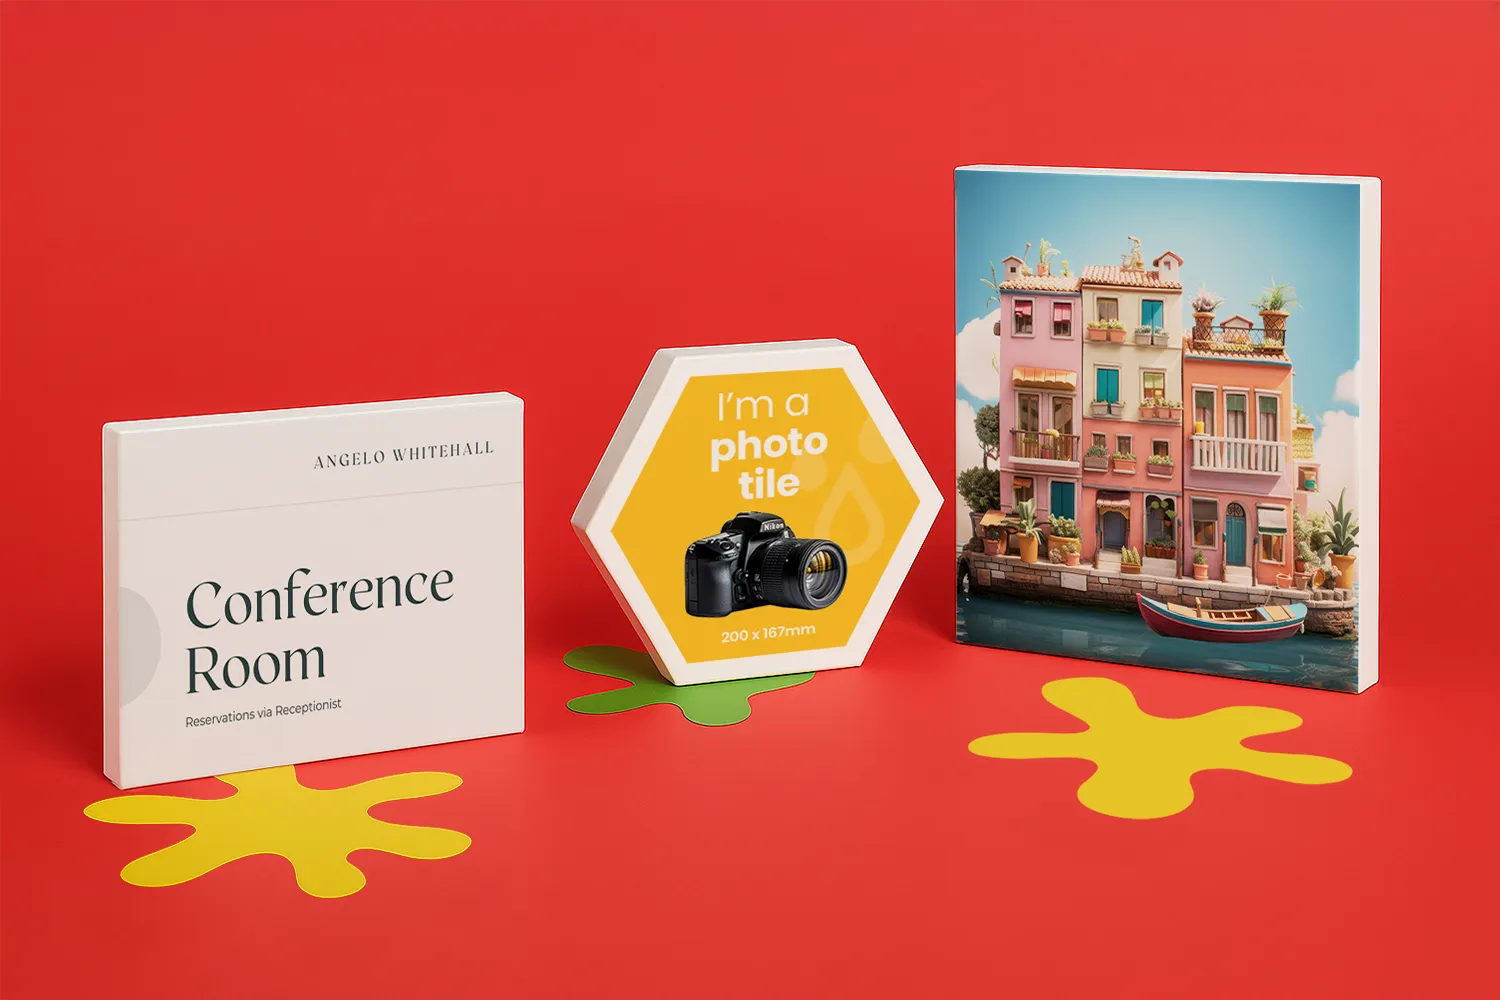
Photo Tiles are useful when you want a flexible wall display. They can work well for gallery walls, collections, seasonal displays, staff walls, gifts, signage or visual storytelling.
Because photo tiles can be arranged in groups, they’re a practical option for creating a feature wall. You can mix images, build a pattern or create a display that grows over time.
They’re a good choice when one single print doesn’t feel like enough, or when you want to create a display made from several linked images.
Wall art needs room to breathe. A print that’s too small can look lost on a large wall, while a print that’s too large can make a smaller space feel cramped.
As a general guide, use larger formats for open walls, reception areas, feature spaces and statement artwork. Use smaller formats for shelves, narrow walls, gallery walls, desks, corridors or grouped displays.
For one main print, mark out the size on the wall before ordering. You can do this with low tack tape or paper cut to size. This helps you see whether the proportions feel right in the actual space.
For a gallery wall, plan the full arrangement before anything goes up. Lay the prints or templates out on the floor first, then measure the spacing between each piece. Keeping the gaps consistent will help the finished display look more deliberate.
A good wall art print starts with good artwork.
Use the highest quality image or design file you have. Low resolution images may look fine on a phone screen, but can appear soft, pixelated or blurry when printed at a larger size.
Photography, artwork and illustrations should be sharp, clear and suitable for the size you want to order. If you’re using text, make sure it’s large enough to read from the distance people will view it.
Also think about colour. Bright, high contrast images can work well on canvas and acrylic, while softer photography or artwork can look strong as a framed print. If the design is very dark, check that important detail won’t disappear once printed.
Before uploading your design, check the product template and artwork requirements for the wall art format you’re ordering.
For the best result, your artwork should be set up at the correct size, with important text, logos and details kept away from trim or wrap areas. This is especially important for products where part of the artwork may sit close to the edge.
If you’re designing in Canva, export your artwork as a PDF Print file where possible. If you’re using design software, check that the file is print ready and that images are suitable for the finished size.
You can also use Support Guides to check artwork setup, colour and file preparation before ordering.
Once your wall art arrives, take time to choose the right position before fixing anything to the wall.
A common approach is to place the centre of the artwork around eye level. This helps the piece feel naturally positioned when someone is standing in the room.
You’ll also need to think about furniture. Wall art above a sofa, bed, desk or counter should feel connected to the furniture below it, rather than floating too high on the wall. For gallery walls, start with the largest or most important piece and build the rest of the layout around it.
Avoid placing delicate prints in areas where they’ll be constantly knocked, exposed to moisture or placed in direct heat. For bright rooms, think about glare and direct sunlight too, especially for glossy finishes.
Before you drill, nail or fix anything to a wall, check what’s behind it.
Walls can hide electrical cables, pipes, studs and other fittings. Use a detector where needed, and avoid drilling directly above, below or beside sockets and switches unless you’re confident it’s safe. If you’re unsure, get professional advice before making holes in the wall.
The wall type matters too. Plasterboard, brick, block and stud walls all need different fixings. A lightweight photo tile won’t need the same fixing as a heavier framed print or acrylic print.
Always check the weight of the wall art and choose fixings that are suitable for both the product and the wall.
The right fixing helps keep your wall art secure and level.
For lightweight prints, simple picture hooks or adhesive options may be enough, depending on the product and wall surface. For heavier framed prints, canvas prints or acrylic prints, you may need wall plugs, screws or specialist fixings.
If you’re hanging into plasterboard, make sure you use fixings designed for plasterboard. If you’re hanging into brick or masonry, you’ll usually need a drill, wall plug and screw.
Don’t guess based on the size of the print alone. Some materials are heavier than they look, and some walls need stronger support than others.
Good placement comes down to careful measuring.
Measure the wall, measure the artwork and mark the fixing point lightly with a pencil. Use a spirit level to make sure everything sits straight. If you’re hanging more than one piece, check the spacing between each print before fixing anything permanently.
For a gallery wall, it can help to use paper templates. Tape the templates to the wall first, adjust the layout, then mark the fixing points once you’re happy.
Taking a few extra minutes at this stage can save you from uneven spacing, unnecessary holes and a finished display that doesn’t quite sit right.
Once your wall art is up, care for it in a way that suits the material.
Dust framed prints, canvas and acrylic gently with a soft cloth. Avoid abrasive cleaners, harsh chemicals or rough cloths, especially on printed or glossy surfaces.
Try not to hang wall art too close to radiators, damp areas or direct heat. If a space gets strong direct sunlight, consider whether the image, finish or position is right for long term display.
A little care will help your print stay clean, clear and ready to make an impact.
The best wall art starts with the right combination of image, format, size and placement.
Canvas can bring texture and warmth. Framed prints can create a cleaner, more polished finish. Acrylic prints can add sharpness, depth and colour. Photo tiles can help you build flexible displays and gallery walls.
Once you’ve chosen the right format, strong artwork setup and careful hanging will help the finished piece look the way you intended.
Explore Wall Art to compare the full range and find the best option for your space.
Posted on May 14, 2026 by Miller Lane-Williams
Related topics:


£37.63
£20.98
£40.55
£18.19