||

Prices


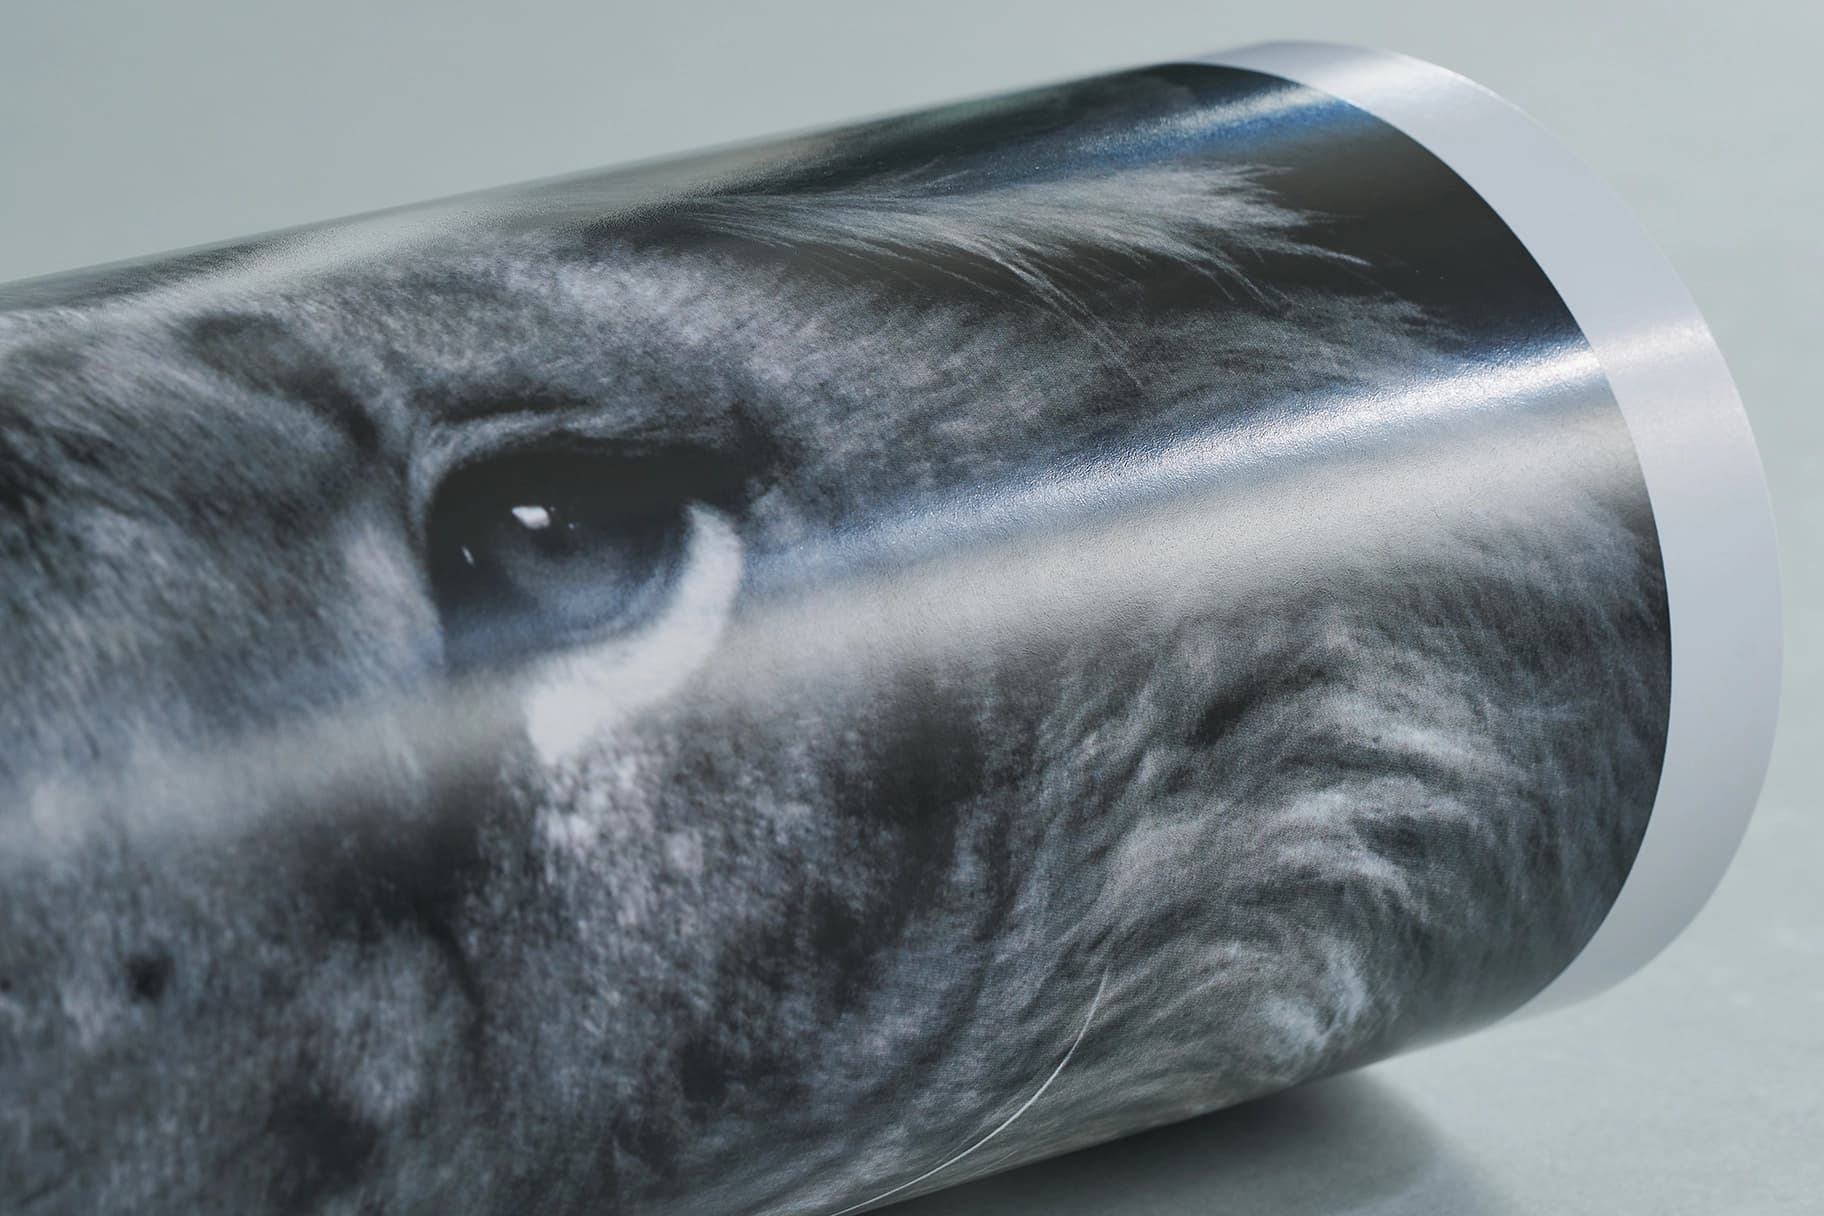
Silk paperFor a slight silk sheen to your print.
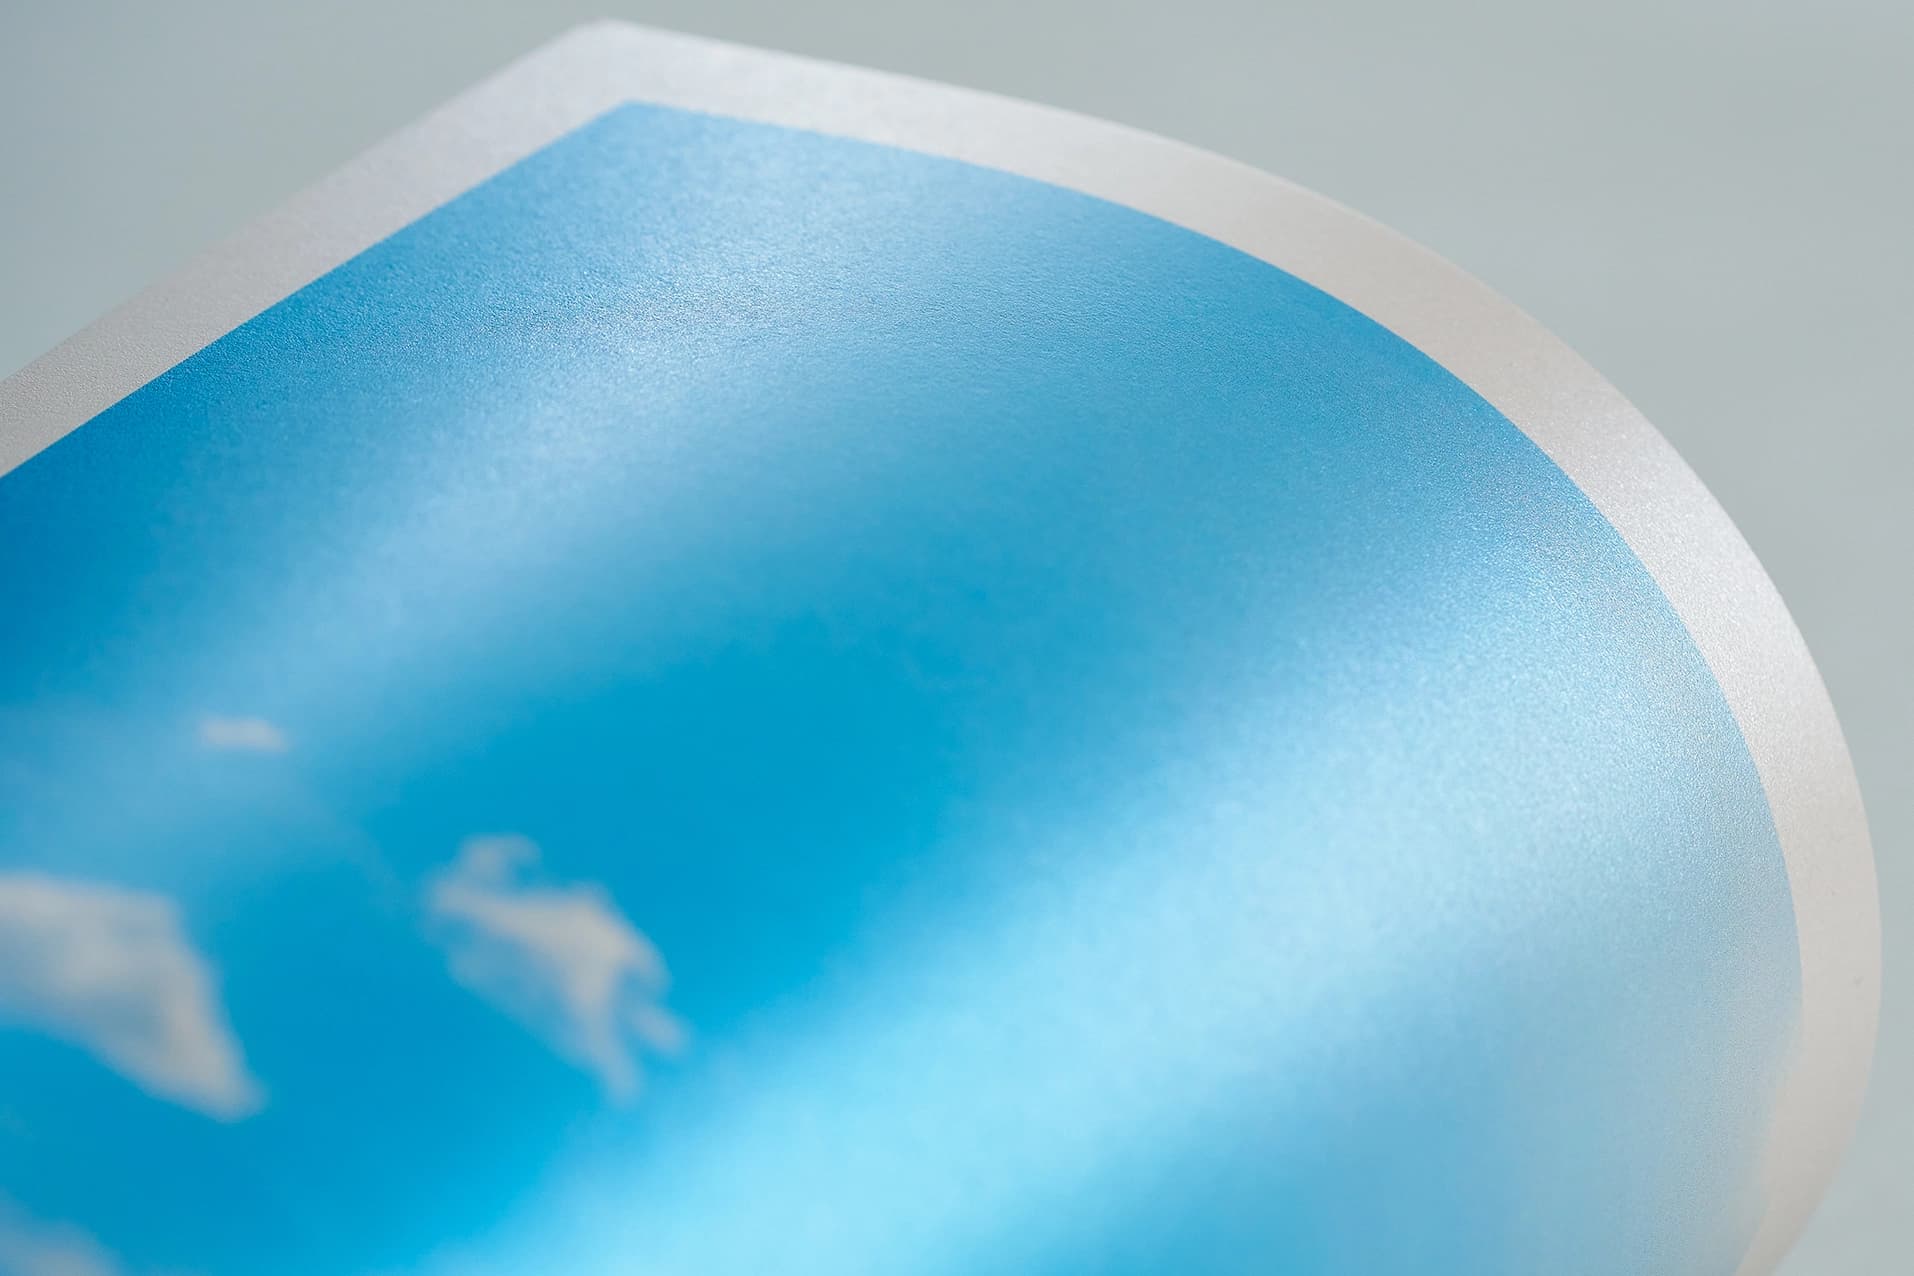
Pearl oyster paper - 300gsmA paper that gives your print a luxurious pearl shimmer.
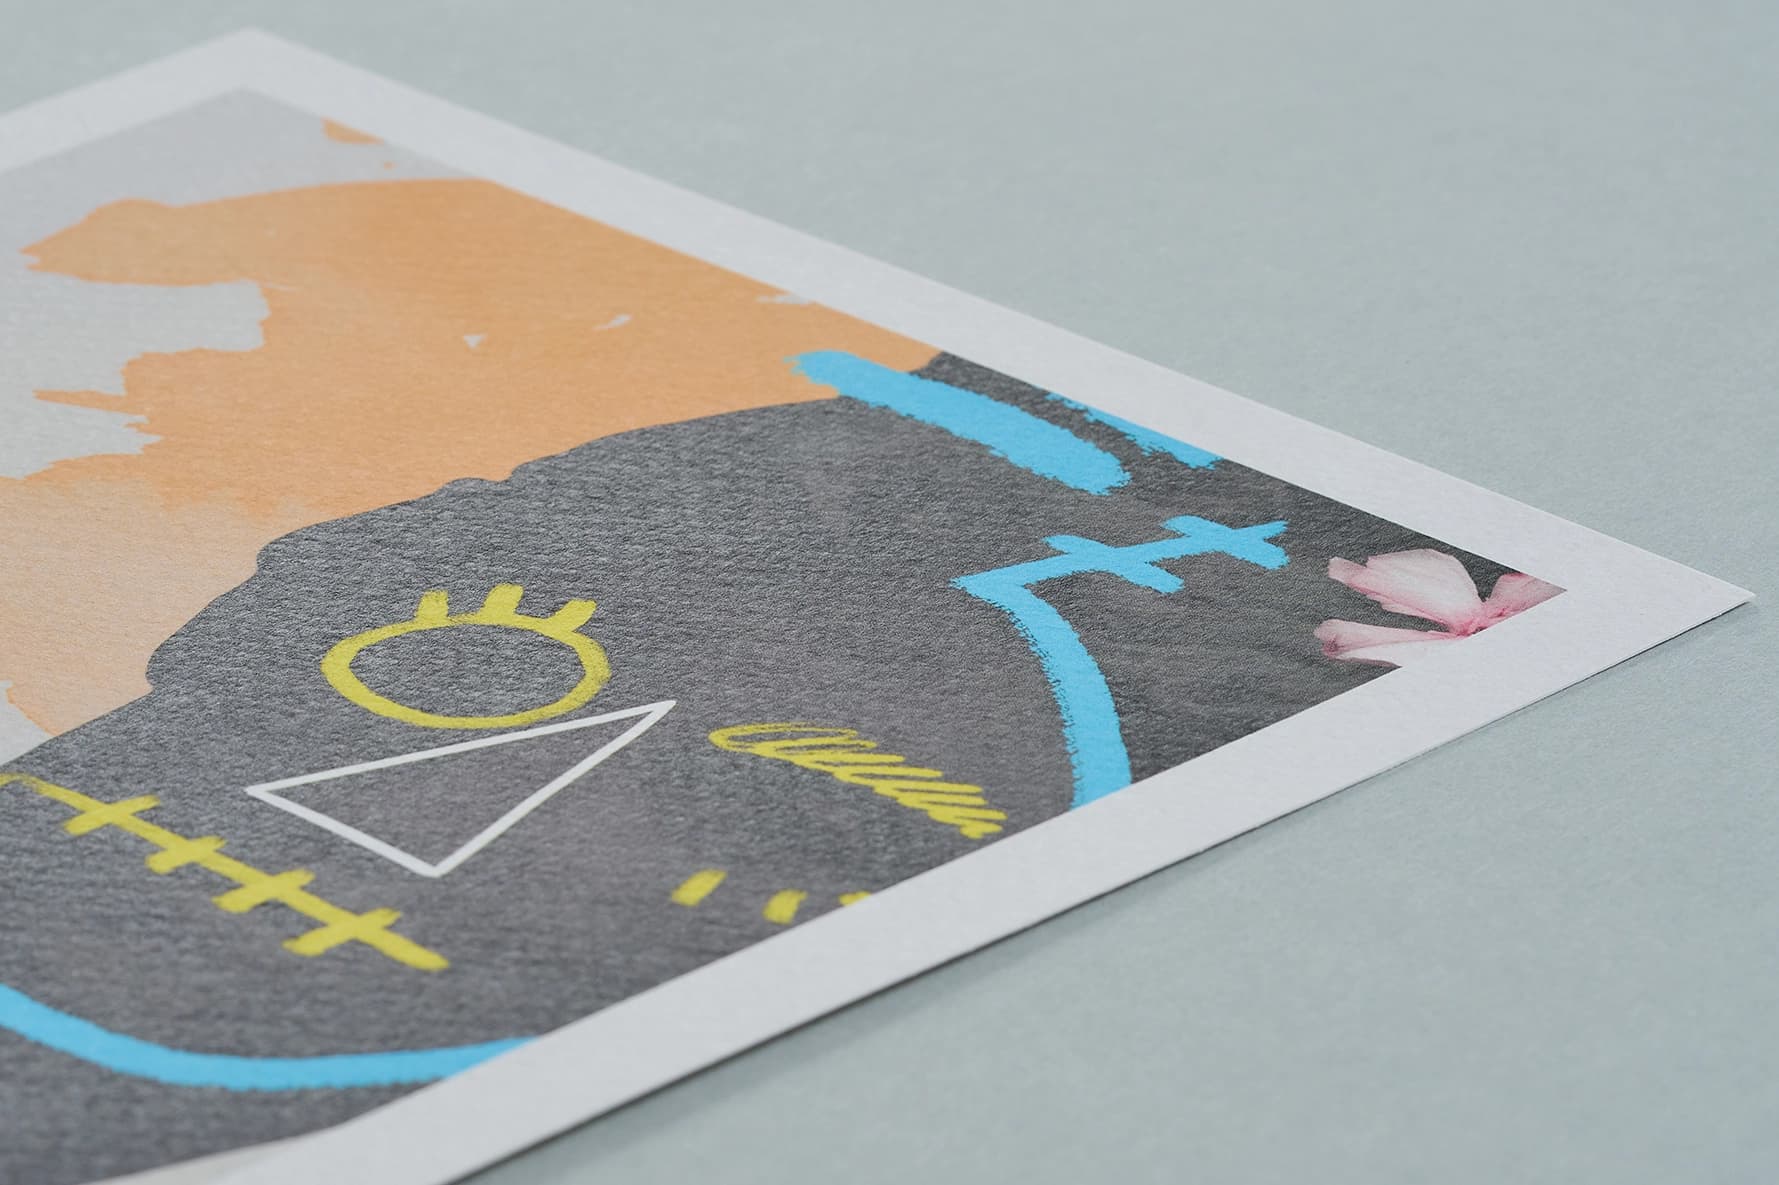
Tintoretto Gesso paper - 300gsmThis luxurious uncoated, creamy paper has a light hammered texture.
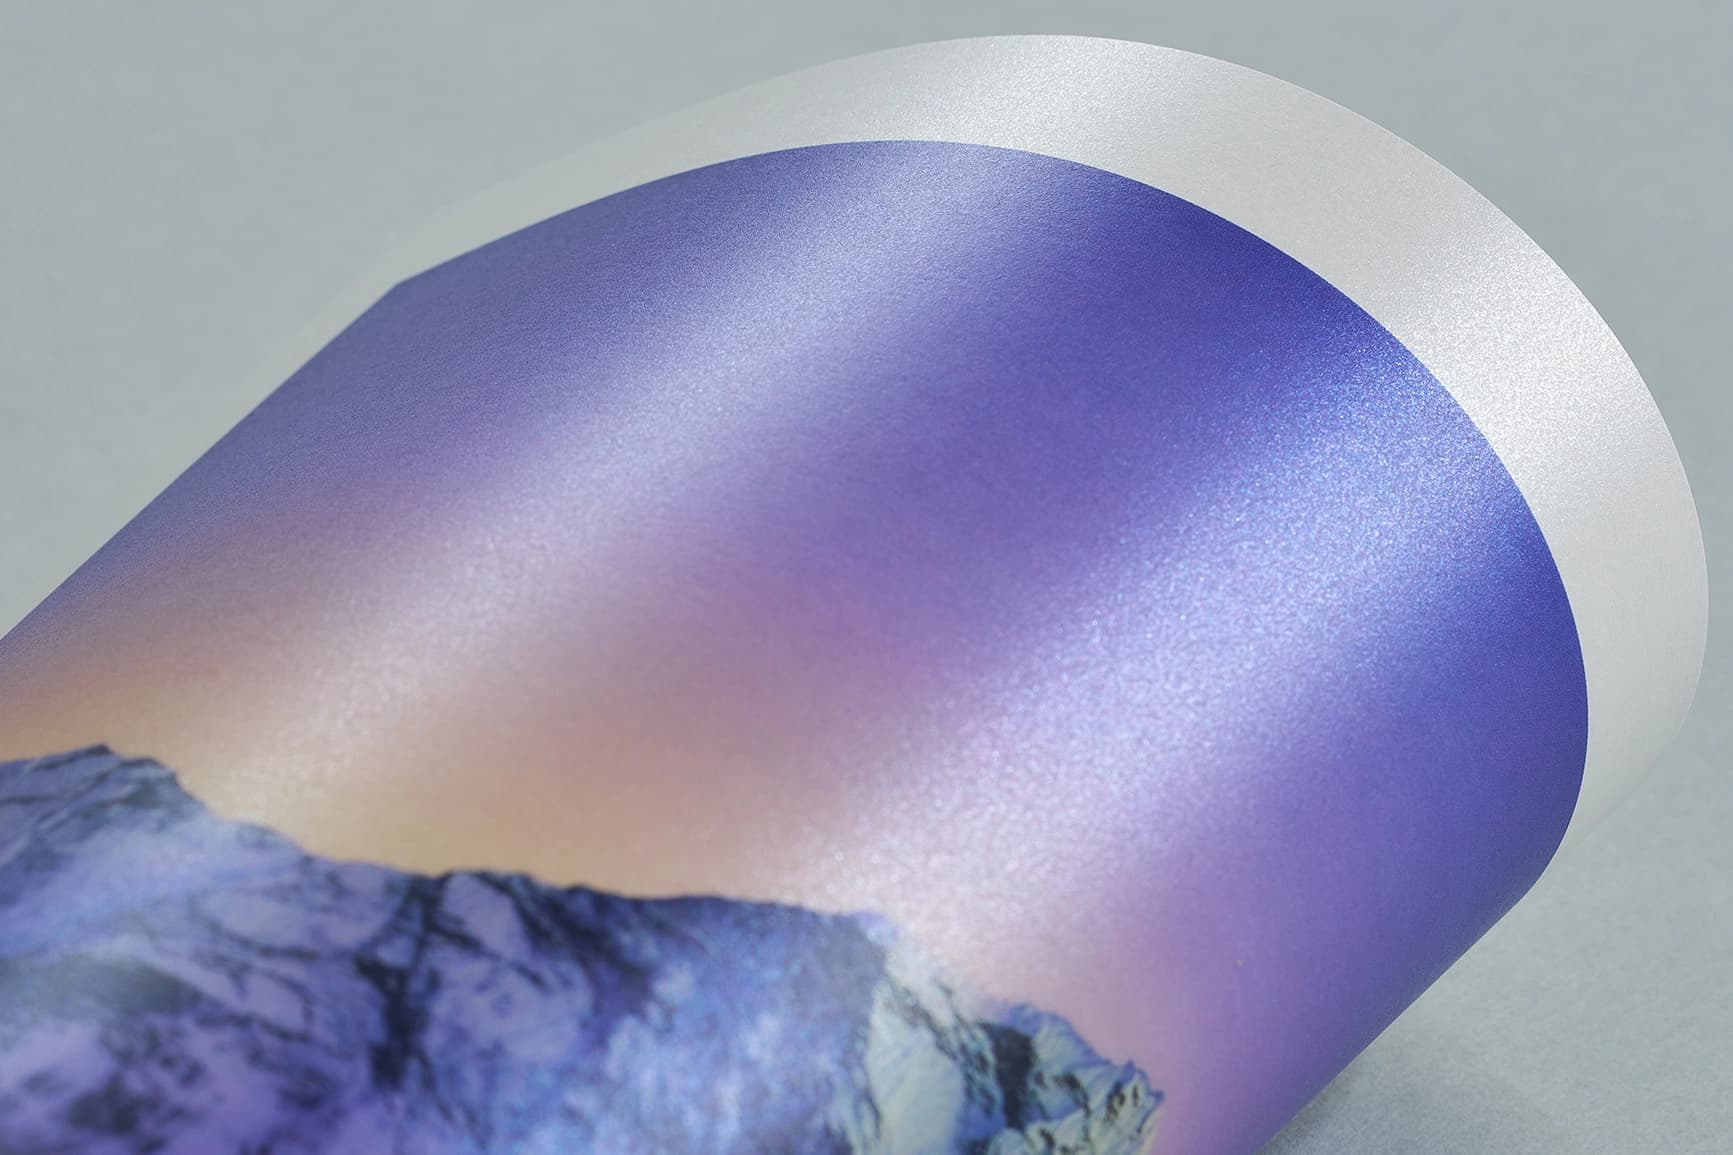
Pearl polar paper - 300gsmFor a cool white glisten finish to your print.
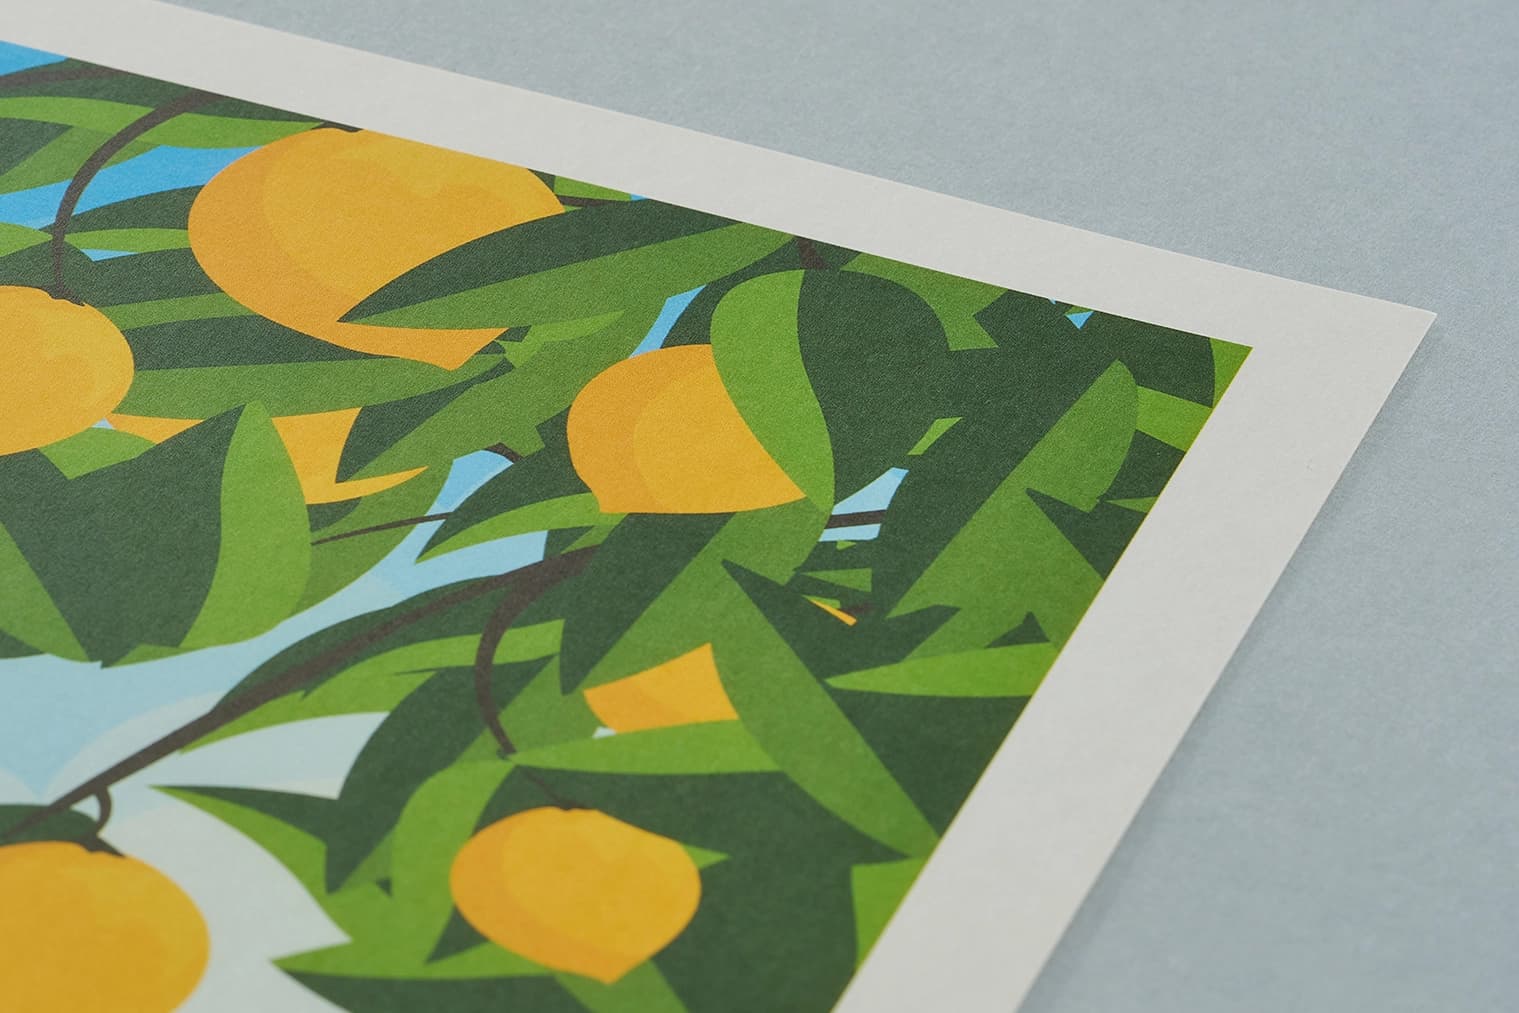
Splendorgel Avorio paper - 300gsm
 Unparalleled knowledge,
Orientation
Paper Size
Printed Sides
Paper Weight
Paper Stock
Envelopes
Quantity
Essential
23-point automated check
Free
Advanced
41-point inspection by a prepress technician
FREE if using your Print Perk Points at checkout
Order summary:
Save The Date Cards

Quantity: x25 | Orientation: Portrait | Paper Size: A5 (148 x 210mm) | Printed Sides: Single Sided | Colours: Full Colour | Paper Weight: 300gsm | Paper Stock: Silk | Envelopes: Yes |
Artwork Technical Check: Essential - FREE
Unparalleled knowledge,See what our customers say about Save The Date Cards
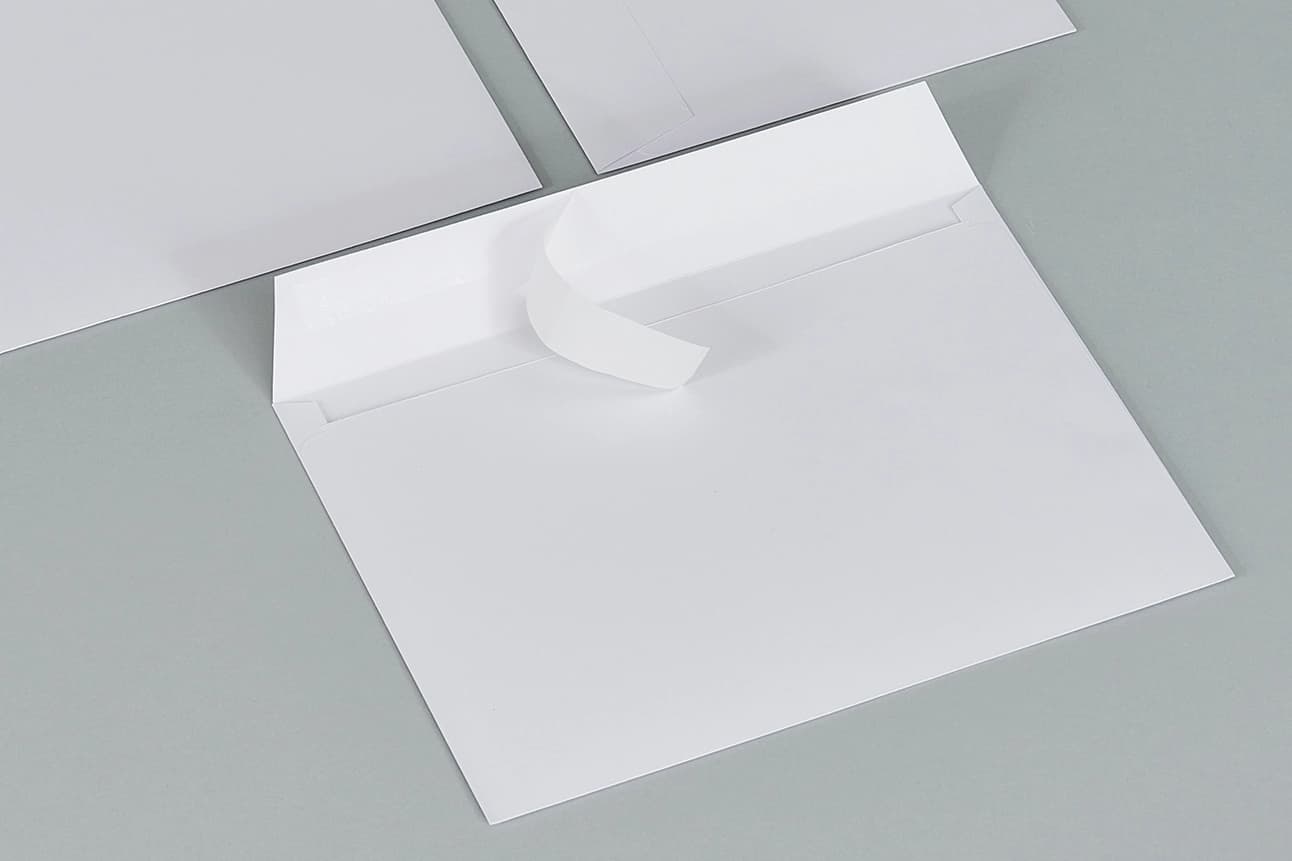
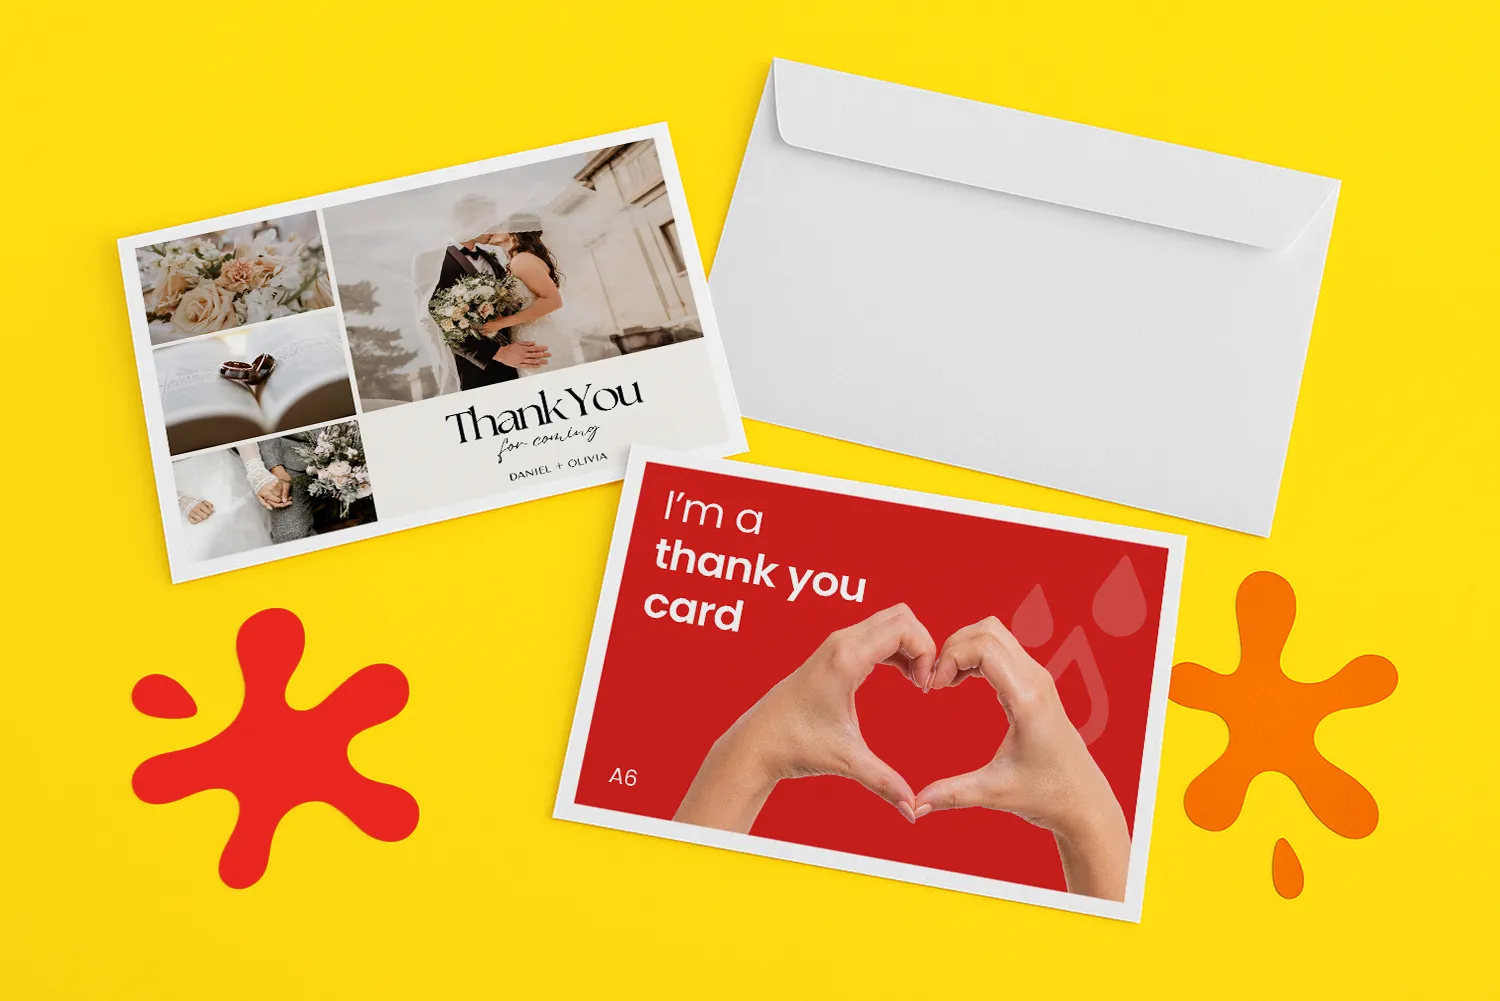
EnvelopesAdd white envelopes to your order. We'll automatically calculate the quantity and size needed for your order.
Silk paperFor a slight silk sheen to your print.
Pearl oyster paper - 300gsmA paper that gives your print a luxurious pearl shimmer.
Tintoretto Gesso paper - 300gsmThis luxurious uncoated, creamy paper has a light hammered texture.
Pearl polar paper - 300gsmFor a cool white glisten finish to your print.
Splendorgel Avorio paper - 300gsmAn ivory shade paper with a very smooth velvety surface.
EnvelopesAdd white envelopes to your order. We'll automatically calculate the quantity and size needed for your order.
Product description
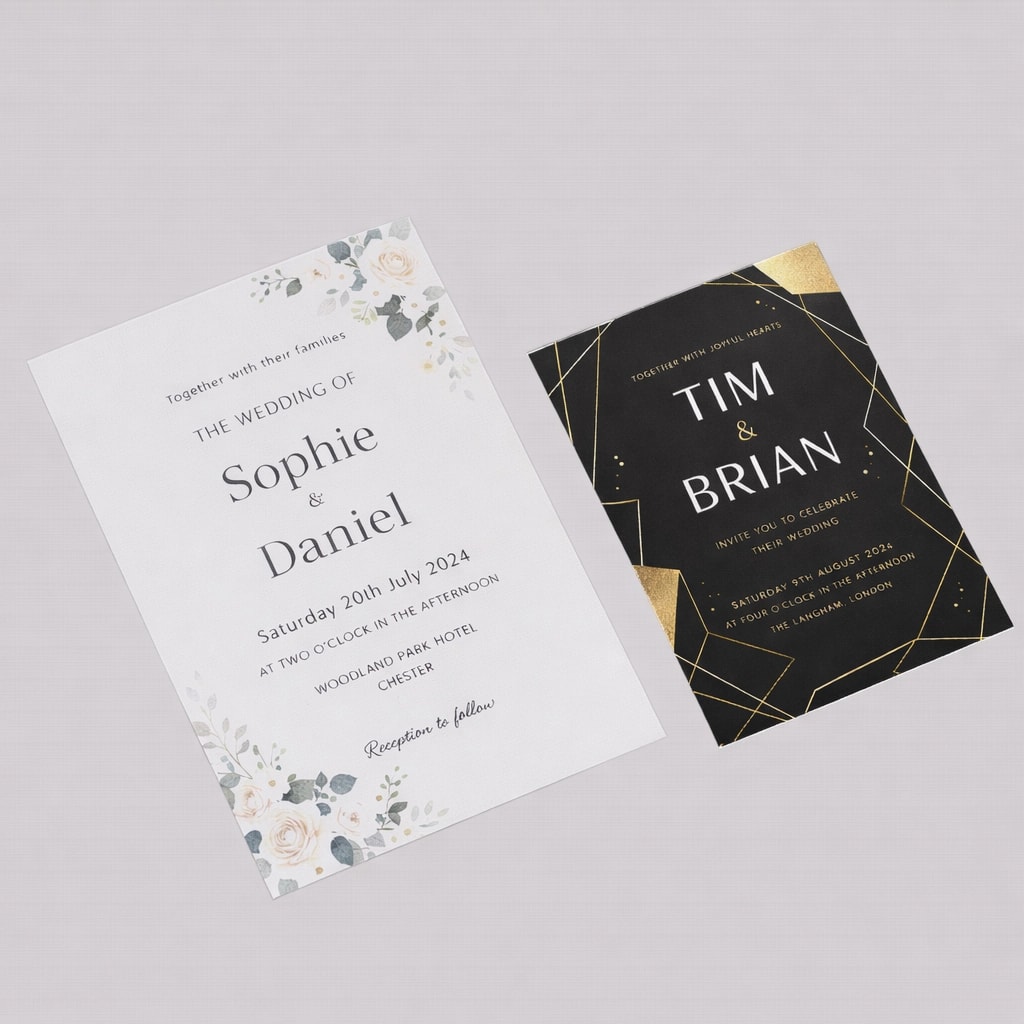
Kick off your love story with our custom Save the Date Cards, designed to capture the essence of your special day. These save the date invites serve as a beautiful announcement, letting your friends and family know to mark their calendars for your celebration of a lifetime.
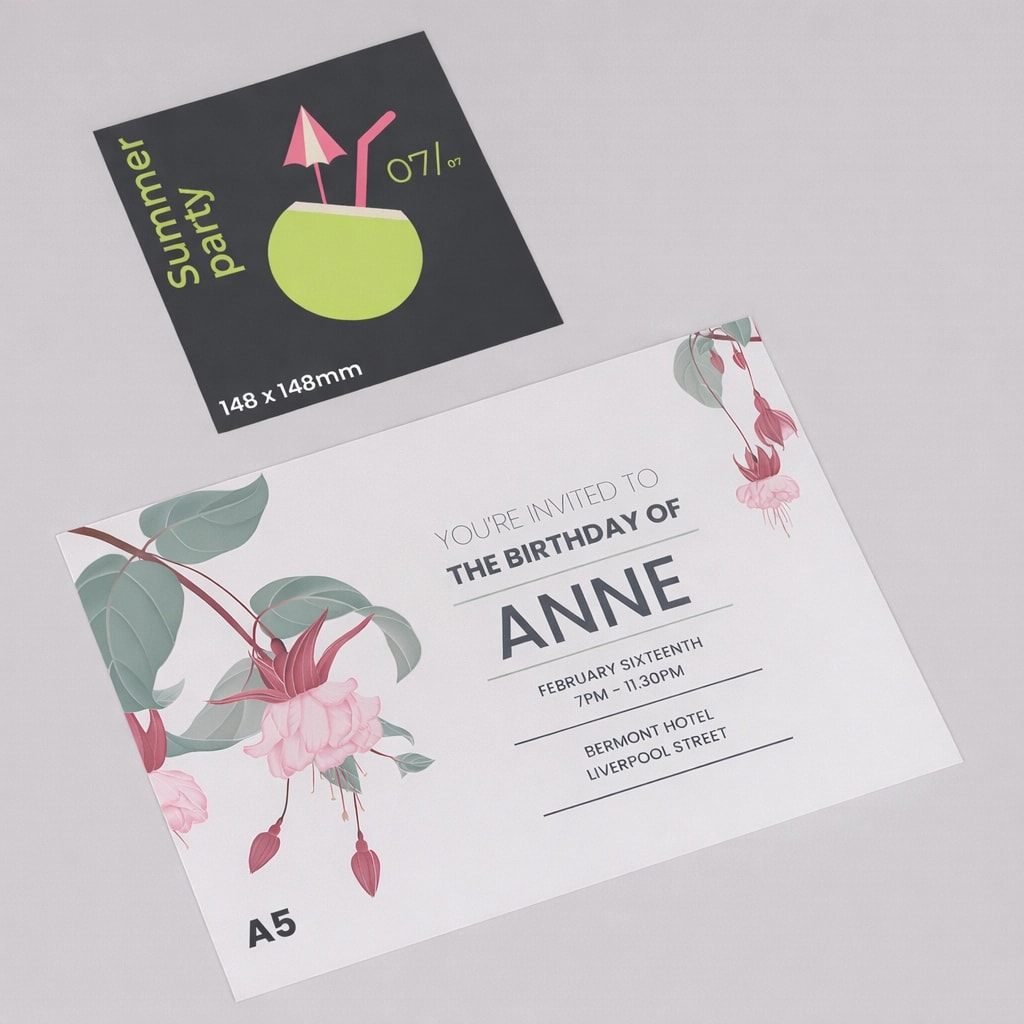
Available in A6 and A5 sizes and both portrait and landscape orientations, our wedding save the date cards are crafted from traditional stocks and premium stocks like 300gsm Sirio Polar and Tintoretto Gesso. Choose from single or double sided printing to make your own save the date cards genuinely authentic.
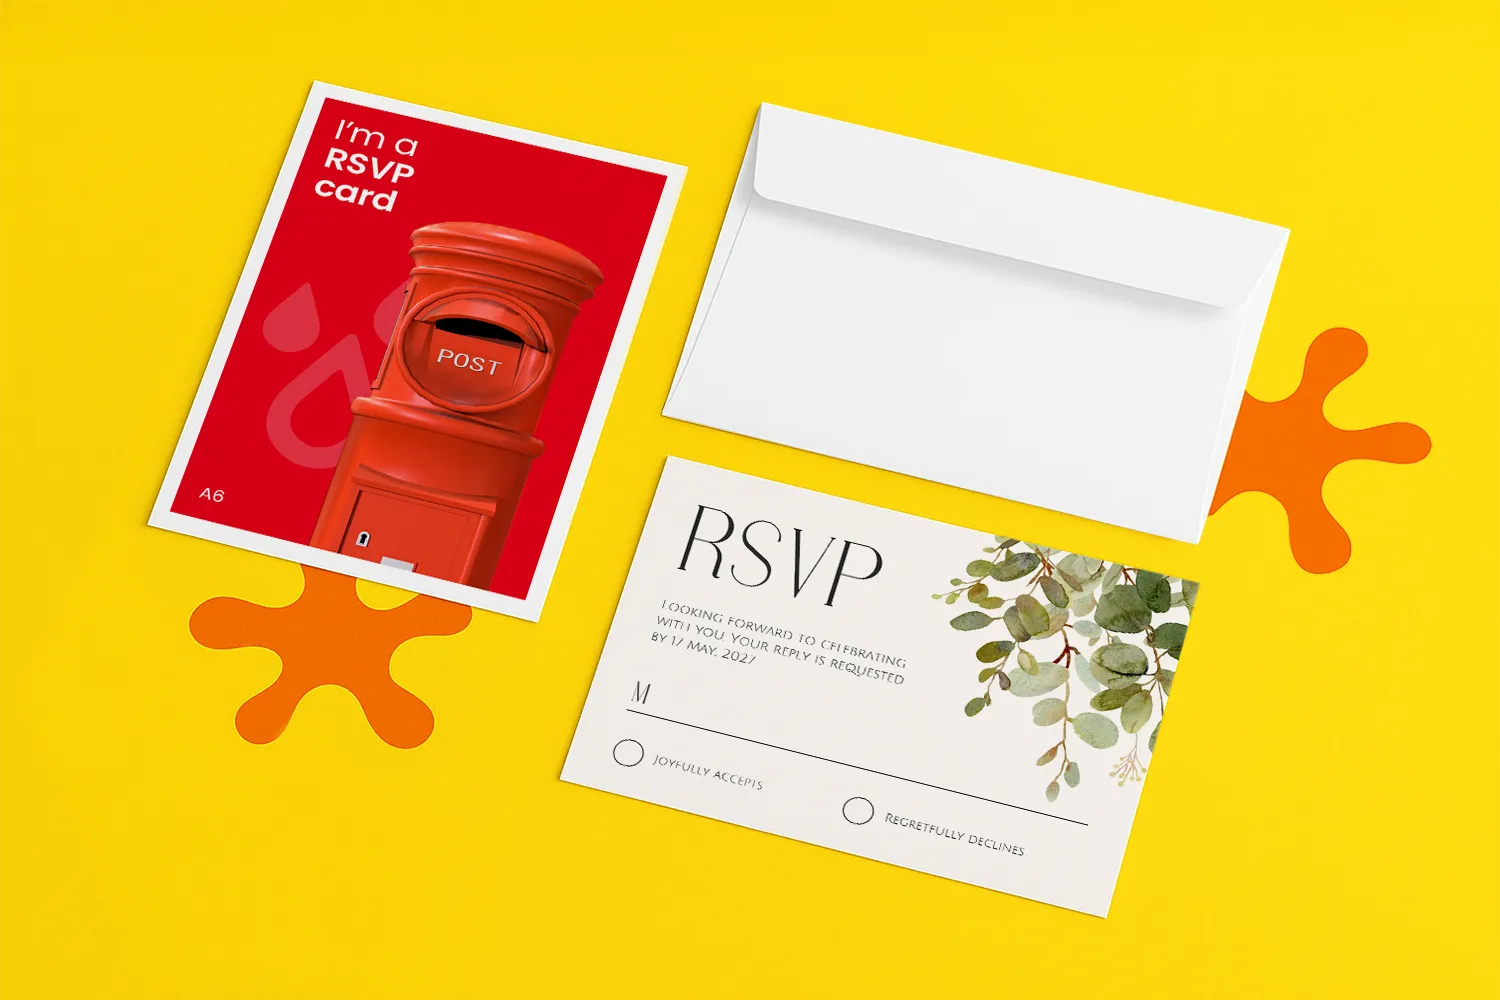
Complement your cards with optional white envelopes to create a cohesive, sophisticated look to your save the date wedding cards. Let your loved ones feel the excitement of your upcoming wedding with our save the date printing service, ensuring your save the dates are as special as the day itself.
Wedding announcements, reminders, informational cards and more.
Top tip
For a striking Save the Date card, keep the design simple yet impactful. Use bold typography for key details like your wedding date, and choose a colour scheme that matches your wedding theme to create a cohesive look from the very start.
Looking for more creative ideas to elevate celebrations? Discover our full range of printed wedding solutions.
Design guidelines
To make artwork setup simple, download the relevant template from the Production templates section above. Follow the instructions provided and remember to remove the 'Guide' layer before exporting your artwork as a PDF.
For the best printing results, ensure your artwork and images are in CMYK. If you use RGB, Pantone or spot colours, these will be converted to CMYK during production, which may affect how your colours appear in print.
To avoid font issues, make sure all fonts are embedded or converted to outlines before exporting your PDF. For readability, we recommend using a minimum font size of 10pt.
For the best print quality, aim for images between 300dpi and 450dpi at their final print size. Lower resolutions may appear blurry or pixelated, while higher resolutions can increase file sizes. Check product template for any specific requirements.
To avoid alignment issues during cutting, include crop marks with a 10mm offset and document bleed when exporting your artwork as a PDF. Refer to the relevant product template for the required bleed specifications, as these vary by product.
All artwork must be supplied as a print ready PDF. We recommend exporting in Adobe PDF (Print) format, ideally using the PDF/X 1a:2001 standard.
Need more help preparing your artwork Explore our support guides for further guidance.
Designing with Canva
We offer free Canva templates for many of our products, complete with the correct dimensions, bleed and safe zones. Where available, you'll find the Canva template in the Production templates section above, ready to open and personalise.
Once your design is complete, download it as a PDF Print file and return to our website to place your order and upload your artwork. Remember to remove any guide layers before exporting.
Need help getting started? Read our Canva template guide or explore our wider collection of Canva templates for other products.
Canva uses RGB colour mode by default, which is designed for screens rather than print. For the best printing results, make sure you select CMYK when exporting your artwork. Converting from RGB to CMYK can cause slight colour shifts, so always check your exported PDF carefully before uploading to avoid unexpected results.
Need help with colours? Read our Canva colour guide.
Use fonts of at least 10pt to maintain legibility and keep important text within the safe zone. Use images at 300dpi or higher at their final size to avoid blurry or pixelated results.
Need help with image quality? Read our artwork resolution guide or watch our YouTube tutorial on how to export Canva designs for print.
Extend backgrounds, colours and images into the bleed area to avoid unwanted white edges after trimming. Keep important text, logos and design elements within the safe zone, and follow the bleed requirements for your chosen product.
Need help setting up bleed? Read our Canva bleed setup guide.
When exporting your finished design from Canva, select PDF Print and enable 'Crop Marks and Bleed'. This ensures your artwork includes the necessary bleed for printing. Remember to remove any template guides before downloading your file.
Need help exporting your artwork? Explore our Canva Hub for further guidance, or watch our tutorial below.
Wedding day print decor ideas
Discover creative ways to elevate your wedding décor with personalised print ideas and finishing touches. Watch our Creative Print Ideas for Wedding Decor video guide for inspiration and expert tips on bringing your vision to life.
Product description
Kick off your love story with our custom Save the Date Cards, designed to capture the essence of your special day. These save the date invites serve as a beautiful announcement, letting your friends and family know to mark their calendars for your celebration of a lifetime.
Available in A6 and A5 sizes and both portrait and landscape orientations, our wedding save the date cards are crafted from traditional stocks and premium stocks like 300gsm Sirio Polar and Tintoretto Gesso. Choose from single or double sided printing to make your own save the date cards genuinely authentic.
Complement your cards with optional white envelopes to create a cohesive, sophisticated look to your save the date wedding cards. Let your loved ones feel the excitement of your upcoming wedding with our save the date printing service, ensuring your save the dates are as special as the day itself.
Wedding announcements, reminders, informational cards and more.
Top tip
For a striking Save the Date card, keep the design simple yet impactful. Use bold typography for key details like your wedding date, and choose a colour scheme that matches your wedding theme to create a cohesive look from the very start.
Looking for more creative ideas to elevate celebrations? Discover our full range of printed wedding solutions.
Design guidelines
To make artwork setup simple, download the relevant template from the Production templates section above. Follow the instructions provided and remember to remove the 'Guide' layer before exporting your artwork as a PDF.
For the best printing results, ensure your artwork and images are in CMYK. If you use RGB, Pantone or spot colours, these will be converted to CMYK during production, which may affect how your colours appear in print.
To avoid font issues, make sure all fonts are embedded or converted to outlines before exporting your PDF. For readability, we recommend using a minimum font size of 10pt.
For the best print quality, aim for images between 300dpi and 450dpi at their final print size. Lower resolutions may appear blurry or pixelated, while higher resolutions can increase file sizes. Check product template for any specific requirements.
To avoid alignment issues during cutting, include crop marks with a 10mm offset and document bleed when exporting your artwork as a PDF. Refer to the relevant product template for the required bleed specifications, as these vary by product.
All artwork must be supplied as a print ready PDF. We recommend exporting in Adobe PDF (Print) format, ideally using the PDF/X 1a:2001 standard.
Need more help preparing your artwork Explore our support guides for further guidance.
Designing with Canva
We offer free Canva templates for many of our products, complete with the correct dimensions, bleed and safe zones. Where available, you'll find the Canva template in the Production templates section above, ready to open and personalise.
Once your design is complete, download it as a PDF Print file and return to our website to place your order and upload your artwork. Remember to remove any guide layers before exporting.
Need help getting started? Read our Canva template guide or explore our wider collection of Canva templates for other products.
Canva uses RGB colour mode by default, which is designed for screens rather than print. For the best printing results, make sure you select CMYK when exporting your artwork. Converting from RGB to CMYK can cause slight colour shifts, so always check your exported PDF carefully before uploading to avoid unexpected results.
Need help with colours? Read our Canva colour guide.
Use fonts of at least 10pt to maintain legibility and keep important text within the safe zone. Use images at 300dpi or higher at their final size to avoid blurry or pixelated results.
Need help with image quality? Read our artwork resolution guide or watch our YouTube tutorial on how to export Canva designs for print.
Extend backgrounds, colours and images into the bleed area to avoid unwanted white edges after trimming. Keep important text, logos and design elements within the safe zone, and follow the bleed requirements for your chosen product.
Need help setting up bleed? Read our Canva bleed setup guide.
When exporting your finished design from Canva, select PDF Print and enable 'Crop Marks and Bleed'. This ensures your artwork includes the necessary bleed for printing. Remember to remove any template guides before downloading your file.
Need help exporting your artwork? Explore our Canva Hub for further guidance, or watch our tutorial below.
Wedding day print decor ideas
Discover creative ways to elevate your wedding décor with personalised print ideas and finishing touches. Watch our Creative Print Ideas for Wedding Decor video guide for inspiration and expert tips on bringing your vision to life.

Silk: This paper provides a smooth, slightly shiny surface that enhances vibrancy while minimising glare. Learn more.
Uncoated: This paper offers a natural, matt texture that absorbs ink for a softer print look. Learn more.
Recycled: This paper is made from 100% reclaimed FSC® certified fibre and features a natural matt finish. Learn more.
Kraft: This paper has a natural, earthy texture with a rich, brown hue, ideal for a rustic or eco-friendly look. Learn more.
Tintoretto Gesso: This paper features a lightly textured surface with an off-white colour, adding a subtle artistic touch. Learn more.
Pearl Polar: This paper provides a cool, white base with a pearlescent finish, giving prints a luxurious sheen. Learn more.
Pearl Oyster: This paper boasts a soft, warm white tone with a subtle shimmer, enhancing prints with a delicate, luminous effect. Learn more.
Yes, we offer a name personalisation option for your save the date cards. To do so, select the personalisation option and upload a print-ready PDF with an example name in the position and font required. You will also need to provide the guest names in a .CSV file, with a column for each personalised element of the card (up to 4). This file can be submitted using the contact form.
Envelopes are available as an option with our save the date cards. We can provide standard white envelopes if you choose to include them, but you also have the flexibility to source envelopes separately if you prefer a different colour or style.
Colour matching is not available on standard online orders. If your print requires a specific colour match, please submit a bespoke quote request, and our team will review your requirements.
The turnaround time for save the date card printing depends on your chosen product specification and finishing options. For faster delivery, we offer express production upgrades at an additional cost. To ensure your order is delivered on time, it is important we receive your artwork by the cut-off time indicated on both the product page and basket.
Please note: If your file is submitted after the cut-off time or if corrected artwork isn't provided before the next cut-off time following rejection, it will delay delivery by one working day.
We offer free standard delivery, with optional upgrades available for expedited service, including pre-10:30 AM and pre-12:00 PM for an additional cost.
Yes, we offer international delivery. Contact our Bespoke team for a shipping quote.
Yes, we can arrange split deliveries. Contact our Bespoke team to let us know how you'd like your order sent.
Uploading save the date artwork is a breeze. After placing your order, click the upload button on the confirmation page. You can also upload your artwork through the Orders tab of "My Account".
Most orders are sent in boxes. For larger quantities, we may secure your order on a pallet (kerbside delivery). If your location doesn’t have tail-lift access, please contact us after placing your order so we can help arrange the best delivery option. Be sure to have your order number to hand.
Silk: This paper provides a smooth, slightly shiny surface that enhances vibrancy while minimising glare. Learn more.
Uncoated: This paper offers a natural, matt texture that absorbs ink for a softer print look. Learn more.
Recycled: This paper is made from 100% reclaimed FSC® certified fibre and features a natural matt finish. Learn more.
Kraft: This paper has a natural, earthy texture with a rich, brown hue, ideal for a rustic or eco-friendly look. Learn more.
Tintoretto Gesso: This paper features a lightly textured surface with an off-white colour, adding a subtle artistic touch. Learn more.
Pearl Polar: This paper provides a cool, white base with a pearlescent finish, giving prints a luxurious sheen. Learn more.
Pearl Oyster: This paper boasts a soft, warm white tone with a subtle shimmer, enhancing prints with a delicate, luminous effect. Learn more.
Yes, we offer a name personalisation option for your save the date cards. To do so, select the personalisation option and upload a print-ready PDF with an example name in the position and font required. You will also need to provide the guest names in a .CSV file, with a column for each personalised element of the card (up to 4). This file can be submitted using the contact form.
Envelopes are available as an option with our save the date cards. We can provide standard white envelopes if you choose to include them, but you also have the flexibility to source envelopes separately if you prefer a different colour or style.
Colour matching is not available on standard online orders. If your print requires a specific colour match, please submit a bespoke quote request, and our team will review your requirements.
The turnaround time for save the date card printing depends on your chosen product specification and finishing options. For faster delivery, we offer express production upgrades at an additional cost. To ensure your order is delivered on time, it is important we receive your artwork by the cut-off time indicated on both the product page and basket.
Please note: If your file is submitted after the cut-off time or if corrected artwork isn't provided before the next cut-off time following rejection, it will delay delivery by one working day.
We offer free standard delivery, with optional upgrades available for expedited service, including pre-10:30 AM and pre-12:00 PM for an additional cost.
Yes, we offer international delivery. Contact our Bespoke team for a shipping quote.
Yes, we can arrange split deliveries. Contact our Bespoke team to let us know how you'd like your order sent.
Uploading save the date artwork is a breeze. After placing your order, click the upload button on the confirmation page. You can also upload your artwork through the Orders tab of "My Account".
Most orders are sent in boxes. For larger quantities, we may secure your order on a pallet (kerbside delivery). If your location doesn’t have tail-lift access, please contact us after placing your order so we can help arrange the best delivery option. Be sure to have your order number to hand.