Prices
Photos can sit on phones, laptops and cloud storage for years without ever being properly seen. A printed photo book gives them a place to live, whether you’re creating a wedding album, family keepsake, travel book, photography portfolio or visual look book for your business.
A good photo book isn’t just about choosing your favourite images. The final result depends on the binding, paper stock, cover finish, image resolution, layout and artwork setup. Get those decisions right and your photo book will feel polished, professional and made to last.
This guide walks through the main things to think about before printing a photo book, from choosing the right format to preparing your artwork for print.
A photo book is a printed book where photography is the main focus. It might include captions, dates, names, short stories or project notes, but the images are usually the star of the layout.
Unlike a traditional photo album, where individual prints are placed into sleeves or stuck onto pages, a photo book has the images printed directly onto the paper. This gives the book a cleaner, more professional finish and makes it easier to create full page images, double page layouts, captions and consistent design throughout.
Photo books can be personal, professional or promotional. They’re often used for weddings, holidays, family memories, milestone birthdays and celebrations, but they can also work brilliantly for photographers, designers, artists, property companies, interior brands and creative studios.
A printed photo book gives your images more presence than a digital gallery. It turns a collection of photos into something physical, structured and easy to share.
For personal projects, a photo book can help tell the story of a moment, place or event. For professional projects, it can make your work feel more tangible and premium. A printed portfolio, look book or brand book gives clients something they can hold, browse and come back to.
Photo books are especially useful when you want to:
The key is choosing a format that suits how the book will be used.
The best binding depends on the style of your photo book, the number of pages and how premium you want the finished piece to feel.
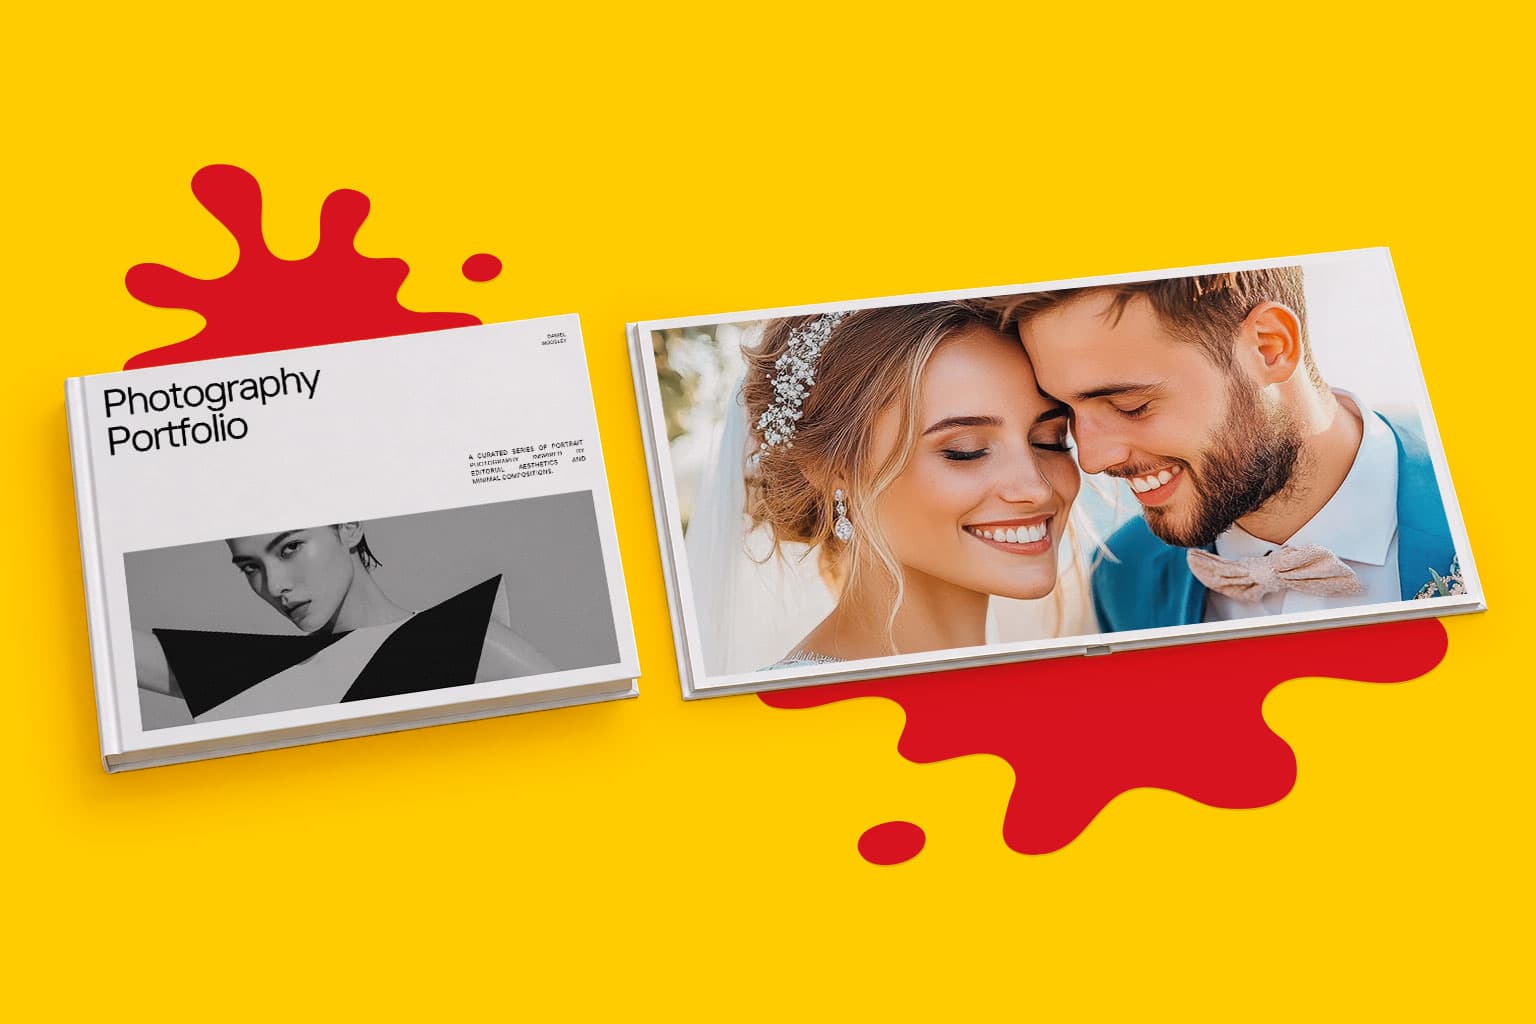
For most image led books, layflat binding is one of the strongest options because the pages open flat and allow images to flow across a full spread. This makes it ideal for landscape photography, wedding images, panoramic shots, portfolios and any design where you want the image to continue across two pages.
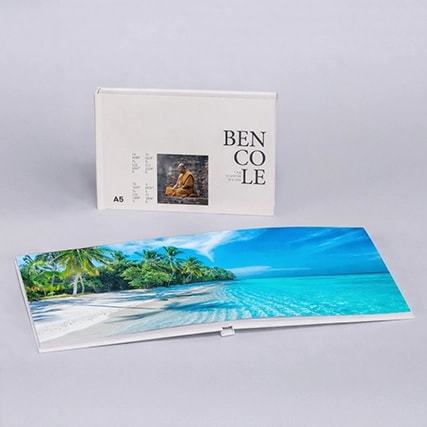
A Softcover Layflat Photo Book is a great choice when you want the impact of layflat pages in a lighter, more flexible format. It works well for portfolios, keepsakes, look books, travel photo books and event books.
A Hardcover Layflat Photo Book is better suited to projects that need a more premium and durable finish, such as wedding albums, luxury portfolios, presentation books, anniversary gifts and high value client work.
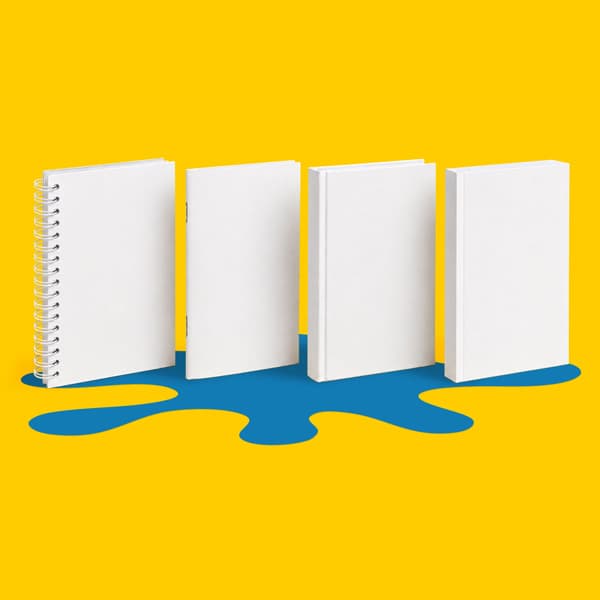
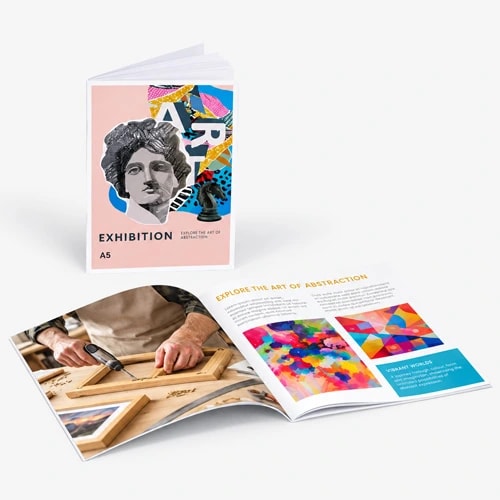
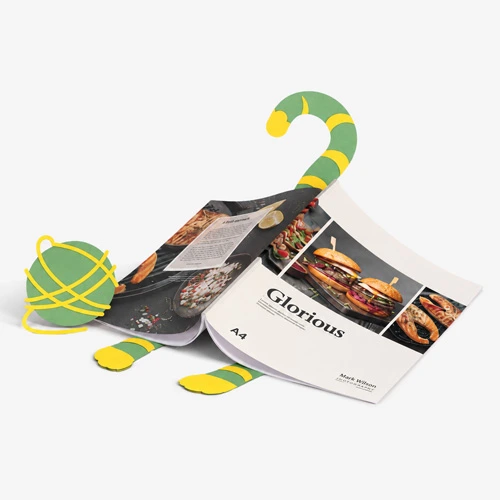
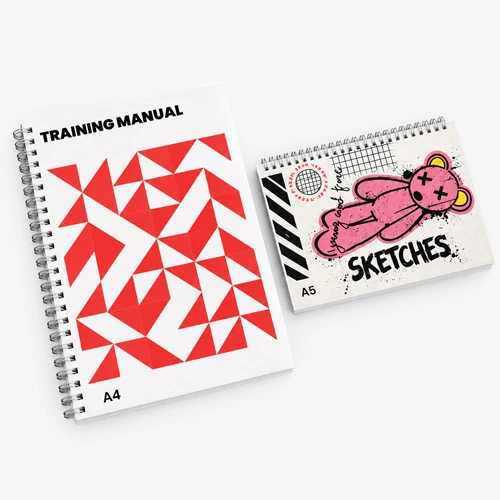
Other book formats can also work for photo based projects. Saddle Stitched Books are useful for short photo booklets, event handouts, mini portfolios and lower page count look books. Perfect Bound Books are better for thicker visual books where you want a square spine, such as catalogues, creative publications or image led reports. Wiro Bound Books can be useful for practical visual documents, sample books, project notes or books that need to stay open easily while being used.
If you’re not sure which format suits your project, the Book Super Centre is a useful place to compare binding types, sizes, finishes and print options before you begin.
Layflat binding is popular for photo books because it lets the pages lie flat when open. This helps create a cleaner viewing experience, especially when a photo stretches across a double page spread.
With standard binding, part of an image can disappear into the centre of the book. This is known as the gutter. For text heavy books, that might not be a major issue. For photography, it can make a big difference, especially if faces, landscapes, buildings or important details sit near the centre fold.
Layflat photo books reduce that problem by allowing the spread to open cleanly. This makes them a strong choice for:
If your photo book relies on strong visual impact, layflat is usually worth considering.
The choice between softcover and hardcover depends on how the book will be handled, stored and presented.
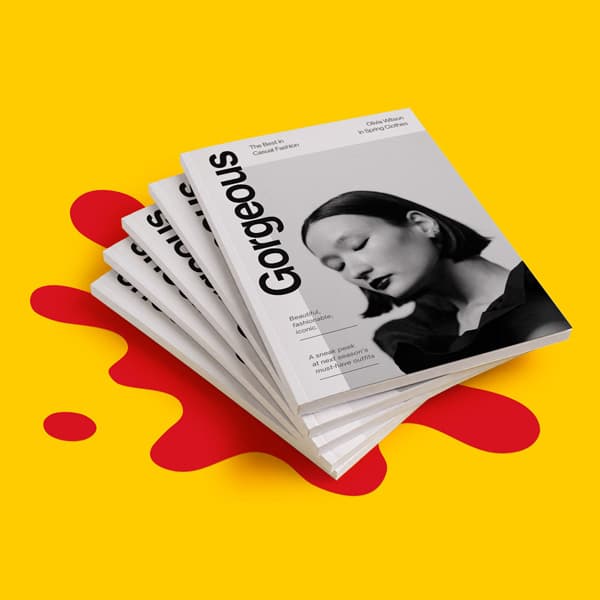
Softcover photo books are lighter and more flexible. They’re a good choice for creative portfolios, look books, travel books, family albums and projects where you want a professional finish without the extra weight of a hard cover. They can still feel polished, especially with the right paper and cover lamination.
Hardcover photo books feel more substantial. The rigid cover gives the book a sturdier finish, making it better suited to premium albums, wedding books, luxury gifts, important presentations and books that are likely to be kept for a long time.
Think about the purpose of the book. If it’s a personal keepsake or everyday portfolio, softcover may be ideal. If it’s a wedding album, high end presentation or premium client piece, hardcover may give the project the extra weight and presence it needs.
A strong photo book starts with strong image selection. You don’t need to include every photo you have. In fact, a shorter, more carefully edited book often feels more professional than one that tries to include too much.
Start by choosing the images that tell the story clearly. For a wedding photo book, that might mean building a natural flow from getting ready to the ceremony, portraits, speeches and evening celebration. For a travel photo book, it might mean grouping images by location, journey or mood. For a portfolio, it might mean organising work by project, client, style or service.
Try to include a mix of image types. Wide shots set the scene, close ups add detail and portraits bring personality. A good photo book usually has rhythm, with some pages kept simple and others used for bigger moments.
Before you finalise your selection, remove duplicate images, blurry shots and photos that don’t add anything to the story. The best photo books feel edited, not overloaded.
Image quality is one of the biggest factors in photo book printing. A photo that looks fine on a phone screen may not always work well when printed at a larger size.
For the best result, use the original image file wherever possible. Avoid screenshots, images saved from social media and heavily cropped photos, as these can look pixelated or soft in print.
As a general print target, images should be at least 300dpi at the size they’ll be printed. This is especially important for full page images and double page spreads. If an image is small, don’t stretch it too far across the page. Use it as a smaller feature image instead, or pair it with other photos in a collage style layout.
Before sending your file to print, check:
A little time spent checking image quality can make a big difference to the finished book.
Paper stock affects how your images look and feel. It can change colour, contrast, texture and the overall mood of the book.
Silk paper is a versatile choice for photo books because it gives a smooth finish with strong colour reproduction while avoiding the very high shine of gloss. It works well for mixed layouts where you have photography, captions and blocks of text.
Gloss paper can make images look more vivid and punchy. It’s useful for bright photography, colourful travel images, product photography and designs where you want extra shine and contrast.
Uncoated paper has a softer, more natural feel. It can work well for editorial style photo books, art projects, documentary photography and books where you want a more understated finish. Colours may feel softer than they would on a coated stock, but that can be part of the appeal.
There isn’t one paper choice that’s right for every photo book. A bright commercial look book may suit a coated stock, while a personal memory book or art photography project may benefit from a softer finish. The Print Materials Hub can help you compare paper types and understand how each material affects colour, texture and image quality.
The cover sets the tone before anyone turns the first page. It’s worth thinking about both the image you choose and the finish you apply.
Matt lamination gives the cover a softer, more refined look. It’s a popular choice for photography books, portfolios and premium personal projects because it reduces shine and keeps the finish understated.
Gloss lamination gives the cover more shine and contrast. It can work well for colourful covers, bold photography and books that need a more vibrant finish.
Soft touch lamination adds a smooth, tactile feel. It’s a good option when you want the cover to feel more premium and polished.
You can also use special finishes such as Scodix gold foil, Scodix silver foil or Spot UV on selected cover details. These finishes work best when used with restraint, such as on a title, date, initials, logo or small design accent. They can help turn a simple photo book cover into something more memorable.
A good layout helps your photos feel intentional. It doesn’t need to be complicated, but it should guide the reader through the book clearly.
Start with a simple structure. For a personal photo book, that might mean telling the story in chronological order. For a portfolio, it might mean grouping work by project. For a brand or product book, it might mean moving from overview shots into details, lifestyle images and closing pages.
Give important images room to breathe. Not every page needs a collage. A single strong image on a page can often have more impact than several smaller photos competing for attention.
Think carefully about double page spreads. If you’re using layflat binding, large images can work beautifully across two pages. If you’re using another binding type, keep important details away from the centre fold so they don’t get lost in the gutter.
Try to keep margins, captions and spacing consistent throughout the book. Small design details like this help the finished piece feel more professional.
Good photo book layouts often include:
The aim is to make the book easy to follow without overdesigning it.
Once your design is ready, the artwork setup matters. A professional photo book needs a print ready file, not just a design that looks right on screen.
Set up your document at the correct finished size before you begin designing. Use the relevant product template where available, as this will help you place your artwork, bleed and safe areas correctly.
If any images, colours or backgrounds go to the edge of the page, you’ll need bleed. Bleed is the extra artwork that extends beyond the trim edge, helping prevent unwanted white borders after cutting.
You should also keep important details away from trim edges and folds. This includes faces, captions, page numbers, logos and small text.
Before uploading your artwork, check:
For extra reassurance, Artwork Technical Checks can help flag common file issues before your photo book goes to production. You can also use the Support Guides and Print Ready PDF Guide for more detailed file setup advice.
Most photo book problems can be avoided before the file is sent to print. The most common issues usually come from image quality, layout setup or choosing the wrong format for the design.
Avoid using low resolution images for large print areas. If a photo is too small, it may look soft or pixelated when printed. Screenshots and social media downloads are especially risky.
Be careful with the centre fold. If you’re not using layflat binding, avoid placing faces, text or important details across the middle of a spread. Even with layflat, it’s still worth checking that the layout feels natural when the book is open.
Don’t crowd every page. White space can make a photo book feel more premium and easier to read. A busy layout can make strong images feel weaker.
Always proofread captions, names, dates and locations. A typo in a photo book can be frustrating, especially if the book is being given as a gift or used as a professional portfolio.
Finally, don’t leave artwork setup until the end. Size, bleed, margins and export settings should be considered from the beginning, not fixed in a rush just before upload.
Photo books can work for far more than family albums. They’re a flexible format for personal memories, creative work and business presentation.
Wedding photo books A layflat photo book is ideal for wedding photography because it allows large images and full spreads to feel more seamless. Hardcover is often the stronger option for premium albums, while softcover can work well for parent books, smaller keepsakes or additional copies.
Family photo books Family photo books are perfect for birthdays, anniversaries, holidays, school years and milestone moments. A simple structure and a mix of candid shots, portraits and detail images can make the book feel warm and personal.
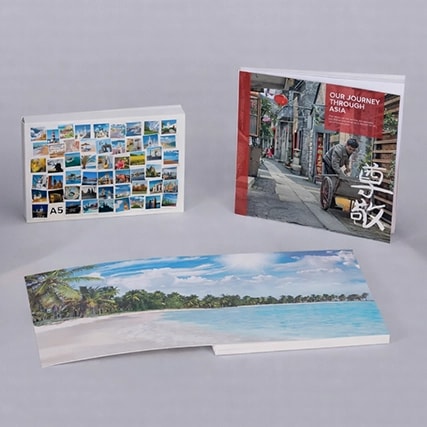
Travel photo books Travel books work well when they’re built around place and atmosphere. Use wide landscape shots, maps, detail images, food photos, architecture and short captions to tell the story of the trip.
Photography portfolios For photographers, a printed portfolio can help show range, quality and style in a way that feels more memorable than a screen. Group images by project or service, and give your strongest images enough space to stand out.
Property and interiors books Estate agents, architects, interior designers and property developers can use photo books to present spaces in a more premium format. Layflat spreads are especially useful for wide interior shots and project case studies.
Product and brand look books Photo books can help brands showcase collections, campaigns, seasonal ranges and lifestyle imagery. They’re useful for client meetings, press packs, wholesale presentations and launch events.
Memorial and celebration books A printed photo book can bring together memories, messages and meaningful images in a lasting format. These books often benefit from a simple layout, clear chronology and a softer paper or cover finish.
A photo book works best when every choice supports the images. The binding affects how the book opens, the paper affects how the photos look, the cover finish affects the first impression and the artwork setup affects the final print quality.
Whether you’re creating a personal keepsake, a wedding album, a creative portfolio or a premium presentation book, professional print can help your images feel finished, lasting and worth sharing. With WTTB’s Book Super Centre, you can compare formats, papers, finishes and binding options in one place, making it easier to choose the right route for your photo book and bring your images together in a way that feels polished, purposeful and ready to be enjoyed.
Layflat binding is usually one of the best options for a photo book because the pages open flat and allow images to flow more cleanly across a spread. It’s especially useful for wedding albums, portfolios, panoramic photography, travel books and premium keepsakes.
Layflat books are often better for image led projects because they reduce the interruption at the centre of the spread. This means large photos, landscapes and full spread designs can be viewed more clearly when the book is open.
Choose a softcover photo book if you want something lighter, flexible and professional. Choose a hardcover photo book if you want a sturdier, more premium finish for a wedding album, luxury keepsake or important client presentation.
As a general guide, photos should be at least 300dpi at the size they’ll be printed. This is especially important for full page images and double page spreads. Original image files usually give better results than screenshots or images saved from social media.
Yes, phone photos can work well in a printed photo book if the original image files are high quality. Avoid screenshots, heavily cropped images and photos downloaded from social media, as these may not have enough detail for print.
Silk paper is a strong all round choice for photo books because it gives smooth colour reproduction and a professional finish. Gloss can work well for vivid, high contrast images, while uncoated paper gives a softer, more natural look.
Yes, you’ll usually need bleed if images, colours or backgrounds run to the edge of the page. Bleed helps prevent unwanted white borders after trimming and gives your finished photo book a cleaner result.
Yes, you can design a photo book layout in Canva, but you’ll need to set it up correctly for print. Use the correct size, add bleed, check image quality and export the finished file as a PDF Print file with crop marks and bleed where required.
Yes, photo books work well as professional portfolios for photographers, designers, artists, property companies, interior brands and creative businesses. A printed portfolio can help your work feel more premium and memorable in meetings, pitches and client presentations.
Posted on June 19, 2026 by Emma Thompson
Related topics:
£51.01
£117.25
£61.61