Prices
Comics are one of the most flexible ways to tell a story. They can be funny, dramatic, educational, personal, political, experimental or completely fictional. They can work as short single issues, collectable editions, illustrated stories, graphic novels, zines or independent art projects.
They’re also a format that continues to grow. According to the Society of Authors, graphic novel sales in the UK tripled between 2019 and 2024, showing how much appetite there is for visual storytelling in print.
But a comic book doesn’t only need a good idea. It needs structure, pacing, artwork, readable text and a print format that supports the way people will hold, read and keep it.
This guide walks through how to create a comic book, from planning your story to setting up your artwork and choosing the right print option.
Before you start sketching panels or writing dialogue, think about what your comic needs to do.
Is it a short story, a first issue, a full graphic novel, a children’s comic, a manga inspired book, a zine, a portfolio piece or a limited edition print project? Each route can affect the length, page size, binding, paper and finish you choose later.
It also helps to think about your reader. A comic for young children may need larger text, simpler layouts and more durable paper. A collector edition may need a premium cover finish. A small indie comic may suit a lighter, more tactile feel. A graphic novel or anthology may need a thicker spine and a more book like finish.
The earlier you think about the finished product, the easier it is to make creative choices that work on paper.
Comic books can take many forms, so there isn’t one right way to create one. The best format depends on the story, page count, budget and how you want the finished book to feel.
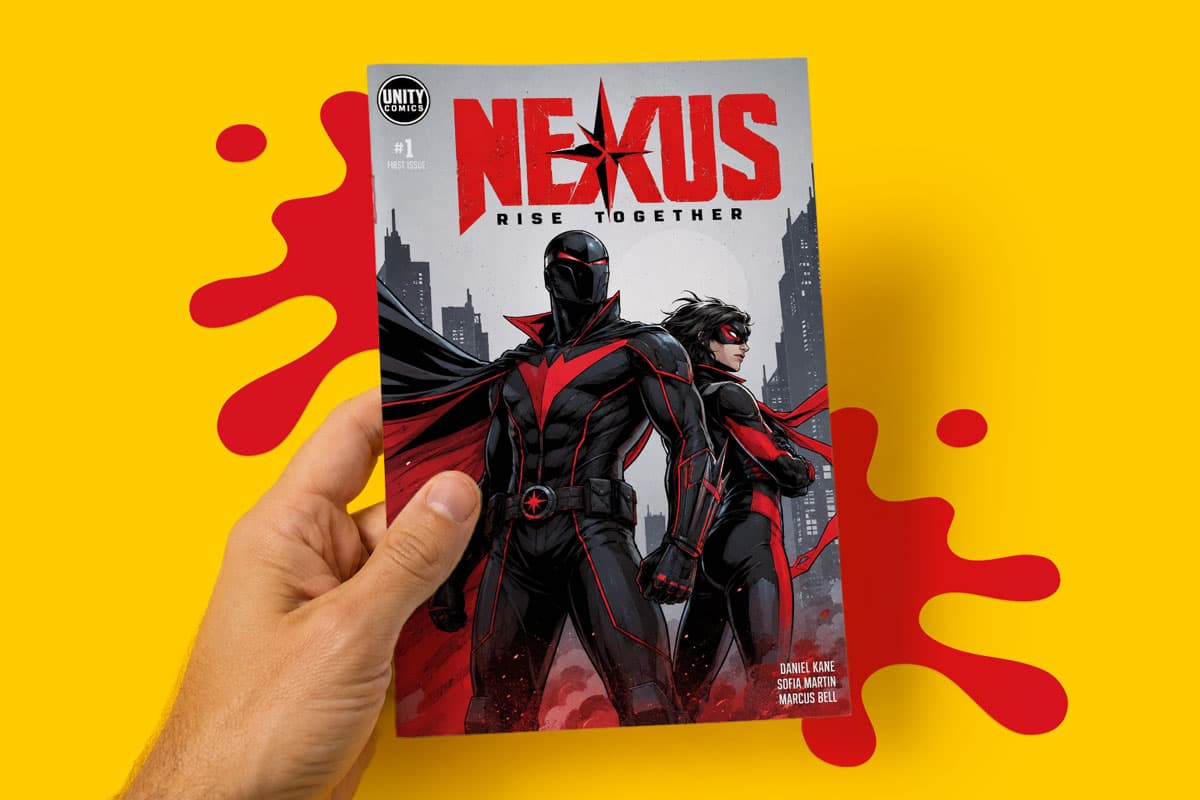
A single issue comic is usually shorter, lightweight and easy to distribute. This can work well for first issues, short stories, event comics, limited runs or promotional projects.
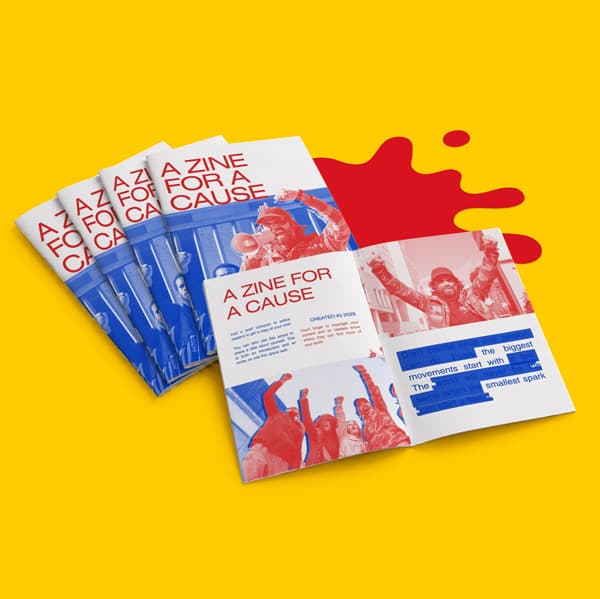
A mini comic or zine style comic can feel more independent and personal. These often work well for artists, illustrators, students, campaign groups and small creative projects.
A graphic novel is usually longer and more substantial. It may suit a complete story, collected series, illustrated novel or premium visual publication.
A children’s comic needs to be easy to read, easy to handle and clear on the page. Layout, type size and paper choice all matter.
A collected edition brings several issues or chapters together in one finished publication. This often needs a stronger binding option and a more polished cover.
Once you know the type of comic you’re creating, you can plan the page count, artwork style and binding with more confidence.
A comic book story needs to work visually. Unlike a standard written story, you’re not only telling readers what happens. You’re deciding what they see, how quickly they move through the page and where their eye goes next.
Start with the basic structure. Who is the story about? What do they want? What gets in the way? What changes by the end?
You don’t need to overcomplicate it. Even a short comic needs a clear beginning, middle and end. The beginning introduces the world, characters and situation. The middle builds tension, action or discovery. The end gives the reader a sense of resolution, even if the story is part of a wider series.
Once the story is clear, break it into scenes. Then think about how those scenes might divide across pages. Some moments may need a full page or large panel. Others may work better as a quick sequence of smaller panels.
Comics are built around pacing. A quiet moment, a dramatic reveal or a punchline can all land better when the page layout gives them space.
Strong characters help readers stay connected to the story. That doesn’t always mean they need long backstories or detailed explanations, but they do need to feel consistent.
Think about what each main character wants, what they’re afraid of and how they behave under pressure. Then think visually. Their shape, clothing, posture, expression and body language can all help readers recognise them quickly from panel to panel.
Consistency is especially important in comic books. If a character looks too different from one page to the next, it can pull the reader out of the story. Creating simple character sheets before you start the final artwork can help keep proportions, outfits, colours and expressions consistent.
This is also useful if more than one person is working on the comic. A shared reference makes it easier for writers, artists, colourists and letterers to stay aligned.
Comic writing is different from writing a short story or novel. You need to think about what appears in each panel and how the reader moves through the page.
Some creators write a full script, with panel descriptions, dialogue, captions and sound effects. Others use a looser outline and develop the page visually as they go. Either approach can work, as long as the final page is clear.
When writing panel descriptions, focus on what the reader needs to see. Too much action in one panel can be difficult to draw and difficult to understand. If several things happen in sequence, they may need several panels.
Dialogue should also be kept tight. Speech bubbles take up space, and too much text can crowd the artwork. Read each page aloud if you can. If the dialogue feels too long when spoken, it may feel even heavier on the printed page.
Captions and sound effects can add atmosphere, but they should support the story rather than fill every gap. The artwork, lettering and page design should work together.
Page size affects how your comic feels when it’s read. A larger format can give artwork more room, while a smaller format can feel more compact, affordable and easy to carry.
Whatever size you choose, it’s important to design with print in mind. Keep speech bubbles, page numbers, captions and important artwork away from the trim edge. This is the area where the page is cut down to its final size, so anything too close to the edge may feel cramped or risk being trimmed.
You should also think about the centre of the book. In saddle stitched and perfect bound books, artwork that runs across a double page spread may be affected by the fold or spine. This doesn’t mean you can’t use full spreads, but important faces, text and fine detail should not sit directly where the pages meet.
A strong comic layout guides the reader naturally. Panel order, speech bubble placement and page turns should all feel easy to follow.
Binding has a big impact on how your comic looks, opens and feels. It also affects the page count you can use.
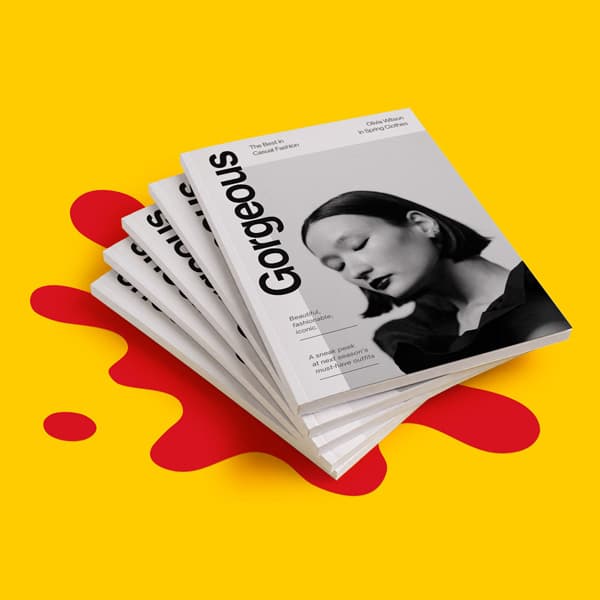
For shorter comics, Saddle Stitched Books are often a practical choice. Saddle stitched books are made from folded sheets that are secured through the spine with staples. They’re lightweight, easy to handle and well suited to single issue comics, short stories, indie comics, zines, event comics and school projects.
For longer comics, Perfect Bound Books can give the finished piece a more polished book feel. Perfect bound books are made by gathering the inner pages into a block, gluing them along the spine and securing them inside a wraparound cover. This creates a square spine, which works well for graphic novels, collected editions, manga style books, illustrated stories and premium publications.
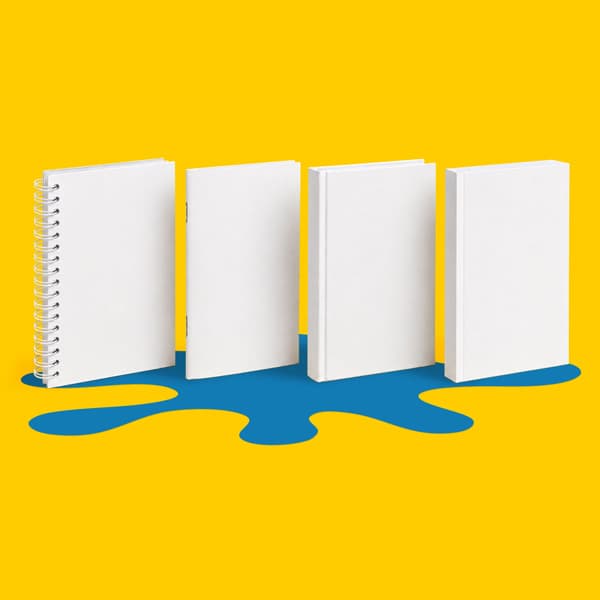
Other binding types may suit more specialist projects. Wiro bound books can work for sketchbooks, art books, workbooks or behind the scenes creative documents. Hardback books can be useful for premium illustrated editions, children’s books or collector style projects.
You can compare the full range through WTTB’s Book Super Centre.
Page count is one of the most important print decisions for a comic book.
For saddle stitched books, pages are created from folded sheets. This means the total page count needs to work with the format. In most cases, saddle stitched artwork should be planned in multiples of 4 pages. That includes the front cover, inside front cover, inside back cover and back cover if the cover is included in the page count.
This can affect how you plan the story. If your comic finishes at 22 pages, you may need to add extra pages to complete the section. These could be used for character sketches, a title page, credits, chapter artwork, adverts, author notes or blank pages.
Perfect bound books give more room for longer page counts, but they still need careful setup. The cover is usually supplied as a single wraparound file that includes the back cover, spine and front cover. The spine width depends on the number of pages and the paper stock, so it should be set up using the correct template or support guide.
Planning the page count early helps you avoid rushed layout changes at the end.
Paper choice affects colour, texture, readability and the overall feel of your comic.
Silk paper is a popular choice for comic book printing because it gives a smooth, professional finish and strong colour reproduction without feeling too shiny.
Gloss paper can work well for bright, image heavy artwork, especially if you want bold colour and a more polished look.
Uncoated paper has a softer, more tactile feel. It can suit indie comics, zines, sketch style artwork or projects that need a more natural finish.
Recycled paper can be a good option for projects where material choice matters, particularly for community comics, educational work, campaign publications or independent creative projects.
Cover paper and finishing are also worth thinking about. A thicker cover can help the comic feel more substantial, while lamination can add durability. Matt lamination gives a smooth, understated finish. Gloss lamination adds shine and can make colours feel more vibrant. Soft touch lamination gives a more premium feel.
For special editions, launch issues or collector covers, finishes such as foil or Spot UV can be used to highlight a logo, title, illustration detail or cover element.
You can explore paper types and material options through WTTB’s Print Materials Hub.
A comic can look great on screen and still run into problems in print if the file isn’t set up correctly. Before sending your artwork to print, check the technical details carefully.
Your file should usually be supplied as a print ready PDF. Make sure the document is the correct size, with the right number of pages in the right order.
Bleed is also important. Bleed is extra artwork that extends beyond the final trim edge, helping prevent unwanted white lines after cutting. Most print artwork needs 3mm bleed, although you should always check the product template or support guide for the exact requirement.
Keep important content inside the safe area. This includes speech bubbles, captions, logos, page numbers and key illustration details. Anything too close to the edge may feel tight once trimmed.
Image resolution matters too. Low resolution artwork can look soft, blurry or pixelated in print. Make sure your illustrations and placed images are high enough quality for the final print size.
Colour can also shift between screen and print. Screens use RGB colour, while professional print is usually produced in CMYK. Bright screen colours may print differently, so it’s worth reviewing your artwork with print output in mind.
Our Print Ready PDF Guide and Artwork Technical Check can help you prepare your file before it goes into production.
A few simple checks can help you avoid delays, rework or unexpected print results.
Yes, you can design comic book pages in Canva, but you need to set up and export the file correctly for print.
Use the correct page size from the start, add bleed where needed and make sure any artwork that reaches the edge extends into the bleed area. Keep speech bubbles, captions and important details away from the trim edge.
When your design is finished, export it as a PDF Print file. If crop marks and bleed are available, include them. You should also check the PDF carefully after export to make sure every page appears in the correct order.
If you’re using Canva for print design, WTTB’s Canva Hub can help you understand how to prepare your file for professional printing.
Once your comic is written, designed and checked, WTTB’s Book Super Centre can help you choose the right print route.
For shorter comics, start with Saddle Stitched Books. They’re a strong option for single issues, mini comics, short stories and zines. For longer or more premium projects, look at Perfect Bound Books. They’re better suited to graphic novels, collected editions, manga style books and publications that need a square spine.
You can choose from different paper types, laminations and cover finishes depending on the look and feel you want. You can also use WTTB’s Print Materials Hub to compare paper options and the Support Guides to help prepare your artwork. If you need extra reassurance before production, an Artwork Technical Check can help identify issues such as bleed, trim, resolution, colour setup and file quality.
Before sending your comic to print, check the following:
Creating a comic book takes time, but every decision helps shape the finished piece. Story, artwork, page layout, paper and binding all work together to create something people can read, keep and share.
Whether you’re making your first short comic, producing an independent zine, creating a graphic novel or preparing a collector edition, professional print can help your work feel finished and ready for readers. Explore WTTB’s Book Super Centre to compare comic book printing options and choose the format that suits your project.
For shorter comics, saddle stitched binding is usually a practical choice because it’s lightweight, easy to read and well suited to lower page counts. For longer comics, graphic novels or collected editions, perfect bound printing can create a more substantial book with a square spine.
There’s no fixed page count for every comic book. Short comics may only need a small number of pages, while graphic novels and collected editions can be much longer. The important thing is to make sure your page count works with the binding method you choose.
If your artwork, background colour or images run to the edge of the page, you’ll usually need bleed. Bleed helps prevent unwanted white edges when the printed pages are trimmed. Check the product template or support guide before exporting your final PDF.
Silk paper is a strong all round option for comic books because it gives good colour reproduction with a smooth finish. Gloss can work well for bright artwork, while uncoated paper can suit softer, sketch style or zine inspired projects. Recycled paper can be a good option where material choice matters.
Yes. WTTB offers low minimum quantities on key book formats, including saddle stitched and perfect bound books. This means you can produce a single copy, a short run or a larger print order depending on your project.
A comic book is often shorter and may be part of a series, while a graphic novel is usually longer and more complete as a single book. Both use sequential artwork, panels and text to tell a visual story.
Yes, but it needs to be exported correctly. Set up the right page size, include bleed where required, keep important content inside the safe area and export your final file as a PDF Print file. WTTB’s Canva Hub can help you prepare Canva artwork for professional print.
Posted on June 9, 2026 by Ben Riches
Related topics:
£51.01
£117.25