Prices
Recipes can begin as handwritten notes, family favourites, restaurant dishes or ideas developed over years of cooking. Turning them into a cookbook gives those recipes a structure that other people can follow, keep and return to.
Whether you’re a chef, food business, content creator, charity, community group or home cook, creating a cookbook involves more than gathering recipes into one document. Each dish needs to be tested, written consistently and arranged in a way that works for the reader. Photography, page design, paper and binding will also affect how useful and appealing the finished book feels.
This guide explains how to write a cookbook, design every page and prepare your files for professional printing.
A cookbook can fulfil many different purposes. It might preserve recipes passed through your family, support a food business, raise money for a charity or turn an online audience into something physical.
Restaurants, cafés and bakeries can use cookbooks to bring their food and story into customers’ homes. Chefs and creators can use them to establish their expertise, while schools and community groups can collect recipes from members as part of a shared project.
The intended purpose will influence everything from the number of recipes to the type of binding you choose. A practical kitchen cookbook may need to remain open on a worktop, while a premium photography led book may place more emphasis on large images and special cover finishes.
Starting with that purpose will make every later decision easier.
Before writing your first recipe, define the person who will use the book.
Are you writing for complete beginners, experienced home cooks, busy families or people who want to learn a specific technique? Will readers have access to specialist ingredients and equipment, or should everything be available from an ordinary supermarket?
A beginner’s cookbook may need more explanations, preparation guidance and step by step photography. A book for experienced bakers might assume that readers understand standard techniques but require precise measurements and timings.
Think about the promise your cookbook is making. It might help readers prepare quick evening meals, learn traditional family recipes, bake with children or make the signature dishes from your restaurant.
The clearer that promise is, the easier it will be to decide which recipes belong in the book.
A strong cookbook needs something connecting its recipes beyond the fact that they all involve food.
Your theme might focus on:
A clear theme helps readers understand what they’ll gain from the book. It also gives you a structure for your cover, photography and promotional activity.
Try describing the cookbook in one sentence. If that sentence becomes long or includes several unrelated ideas, the concept may need to be narrowed.
Once the theme is clear, decide how readers will move through the book.
Cookbooks can be divided by meal, ingredient, season, technique, difficulty or occasion. The right approach depends on how readers are likely to search for a recipe.
A general cookbook might include chapters for breakfasts, lunches, main meals, sides and desserts. A baking book could move from basic techniques into bread, cakes, biscuits and pastry. A seasonal cookbook might begin with spring and finish with winter.
Your contents could include:
Planning this structure early will help you estimate the total number of pages and identify any missing recipes before design begins.
Every recipe should follow the same basic format. Consistency helps readers find information quickly and gives your page designer a clear structure to work with.
A recipe could contain:
Recipe title
Choose a clear and recognisable name. Creative titles can add personality, but readers should still understand what the finished dish will be.
Short introduction
Explain where the recipe came from, when it might be served or what makes it different. Keep this section brief enough that the practical information remains easy to find.
Preparation and cooking times
Separate active preparation time from cooking, cooling, resting or proving time where relevant.
Servings or yield
State how many people the recipe serves or how many portions it produces.
Equipment
Mention any essential tins, pans, tools or appliances, including their measurements.
Ingredients
List ingredients in the order they’re used. Use consistent measurements and make it clear when an ingredient is divided between different stages.
Method
Break the process into numbered instructions. Each stage should tell the reader what to do and what signs to look for.
Storage and serving information
Explain whether the dish can be prepared in advance, frozen, reheated or stored.
Substitutions and dietary notes
Only include substitutions you’ve tested. Don’t assume that replacing one ingredient will produce the same result.
If you identify allergens or describe recipes as suitable for a particular dietary requirement, check every ingredient and instruction carefully. Food businesses should also refer to the latest Food Standards Agency allergen guidance.
A recipe that works in your own kitchen may not automatically work for someone else.
You may cook from habit, adjust quantities without realising or recognise the correct texture from experience. A reader only has the information on the page.
Prepare every recipe using the exact measurements, equipment, temperatures and timings you intend to publish. Record each adjustment as you work rather than relying on memory afterwards.
It’s also valuable to ask other people to test the recipes. Ideally, choose testers with a similar skill level to your intended reader. Ask them to follow the instructions without extra guidance and note anything they find unclear.
Recipe testing should check:
Repeated testing takes time, but it’s one of the most important stages in creating a cookbook people can trust.
Cookbook writing should be specific without becoming unnecessarily complicated.
Avoid vague instructions such as “cook until done” or “add some water”. Explain how much water to use and describe the visual, physical or aromatic signs that show when a stage is complete.
For example, you could tell the reader to cook an onion until it becomes soft and translucent, rather than simply telling them to cook it for a set number of minutes. Timings are useful, but appearance and texture can account for differences between pans, ovens and appliances.
Introduce ingredients in the same order used in the method. Keep each numbered stage focussed on one clear part of the process, particularly when a recipe involves several components.
Use the same terms throughout the book. Switching between teaspoons, spoonfuls and abbreviated measurements can create uncertainty.
Food photography can show readers what they’re working towards while giving the cookbook its visual identity.
Decide whether every recipe needs a finished dish photograph or whether images will appear at the beginning of each chapter. Including fewer, stronger photographs may produce a better result than filling every page with inconsistent imagery.
Plan the photography alongside the recipes so that you know which dishes, ingredients and preparation stages need to be captured.
When photographing food, think about:
For clear printed results, use high resolution images and keep the original files wherever possible. Images should generally be prepared at 300dpi at the size they’ll appear within the finished book.
Make sure you own the images or have permission to reproduce them. Photographs and illustrations are generally protected by copyright, so images shouldn’t be copied from websites or social media without the appropriate licence. The Intellectual Property Office provides further guidance on copyright and photographic images.
Recipe editing needs to check both language and practical accuracy.
Begin with a complete content edit. Check that the chapters make sense, repeated recipes have been removed and every dish supports the overall theme.
Next, complete a detailed recipe edit. Compare every ingredient list with the corresponding method to make sure nothing is missing or introduced without explanation.
Your final proofreading stage should look for spelling, grammar, page numbers, measurements, headings and formatting. Pay particular attention to small differences that could completely change a recipe, such as teaspoons and tablespoons.
Don’t rely entirely on your own review. After working on a manuscript for months, it becomes easy to read what you expect to see rather than what’s actually on the page. An independent editor, proofreader or experienced recipe tester can identify problems you may have missed.
Cookbook size affects how the book is held, stored and used.
An A5 cookbook is compact and easy to carry, making it suitable for smaller recipe collections or books sold at events. A4 gives recipes and photographs more space, but it creates a larger book that may require more room on a kitchen worktop.
Square books can suit modern, image led layouts and gift publications. Landscape books can provide space for wide photographs but may require more careful storage and display.
Before choosing a size, consider:
You can compare available formats and binding options through the WTTB Book Super Centre.
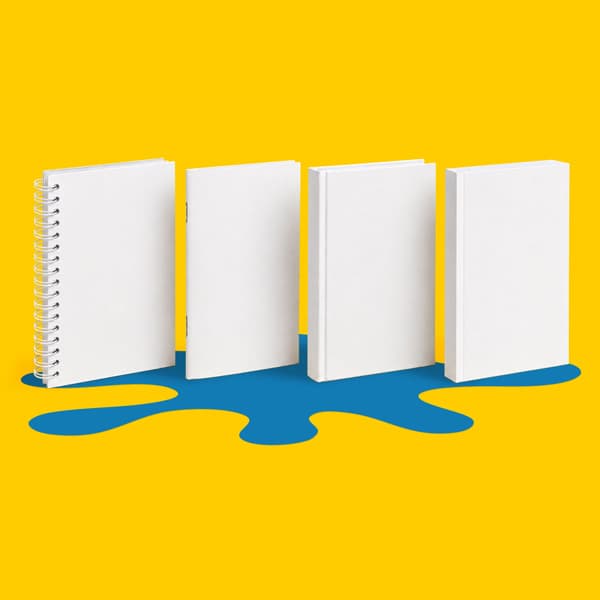
The best cookbook binding depends on how the book will be used, its page count and the finish you want to achieve.
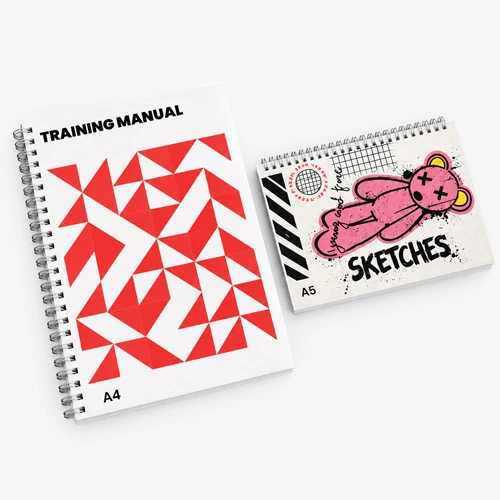
Wiro bound book printing is a practical choice for cookbooks that will be used regularly in the kitchen.
The wire binding allows pages to turn freely and helps the book remain open while the reader follows a recipe. It works particularly well for instructional books, recipe collections and manuals where convenience is more important than having a printed spine.
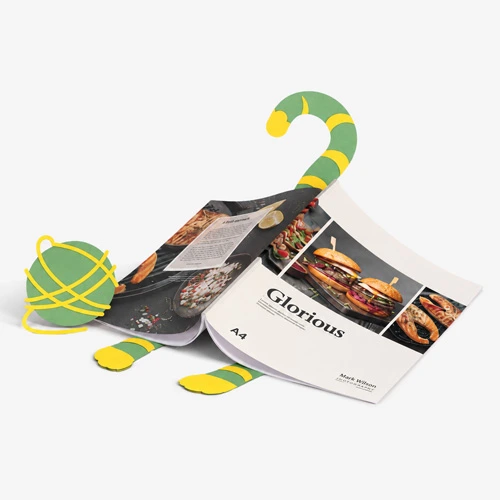
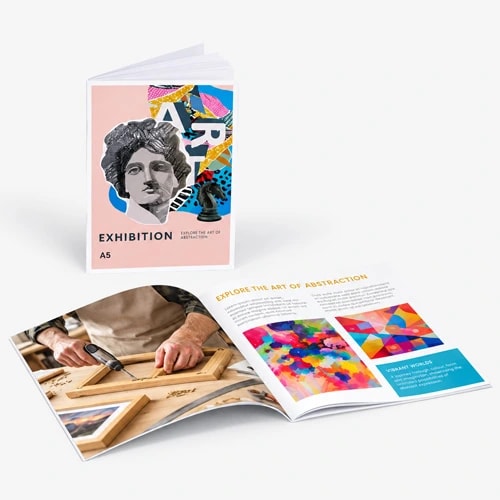
Saddle stitched booklets use staples along the folded spine.
They’re well suited to shorter recipe collections, seasonal menus, fundraising projects and promotional books. As there’s no printed spine, this option works best where the page count is relatively low.
Perfect bound books have pages secured inside a wraparound cover, creating the familiar appearance of a paperback book.
This format can accommodate a substantial collection of recipes and provides a printable spine. It’s suitable for retail cookbooks, branded publications and books intended to sit neatly on a shelf.
A perfect bound book won’t remain completely flat without being held open, so important text and images should be kept away from the centre gutter.
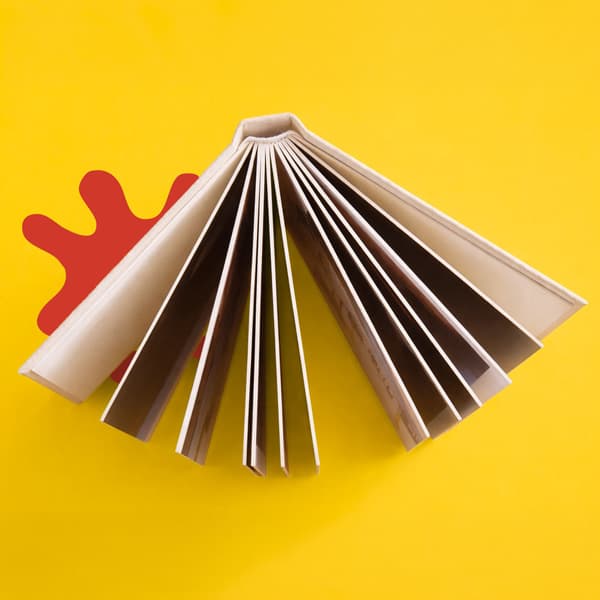
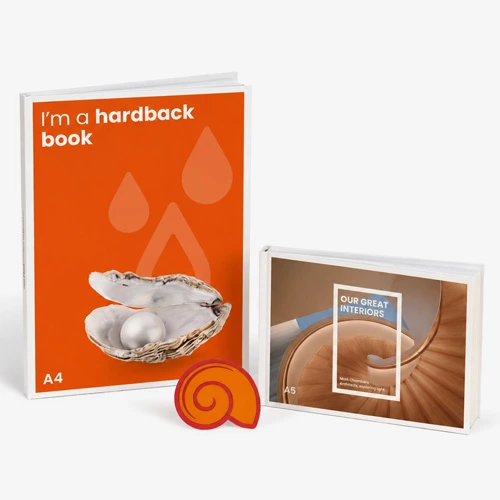
Hardback book printing gives a cookbook a sturdy cover and a premium, durable finish.
It can work well for gift books, family keepsakes, restaurant publications and cookbooks intended for retail sale. The rigid cover also creates opportunities for laminations, foil and other finishing details.
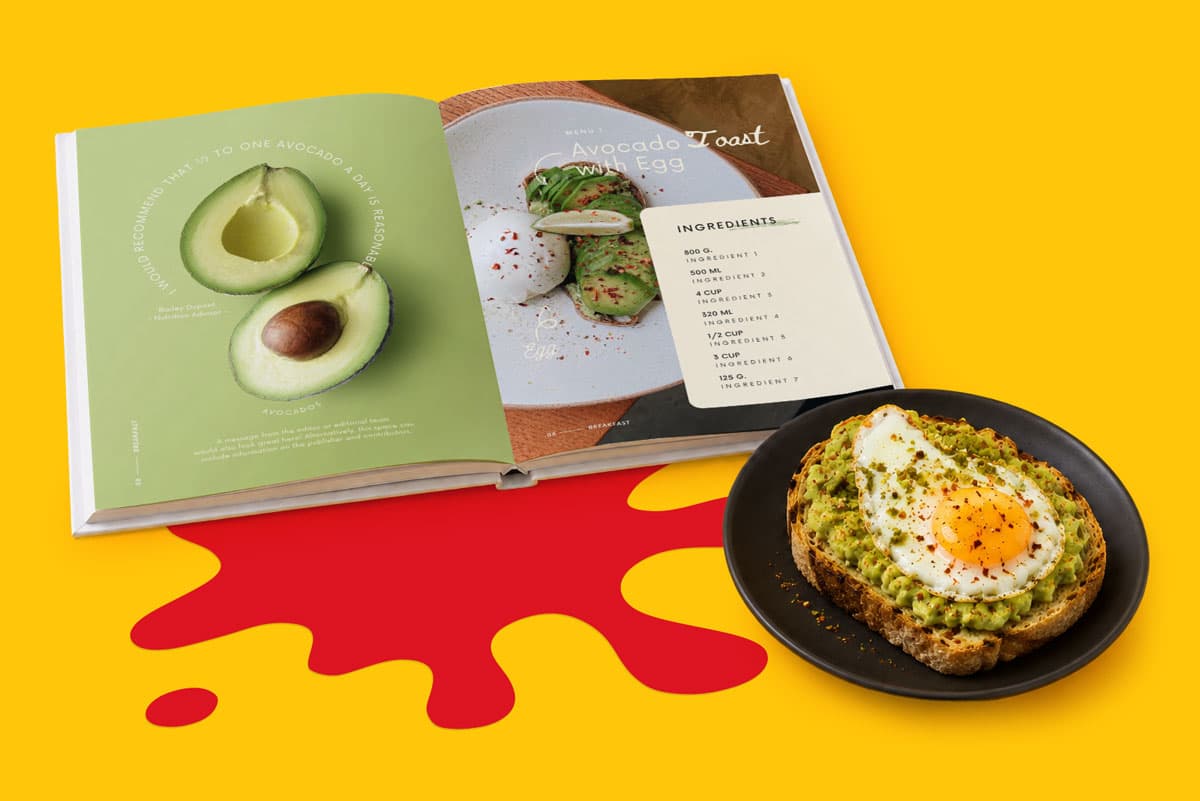
Layflat books open with minimal interruption through the centre of each spread. This makes them particularly effective for large photographs and visual layouts that continue across two pages.
They’re usually best suited to premium, image led cookbooks rather than long recipe collections. You can read more about how the format works in the our layflat book printing guide.
For a wider comparison, visit our Book Binding Guide.
Paper influences image reproduction, readability, page thickness and the overall feel of your cookbook.
Silk paper has a smooth surface and a subtle sheen, making it a popular choice for books containing food photography. Gloss paper can make colours appear more vibrant, while uncoated paper creates a natural, tactile finish and can make text comfortable to read.
A coated paper may be easier to wipe carefully than an absorbent uncoated stock, but printed pages shouldn’t be described as waterproof or fully resistant to kitchen spills.
The cover will usually use a heavier stock than the inner pages. A lamination can protect the printed surface while changing its appearance and feel.
Gloss lamination creates a shiny finish that can strengthen colour and contrast. Matt lamination has a smoother, more understated appearance. Soft touch lamination adds a velvety texture suited to premium publications.
Selected book formats may also support foil or spot UV details. These can be used to highlight the title, author name, illustration or another feature without covering the entire design.
An attractive cookbook still needs to be practical.
Readers should be able to find the ingredients and return to their place in the method quickly. Use clear heading levels, readable type sizes and enough space between each section.
Avoid placing ingredients across one page and the method over the page unless the book will naturally remain open at that spread. Keep essential details away from the binding and trim edges.
Use page furniture consistently. Recipe titles, timings, servings, page numbers and chapter headings should appear in predictable positions throughout the book.
Colour can help separate sections or identify recipe types, but it shouldn’t be the only way important information is communicated. Icons should always be accompanied by a clear key, particularly when they refer to cooking times or dietary information.
Before uploading the final artwork, check that the document matches the size and specification of the book you’ve ordered.
Your print ready files should include:
The cover setup will depend on the binding style. Perfect bound and hardback books require careful attention to the spine and wraparound cover dimensions, while wiro and saddle stitched books have different production requirements.
Always download the template and artwork guide for your chosen product rather than building the cover from estimated dimensions.
Read our guidance on creating a print ready PDF before submitting your files. You can also choose an Artwork Technical Check for additional support with technical file requirements.
A printed copy can reveal issues that aren’t obvious on a screen.
Check the text size, colour, image quality, margins, page order and binding. Hold the book as a reader would and follow several recipes from beginning to end.
Look particularly closely at:
Where your chosen product allows, ordering one copy or a small initial quantity gives you an opportunity to make corrections before producing more.
There are two main routes for bringing a cookbook to readers: traditional publishing and self publishing.
Traditional publishing may involve approaching a literary agent, submitting a proposal or being contacted directly by an editor. There isn’t one standard route into cookbook publishing, as explained in Penguin’s guide to getting a cookbook published.
Self publishing gives you control over the content, design, print quantity and selling price. It also means you’ll be responsible for editing, production, marketing, order management and distribution.
A family cookbook or internal business publication may not need an ISBN. If you plan to distribute your book commercially through retailers and book industry systems, investigate whether an ISBN is appropriate. Nielsen runs the official ISBN Agency for the UK and Ireland.
For more help with editing, production and launching a book, read our complete guide to creating, publishing and selling your first book.
Start planning your audience before the cookbook goes to print.
Food businesses could sell books through their premises, website, events or local retail partners. Creators might build interest by sharing recipe development, photography and test copies through social media or email.
You could also use printed recipe cards, bookmarks, postcards or flyers to promote the launch. Add a QR code that takes customers directly to the book’s product page, event details or mailing list.
Consider sending advance copies to relevant reviewers, food writers or local publications. Make sure the people you approach have an audience connected to the cookbook rather than sending copies without a clear reason.
Our book marketing guide covers more ways to build an audience and support long term sales.
There’s no fixed number. The right amount depends on the book’s theme, page size, recipe length, photography and binding.
Create several sample layouts before deciding. This will show how much space each recipe needs and give you a more accurate estimate of the final page count.
Wiro binding is often the most practical option because the pages turn freely and the book can remain open during use. Hardback and perfect bound books may be better where presentation, shelf appeal and a printed spine are more important.
Layflat books suit premium photography, while saddle stitched booklets are useful for shorter collections.
Silk paper provides a smooth balance between text and photography. Gloss can produce a brighter photographic finish, while uncoated paper has a natural appearance and feel.
Availability will depend on the binding and product specification you select.
No. Photography can improve the experience, but every image should add value and maintain a consistent standard.
A smaller number of carefully planned photographs may produce a stronger book than including an image for every recipe simply to fill space.
Several WTTB book formats are available from a minimum quantity of one, depending on the chosen specification. This can be useful for checking the finished result, creating a personal book or testing demand before ordering more.
Yes. You can use professional page design software or another tool capable of producing correctly sized, high resolution PDF artwork.
Use the production template for your chosen product and pay close attention to bleed, safe areas, image quality, page order and cover dimensions.
A successful cookbook brings reliable recipes, clear instructions and strong design together in a format that works for the reader.
Start with a defined audience, test every recipe and build a consistent structure before moving into photography and page design. Once the content is complete, choose a size, paper and binding that reflect how the cookbook will be used.
From practical wiro bound recipe collections to premium hardback and layflat books, WTTB’s Book Super Centre makes it easier to compare your cookbook printing options and turn your finished recipes into a book.
Posted on April 24, 2026 by Emma Thompson
Related topics:
£51.01
£117.25
£136.00
£61.61