||


Silk paperFor a slight silk sheen to your print.
Uncoated paperUncoated paper stock for a natural matt finish.
Gloss laminationEnhance your print with a ‘glass look’ shine and a layer of protection with our durable gloss lamination.
Matt laminationFor a sophisticated, softer look and feel as well as offering protection to your print.
Paper Size
Material
Lamination
Quantity
Special Finishes
Essential
23-point automated check
Free
Advanced
41-point inspection by a prepress technician
FREE if using your Print Perk Points at checkout
Order summary:
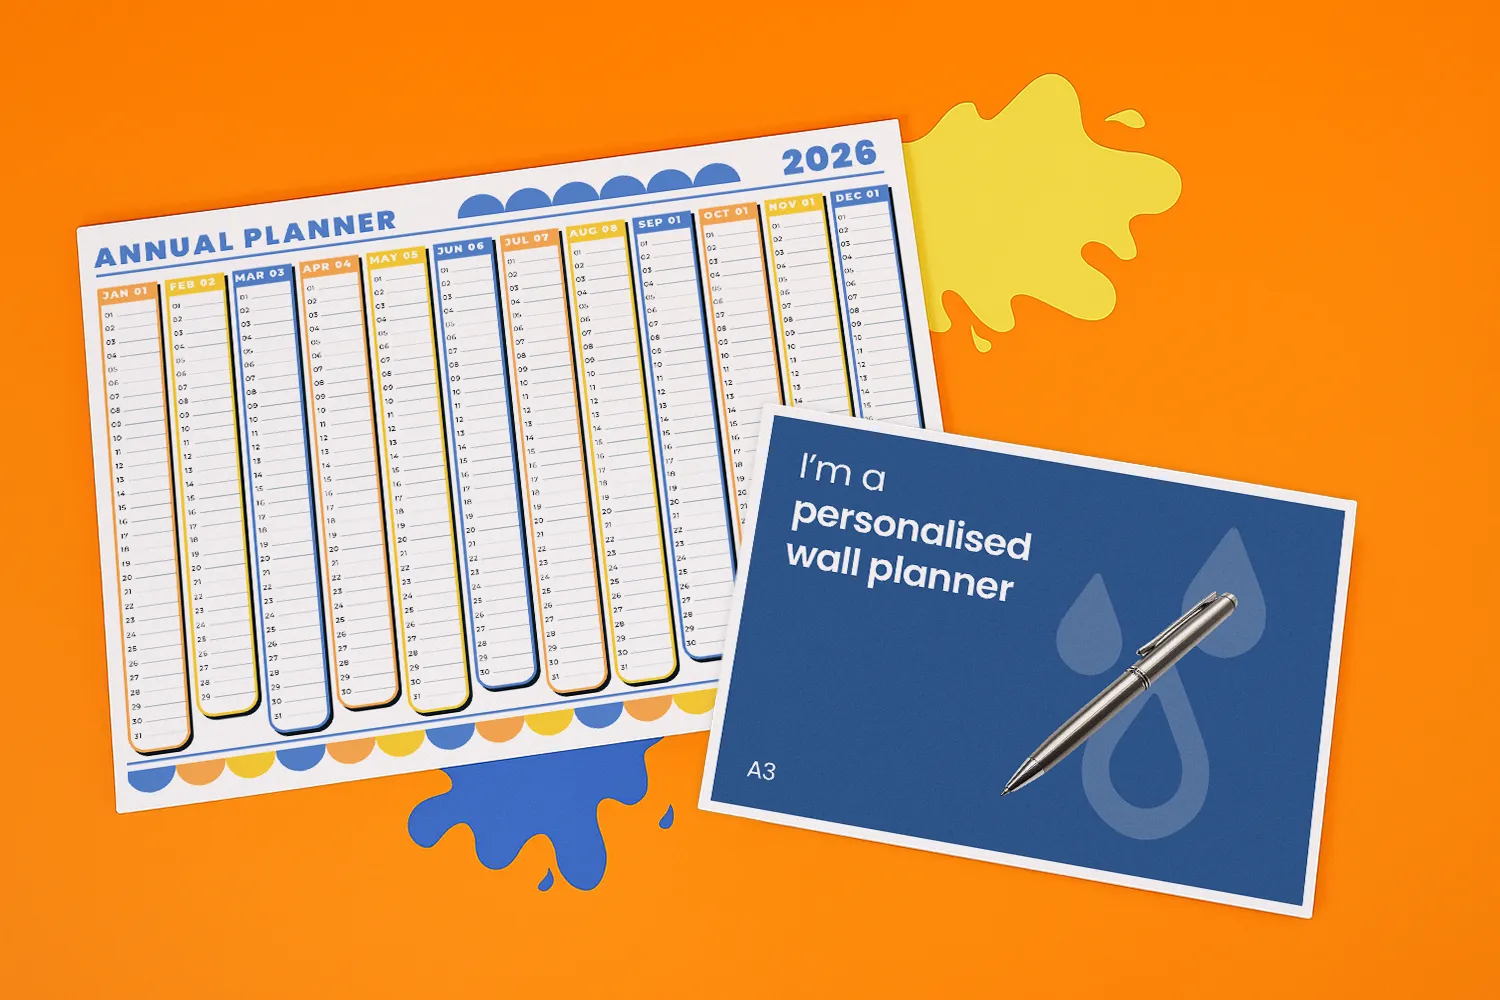
Personalised Wall Planners
Quantity: x25 | Paper Size: A3 (297 x 420mm) | Printed Sides: Single Sided | Material: Silk | Paper Weight: 250gsm | Colours: Full Colour | Lamination: None | Overs Finishing: FlyerOvers |
Artwork Technical Check: Essential - FREE
Silk paperFor a slight silk sheen to your print.
Uncoated paperUncoated paper stock for a natural matt finish.
Gloss laminationEnhance your print with a ‘glass look’ shine and a layer of protection with our durable gloss lamination.
Matt laminationFor a sophisticated, softer look and feel as well as offering protection to your print.
See what our customers say about Personalised Wall Planners
Product description
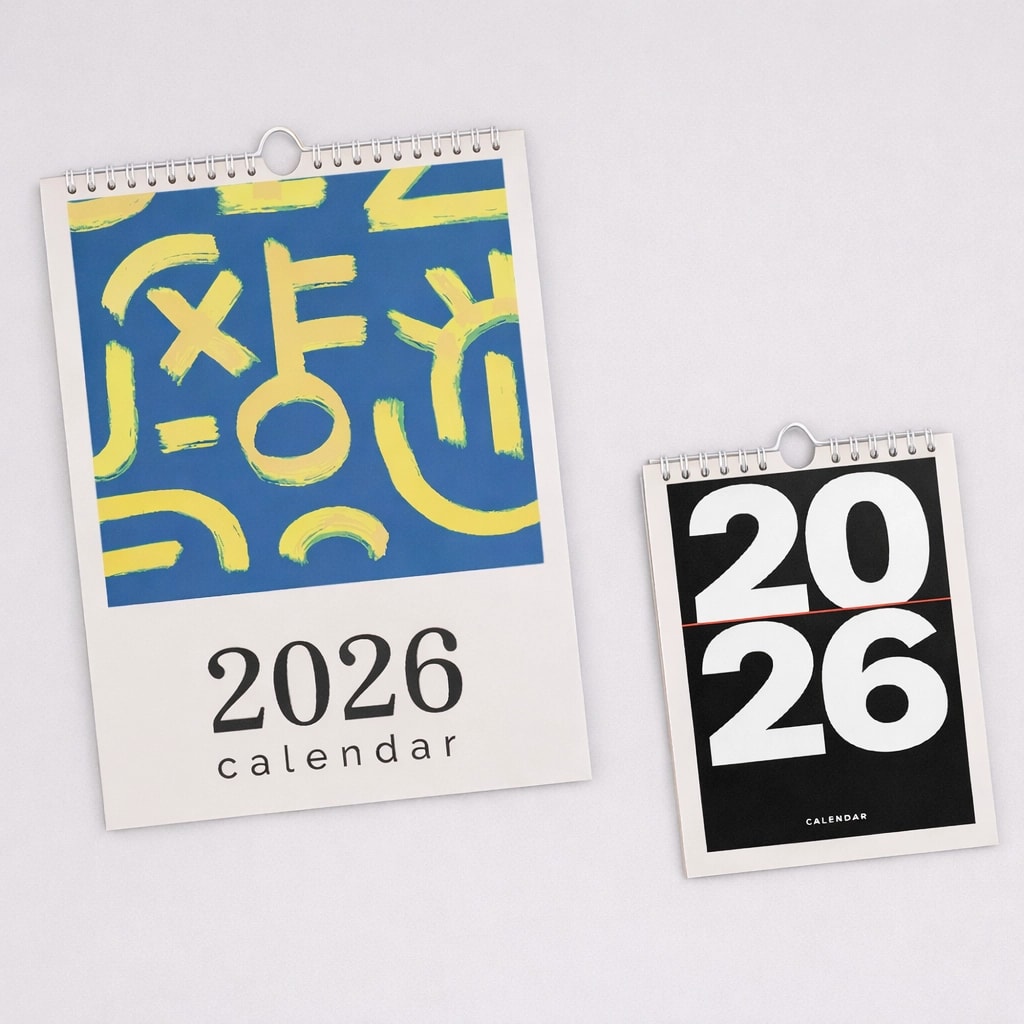
Scope out the year in style with our custom Wall Planners, designed to bring clarity and organisation to your everyday. Ideal for home and office environments, these personalised wall planners offer a sleek and practical solution for tracking key dates, deadlines and events.
Available in A2 and A3 sizes, every annual planner comes in various silk and uncoated stocks, with options for single or double sided printing to optimise your planning space. For added flexibility, design your own wall planner with folding possibilities in mind, such as a half fold or cross fold, for easy storage and portability.
Whether you need a reliable tool for personal organisation or a functional addition to your workplace, our year planners ensure every month is laid out in style. Elevate your planning and keep the year on track with our versatile wall planners.
Organisation materials, appointments, project planning and more.
Top tip
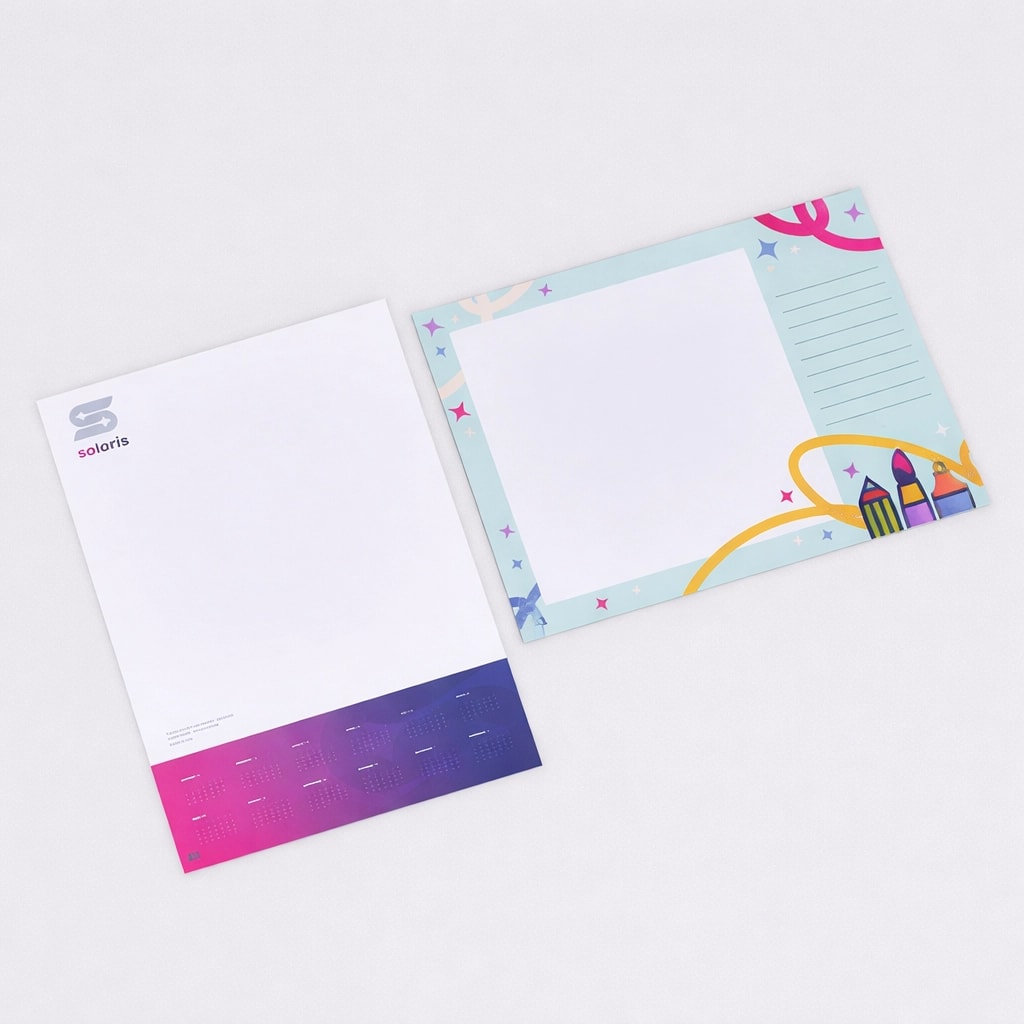
Include a dedicated blank space in your design to accommodate additional notes, reminders, or personal annotations. This feature enhances your wall planner's versatility and practicality, making it adaptable to a variety of needs.
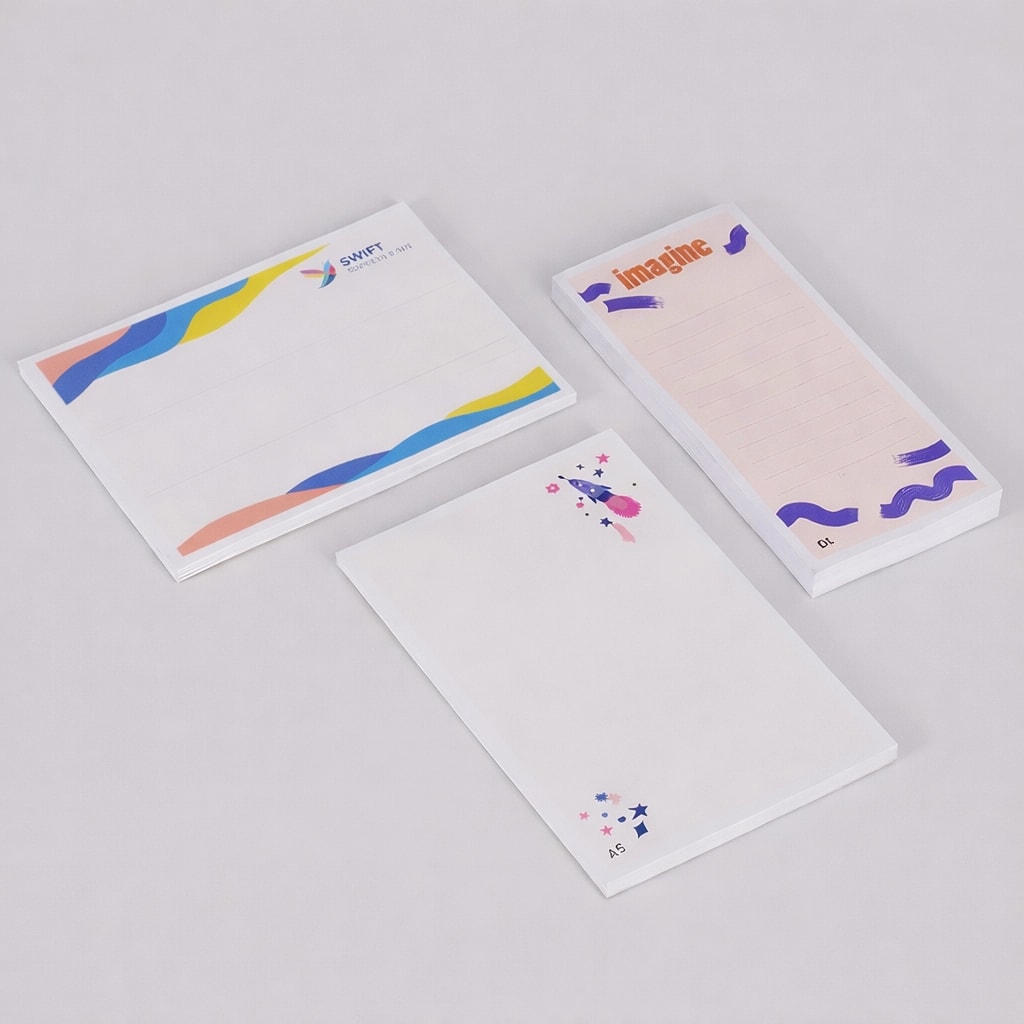
Need more ways to enhance your workspace? Explore our diverse range of printed stationery solutions.
Design guidelines
To make artwork setup simple, we recommend downloading the relevant template from the 'Product Templates' section above. Don’t forget to follow the template instructions and delete the 'guide' layer before exporting your design to a PDF.
For best printing results, ensure your artwork and images are CMYK. If you use RGB, Pantone or spot colours in any element of your artwork, we will automatically convert them to CMYK which may change your colour profile.
To eliminate any font issues, make sure all fonts are ‘embedded’ or ‘converted to outlines’ before creating your PDF print file. To ensure legibility, we recommend using a minimum font size of 10pt.
For optimal image print quality, ensure all images are 300dpi to 450dpi. Anything lower than 300dpi will give poor image quality. Images higher than 450dpi will result in high file sizes and may cause longer upload times.
To avoid alignment issues during cutting, be sure to include ‘crop marks’ (offset 10mm) and ‘document bleed’ when exporting your artwork file to PDF. Refer to our product templates for the required bleed specifications.
To meet our print requirements, ensure your file is exported in Adobe PDF (Print) format, ideally as PDF/X-1a: 2001.
Need further guidance? Our help centre is here to provide the answers.
How to print with Canva
We provide free Canva templates for many of our products to make artwork setup quick and print ready. If this product displays a Canva icon above, click it to open the correct template in Canva. Each template includes the correct dimensions, bleed and safe zones to help you set up your artwork correctly from the start.
Once your design is complete, download your artwork and return here to place your order.
If this product does not currently include a Canva template, you can still browse our full collection of Canva-compatible templates to find suitable alternatives.
When opening a template, it will launch in a new tab with all guides preloaded for you. Remember to remove any template guide layers before exporting your final artwork.
Need help getting started with WTTB Canva templates? Read the WTTB Canva template guide or watch our YouTube tutorial on how to use WTTB Canva templates.
For the most accurate print results, always set your design to CMYK colour mode where possible. Canva designs are usually created in RGB, which may cause slight colour shifts when converted for print.
We recommend checking colours carefully before exporting to help avoid unexpected results in your final print.
Need help setting up colours correctly? Read the print colour guide or watch our YouTube tutorial on how to get accurate print colours in Canva.
Use Canva fonts at a minimum size of 10pt to help maintain legibility when printed. Keep all important text within the safe area to prevent anything being trimmed during production.
For images, always use high resolution files at 300 DPI or higher. Low resolution images can appear blurry or pixelated once printed.
Need help preparing artwork for high quality print? Read our artwork resolution guide or watch our YouTube tutorial on how to export Canva designs for high quality print.
Extend any backgrounds, colours or images fully into the bleed area to avoid unwanted white edges after trimming. Keep important text, logos and key design elements safely inside the designated safe zone. Correct bleed setup is essential for achieving a professional print finish.
Need help setting up bleed correctly? Read our bleed setup guide or watch our YouTube tutorial on how to set up bleed in Canva for print ready designs.
When exporting from Canva, choose PDF Print as your file format and ensure 'Crop Marks and Bleed' is selected before downloading your artwork.
Once your artwork has been finalised, upload the completed PDF when placing your order with WTTB.
Need help exporting your artwork? Visit our Canva Hub for step by step guides on creating and exporting print ready designs in Canva, or watch our YouTube tutorial on how to export Canva designs for print with WTTB below.
Product description
Scope out the year in style with our custom Wall Planners, designed to bring clarity and organisation to your everyday. Ideal for home and office environments, these personalised wall planners offer a sleek and practical solution for tracking key dates, deadlines and events.
Available in A2 and A3 sizes, every annual planner comes in various silk and uncoated stocks, with options for single or double sided printing to optimise your planning space. For added flexibility, design your own wall planner with folding possibilities in mind, such as a half fold or cross fold, for easy storage and portability.
Whether you need a reliable tool for personal organisation or a functional addition to your workplace, our year planners ensure every month is laid out in style. Elevate your planning and keep the year on track with our versatile wall planners.
Organisation materials, appointments, project planning and more.
Top tip
Include a dedicated blank space in your design to accommodate additional notes, reminders, or personal annotations. This feature enhances your wall planner's versatility and practicality, making it adaptable to a variety of needs.
Need more ways to enhance your workspace? Explore our diverse range of printed stationery solutions.
Design guidelines
To make artwork setup simple, we recommend downloading the relevant template from the 'Product Templates' section above. Don’t forget to follow the template instructions and delete the 'guide' layer before exporting your design to a PDF.
For best printing results, ensure your artwork and images are CMYK. If you use RGB, Pantone or spot colours in any element of your artwork, we will automatically convert them to CMYK which may change your colour profile.
To eliminate any font issues, make sure all fonts are ‘embedded’ or ‘converted to outlines’ before creating your PDF print file. To ensure legibility, we recommend using a minimum font size of 10pt.
For optimal image print quality, ensure all images are 300dpi to 450dpi. Anything lower than 300dpi will give poor image quality. Images higher than 450dpi will result in high file sizes and may cause longer upload times.
To avoid alignment issues during cutting, be sure to include ‘crop marks’ (offset 10mm) and ‘document bleed’ when exporting your artwork file to PDF. Refer to our product templates for the required bleed specifications.
To meet our print requirements, ensure your file is exported in Adobe PDF (Print) format, ideally as PDF/X-1a: 2001.
Need further guidance? Our help centre is here to provide the answers.
How to print with Canva
We provide free Canva templates for many of our products to make artwork setup quick and print ready. If this product displays a Canva icon above, click it to open the correct template in Canva. Each template includes the correct dimensions, bleed and safe zones to help you set up your artwork correctly from the start.
Once your design is complete, download your artwork and return here to place your order.
If this product does not currently include a Canva template, you can still browse our full collection of Canva-compatible templates to find suitable alternatives.
When opening a template, it will launch in a new tab with all guides preloaded for you. Remember to remove any template guide layers before exporting your final artwork.
Need help getting started with WTTB Canva templates? Read the WTTB Canva template guide or watch our YouTube tutorial on how to use WTTB Canva templates.
For the most accurate print results, always set your design to CMYK colour mode where possible. Canva designs are usually created in RGB, which may cause slight colour shifts when converted for print.
We recommend checking colours carefully before exporting to help avoid unexpected results in your final print.
Need help setting up colours correctly? Read the print colour guide or watch our YouTube tutorial on how to get accurate print colours in Canva.
Use Canva fonts at a minimum size of 10pt to help maintain legibility when printed. Keep all important text within the safe area to prevent anything being trimmed during production.
For images, always use high resolution files at 300 DPI or higher. Low resolution images can appear blurry or pixelated once printed.
Need help preparing artwork for high quality print? Read our artwork resolution guide or watch our YouTube tutorial on how to export Canva designs for high quality print.
Extend any backgrounds, colours or images fully into the bleed area to avoid unwanted white edges after trimming. Keep important text, logos and key design elements safely inside the designated safe zone. Correct bleed setup is essential for achieving a professional print finish.
Need help setting up bleed correctly? Read our bleed setup guide or watch our YouTube tutorial on how to set up bleed in Canva for print ready designs.
When exporting from Canva, choose PDF Print as your file format and ensure 'Crop Marks and Bleed' is selected before downloading your artwork.
Once your artwork has been finalised, upload the completed PDF when placing your order with WTTB.
Need help exporting your artwork? Visit our Canva Hub for step by step guides on creating and exporting print ready designs in Canva, or watch our YouTube tutorial on how to export Canva designs for print with WTTB below.
A wall planner is a large calendar typically displayed on a wall, designed to help individuals or teams organise and visualise their schedules and important dates. They feature a month-by-month or week-by-week layout, allowing users to write down upcoming tasks and events, making them useful for homes, offices, and classrooms.
There are several ways to hang your planner on the wall. Push pins or thumbtacks are effective options, while Command strips provide a damage-free solution. Alternatively, you can also use clips or binder clips to attach the planner to a wire or string.
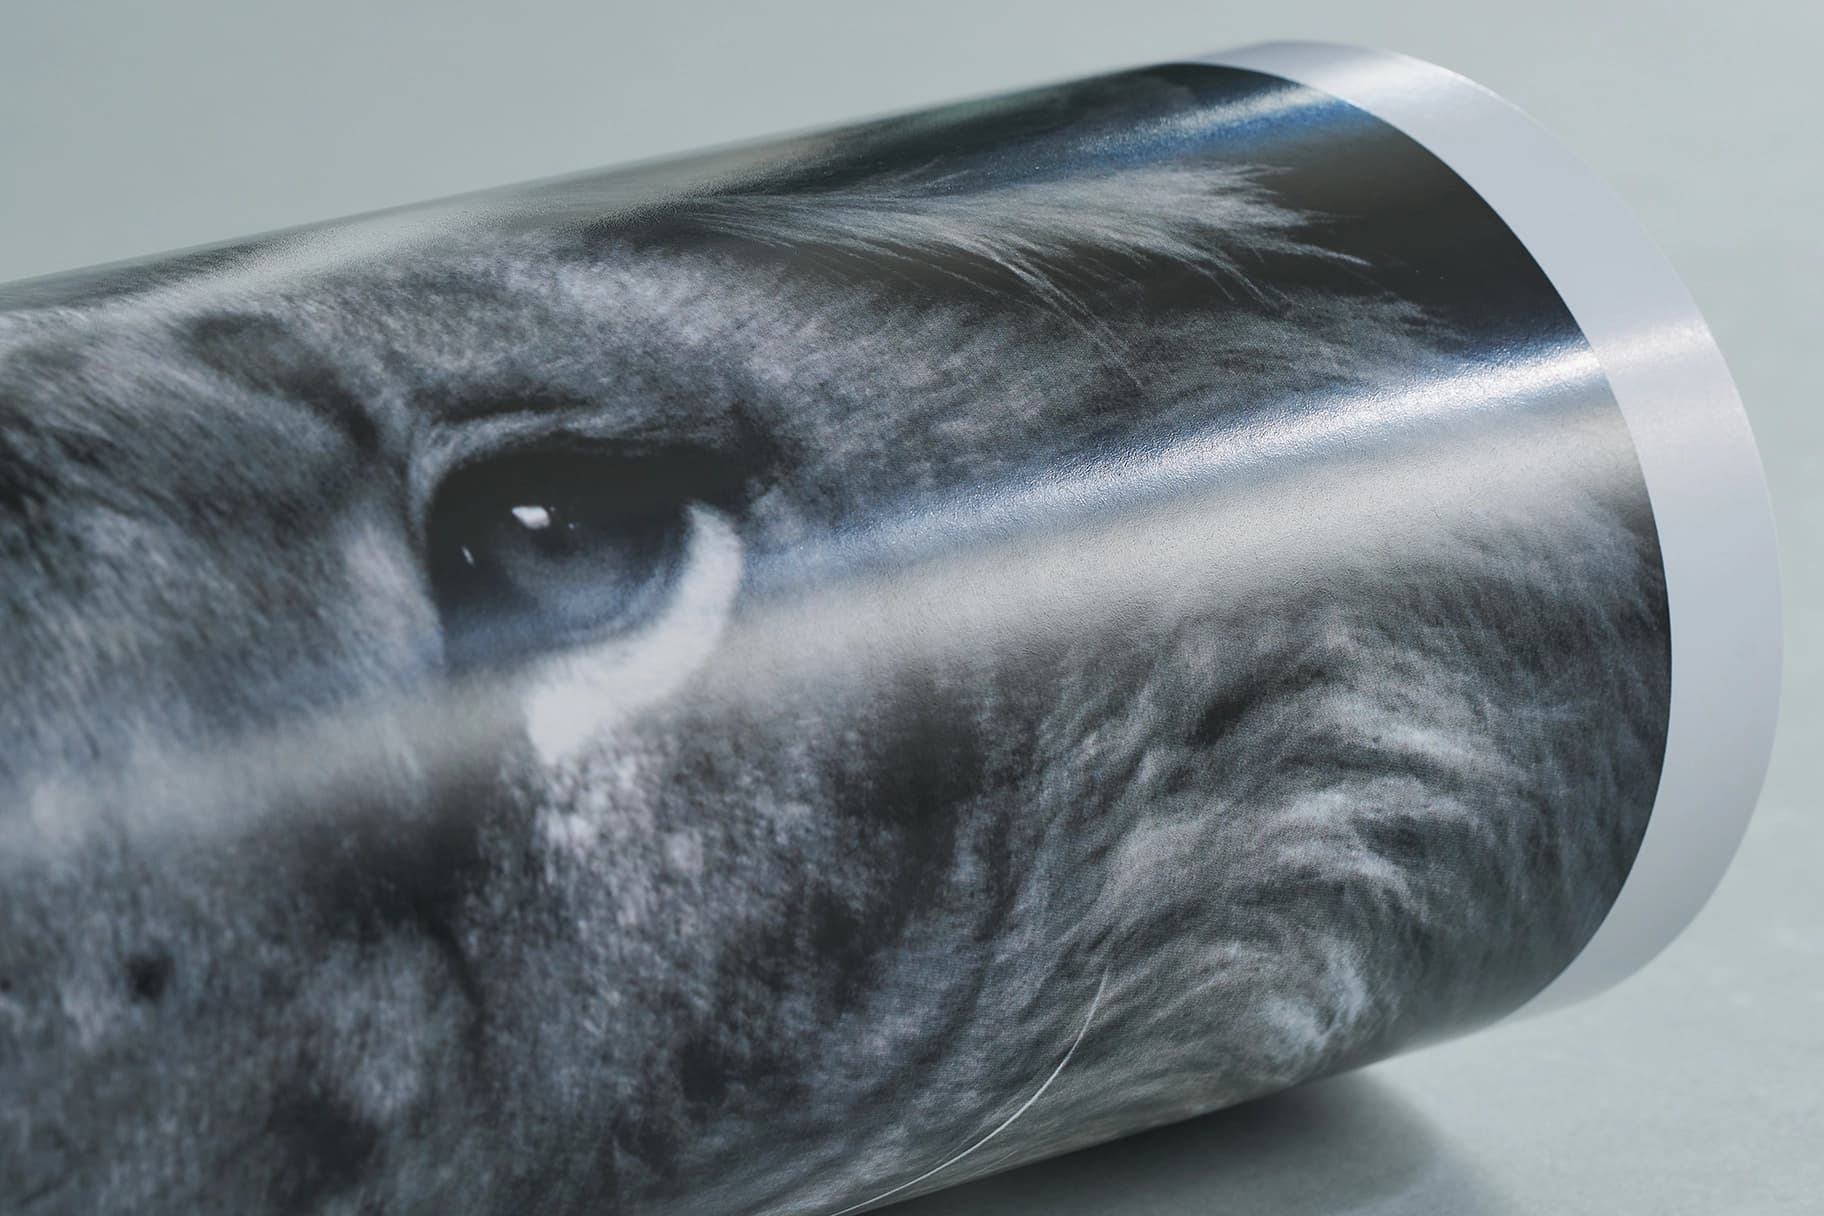
Silk: This paper features a smooth, semi-gloss finish that enhances colour vibrancy and depth while reducing glare. Learn more.
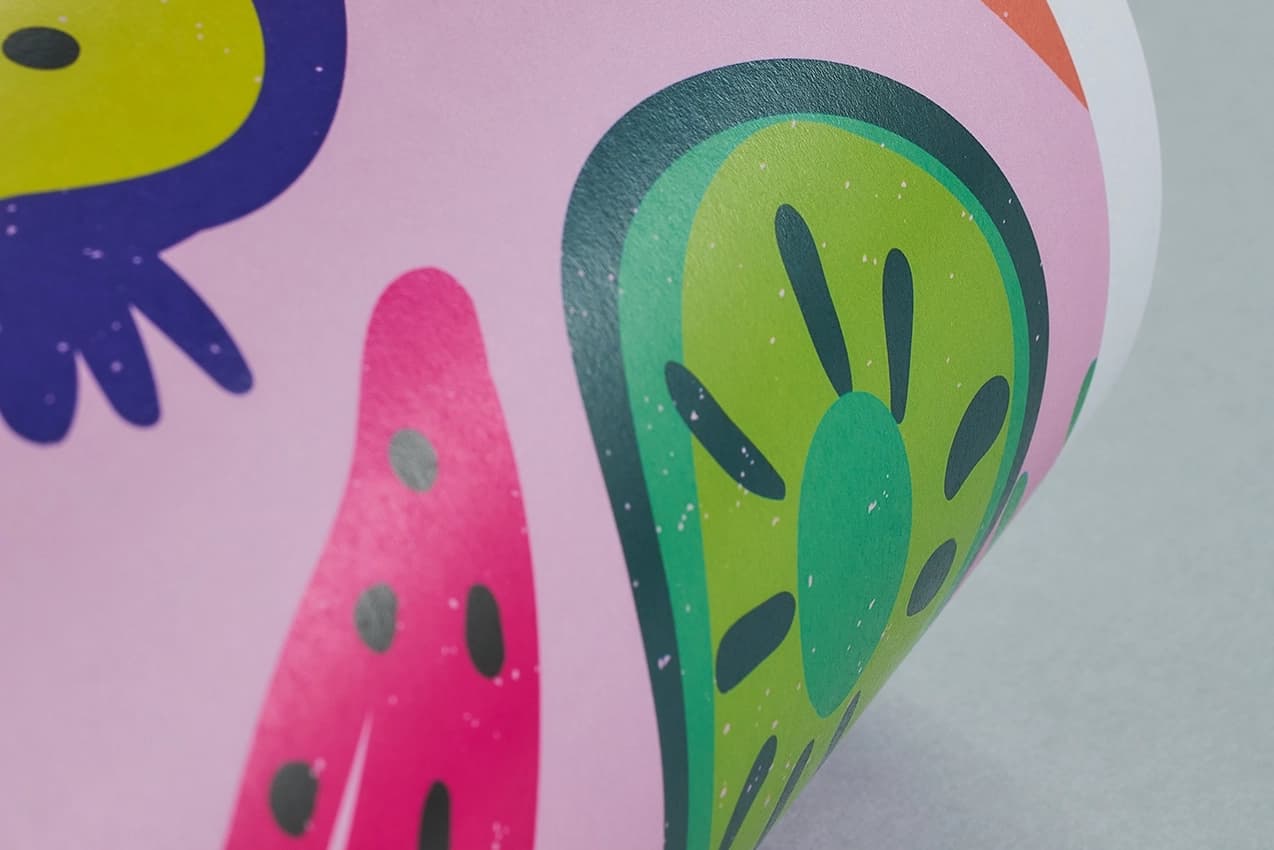
Uncoated: This paper provides a textured finish that delivers a classic, elegant look with a non-reflective finish. Learn more.
Gloss: A shiny, vibrant finish that enhances colours and images
Matt: A sleek, professional look with a subtle, non-reflective surface
Spot UV: This finish adds a glossy, raised coating to specific areas, creating a striking contrast and highlighting key elements. Applied with Scodix technology.
The turnaround time for custom wall planners depends on your chosen product specifications and finishing options. For faster delivery, we offer express production upgrades at an additional cost. To ensure your order is delivered on time, it is important we receive your artwork by the cut-off time indicated on both the product page and basket.
Please note: If your file is submitted after the cut-off time or if corrected artwork isn't provided before the next cut-off time following rejection, it will delay delivery by one working day.
We offer free standard delivery, with optional upgrades available for expedited service, including pre-10:30 AM and pre-12:00 PM for an additional cost.
Yes, we offer international delivery. Contact our Bespoke team for a shipping quote.
Yes, we can arrange split deliveries. Contact our Bespoke team to let us know how you'd like your order sent.
Uploading wall planner artwork is a breeze. After placing your order, click the upload button on the confirmation page. You can also upload your artwork through the Orders tab of "My Account".
Most orders are sent in boxes. For larger quantities, we may secure your order on a pallet (kerbside delivery). If your location doesn’t have tail-lift access, please contact us after placing your order so we can help arrange the best delivery option. Be sure to have your order number to hand.
A wall planner is a large calendar typically displayed on a wall, designed to help individuals or teams organise and visualise their schedules and important dates. They feature a month-by-month or week-by-week layout, allowing users to write down upcoming tasks and events, making them useful for homes, offices, and classrooms.
There are several ways to hang your planner on the wall. Push pins or thumbtacks are effective options, while Command strips provide a damage-free solution. Alternatively, you can also use clips or binder clips to attach the planner to a wire or string.
Silk: This paper features a smooth, semi-gloss finish that enhances colour vibrancy and depth while reducing glare. Learn more.
Uncoated: This paper provides a textured finish that delivers a classic, elegant look with a non-reflective finish. Learn more.
Gloss: A shiny, vibrant finish that enhances colours and images
Matt: A sleek, professional look with a subtle, non-reflective surface
Spot UV: This finish adds a glossy, raised coating to specific areas, creating a striking contrast and highlighting key elements. Applied with Scodix technology.
The turnaround time for custom wall planners depends on your chosen product specifications and finishing options. For faster delivery, we offer express production upgrades at an additional cost. To ensure your order is delivered on time, it is important we receive your artwork by the cut-off time indicated on both the product page and basket.
Please note: If your file is submitted after the cut-off time or if corrected artwork isn't provided before the next cut-off time following rejection, it will delay delivery by one working day.
We offer free standard delivery, with optional upgrades available for expedited service, including pre-10:30 AM and pre-12:00 PM for an additional cost.
Yes, we offer international delivery. Contact our Bespoke team for a shipping quote.
Yes, we can arrange split deliveries. Contact our Bespoke team to let us know how you'd like your order sent.
Uploading wall planner artwork is a breeze. After placing your order, click the upload button on the confirmation page. You can also upload your artwork through the Orders tab of "My Account".
Most orders are sent in boxes. For larger quantities, we may secure your order on a pallet (kerbside delivery). If your location doesn’t have tail-lift access, please contact us after placing your order so we can help arrange the best delivery option. Be sure to have your order number to hand.