Prices
Wiro binding is a popular choice for manuals, notebooks, and presentations as it allows the document to lay completely flat when open. However, because holes are physically punched through the paper, your artwork must be designed with specific margins to avoid losing content.
The most critical aspect of wiro binding is the "binding edge." This is the edge of the page where the metal wire will be inserted.
The 10mm Quiet Border: You must leave at least 10mm of clear space along the binding edge of every page.
Safe Zone: Ensure all text, logos, and important graphics are positioned outside of this 10mm zone. If content is placed too close to the edge, it will be cut into or obscured by the wire.
To secure the wire, a series of holes are punched through the stack of paper.
The Hole Size: A 5mm wire hole is punched into the edge of each page.
Template Alignment: We recommend using our templates to see the exact positioning of these holes. This allows you to visualise how much of your background image or design will be affected by the punch.
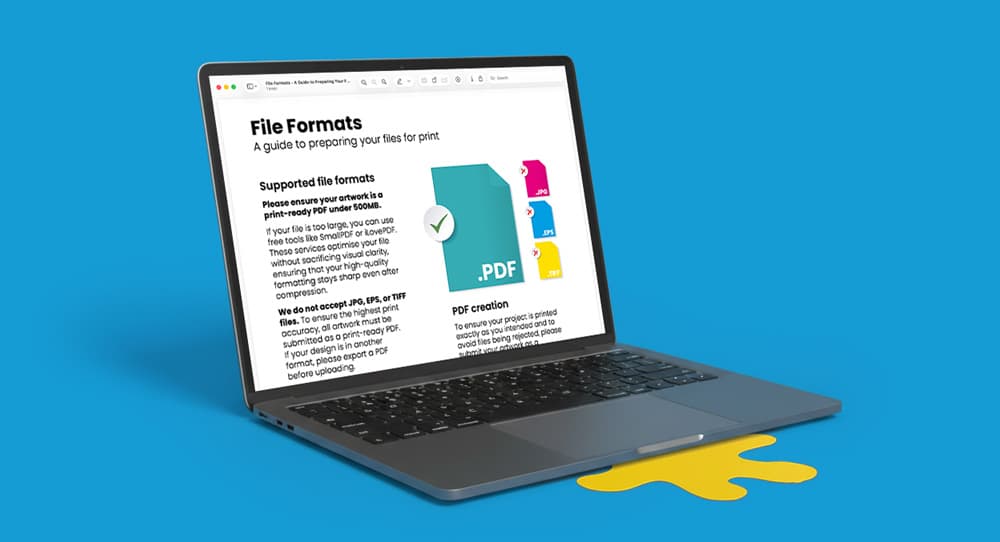
Reading Order: Supply your pages as a single multi-page PDF in the correct reading order.
Bleed: As with all print projects, include a 3mm bleed on all sides if your background colours or images extend to the edge of the page.
Cover Protection: For a premium feel and added durability, consider adding a clear acetate or frosted plastic cover to your wiro-bound document.
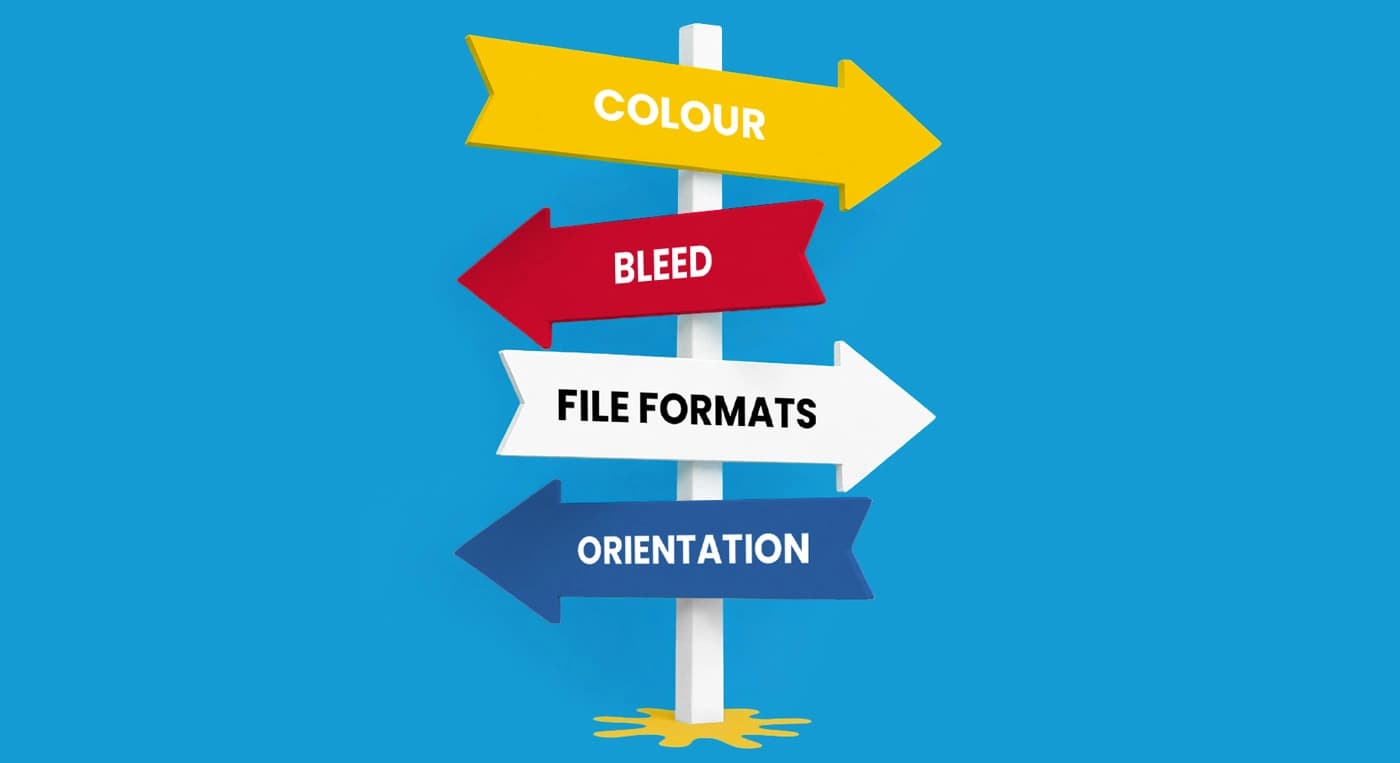
Need more help? Explore our additional support guides for expert advice on artwork setup, print file preparation, bleed and crop marks, colour setup, large format artwork and troubleshooting common print file issues.
Our support guides also cover paper stock selection, premium print finishes including spot UV and Scodix, preparing print-ready artwork and understanding the best setup for a wide range of printed products.
Before ordering, you can also use our artwork technical check tool to identify common artwork problems, including low resolution images, missing bleed, incorrect dimensions and RGB colour profiles.
You can also browse our full range of print products, including banners, business cards, flyers, posters and large format printing solutions.
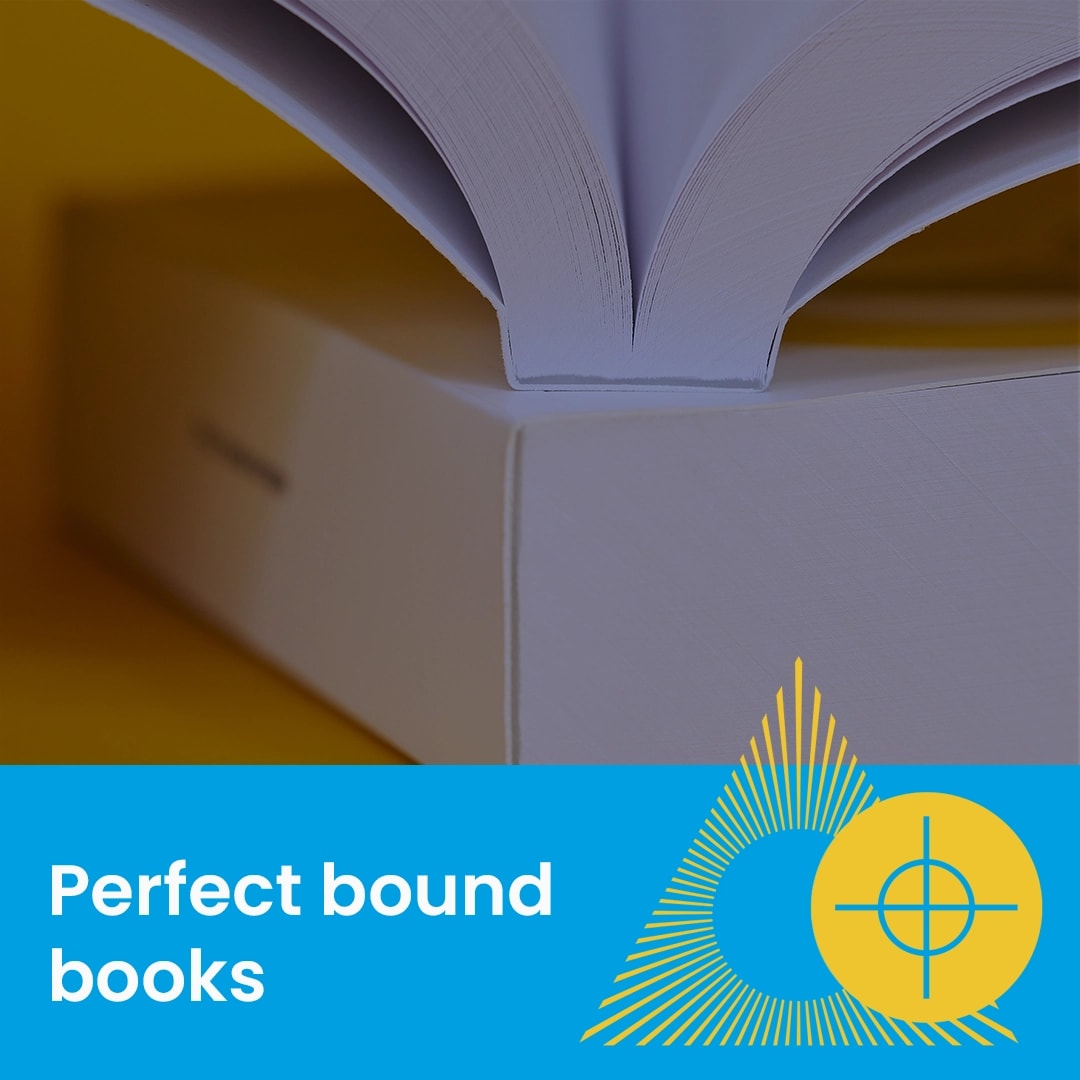
Discover wiro bound books with durable wire binding designed for presentations, manuals, notebooks and printed documents that need to lay flat.