Prices
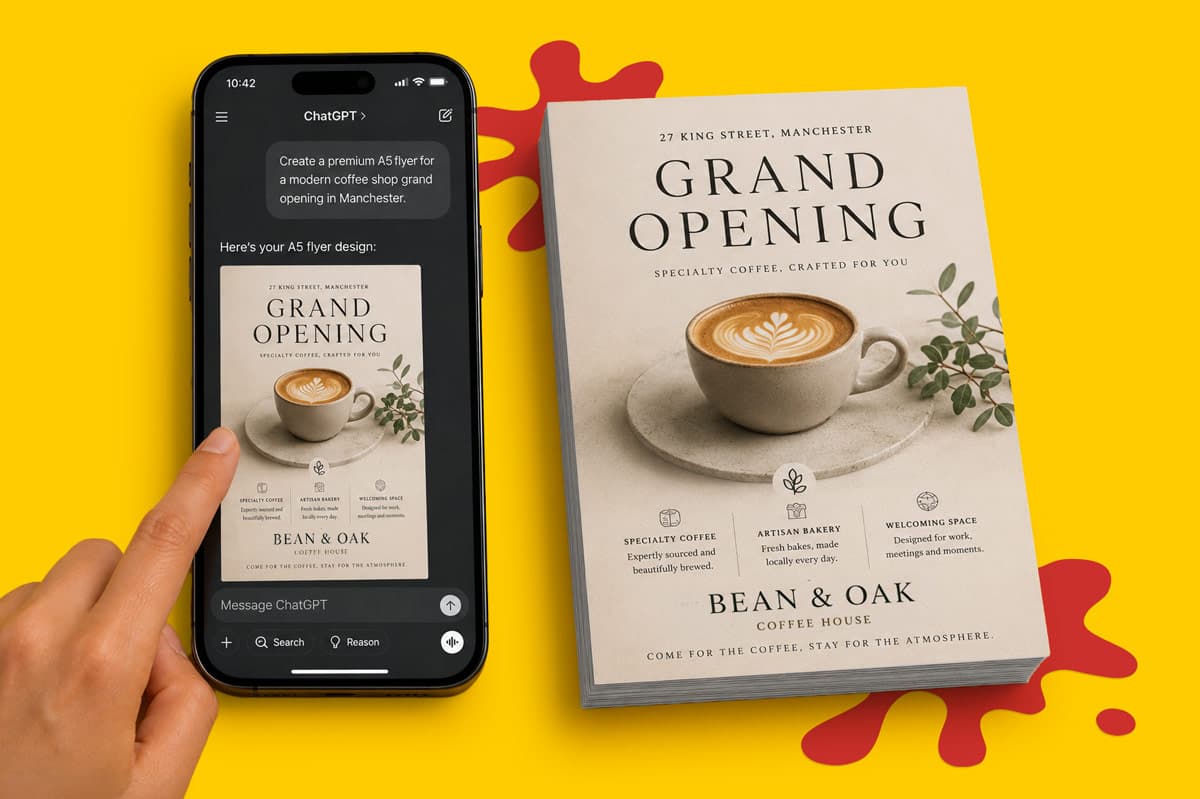
AI image generation has made it much easier to create original visuals for flyers, posters, invitations, wall art and marketing materials. With the right prompt, you can go from an idea to a complete design in minutes.
But an image that looks great on your phone or laptop isn't automatically ready for professional print.
Image size, resolution, colour, bleed and the position of important details can all affect the finished result. That doesn't mean you need to rebuild everything from scratch. If you're happy with the image ChatGPT has created, you can use it as it is. A few extra steps can simply help you get a better result when it makes the move from screen to print.
Here's how to prepare a ChatGPT generated image for printing using WTTB Canva templates.
Before you generate your image, think about what you actually want to print.
A portrait flyer needs a different composition from a landscape poster, while a square image created for social media may need significant cropping to fit an A size page.
ChatGPT lets you request images in different aspect ratios, so you can start with a shape that's closer to your finished product.
For example, A size paper uses a ratio of approximately 1:1.414. If you're creating an A4 or A5 portrait design, you could include that ratio in your prompt.
Example prompt
Create a portrait promotional image for an A5 printed flyer using an aspect ratio of approximately 1:1.414. Keep the main subject towards the centre and leave generous background space around the outer edges. Leave clear space near the top for a headline. Avoid borders.
For an A size landscape design, simply reverse the ratio.
Example prompt
Create a landscape image for an A3 printed poster using an aspect ratio of approximately 1.414:1. Keep the main subject within the central area and leave generous background space around the edges for cropping.
If you're creating something square, you could request a 1:1 image instead.
Getting the ratio right from the beginning can reduce the amount of cropping you'll need later, but it doesn't make the generated image a finished print file. You'll still need to set it up at the correct physical dimensions before ordering.
AI generated images often look strongest when the subject fills the frame. For print, a little more breathing room can be useful.
Your artwork may need to extend beyond the finished edge to create bleed, and small differences in cropping can occur during production. If a face, product, logo or other important detail sits right against the edge of your generated image, you've got much less flexibility when preparing it.
Tell ChatGPT where you'd like the important parts of the image to appear and where you need clear space.
For example:
Create a portrait image for a printed event flyer. Keep the main subjects towards the centre and leave plenty of surrounding background. Leave an uncluttered area in the upper third for a headline and clear space at the bottom for event information.
The more you tell ChatGPT about how the finished design will be used, the easier it'll usually be to work with when you move into your final artwork.
Before you move your design into Canva, try to get the strongest possible image from ChatGPT.
AI generated images are usually viewed on a screen first, where they can look sharp even at relatively modest dimensions. Once that same image is enlarged for print, softer areas, fine details and small text can become more noticeable.
Make it clear to ChatGPT that the image is intended for professional printing and ask it to prioritise clear, well defined details. It is also worth avoiding very small lettering or delicate elements if they are essential to the finished design.
For example:
Create this image for professional printing. Keep important details clear and well defined, and avoid very small text or fine elements that may lose definition when printed.
You can also include the intended format and aspect ratio in the same prompt so the generated image is closer to the shape of the finished product.
This does not guarantee that the image will automatically be suitable for every print size. You will still need to check the resolution once it has been placed into the correct Canva template at its final printed dimensions.
Yes. You don't have to separate the image, text and other elements before you can use your AI generated design.
If ChatGPT has created a complete flyer, poster or promotional graphic that you're happy with, you can take that finished image and place it into the correct Canva template.
For many quick projects, that may be all you need.
The important thing is to check the complete design carefully. Make sure names are correct, dates and prices are accurate, contact information works and all of the text says exactly what you intended.
You'll also want to check how sharp everything looks once the image is placed at its actual print size.
If you're happy with it, you can continue preparing that complete image for print.
If you want more control or a cleaner result, Canva gives you another option.
You don't have to rebuild the text in your AI generated design. However, there are some advantages to adding important wording separately in Canva, particularly if you want the sharpest possible finished result.
Text that's part of an AI generated image is contained within the image itself. If you enlarge that image, the lettering is enlarged with it and can start to look softer. Small text, thin lettering and detailed characters are often where this is easiest to notice.
Adding headings, dates, prices, contact information and other important details as editable Canva text can give you sharper lettering at the final print size, more control over spacing and alignment, and much more flexibility if something needs changing.
It also means you can update a price, event date or phone number without having to generate the whole design again.
You don't need to recreate every element. You could keep the complete AI background, remove or cover the generated text and add only the most important wording again in Canva.
Think of this as an optional quality improvement rather than something you have to do.
If your generated text looks good, it's accurate and the image doesn't need significant enlargement, you may be perfectly happy to print it as it is.
Once you're happy with the generated image, the next step is setting it up for the product you want to order.
WTTB Canva templates give you a blank starting point at the correct size for products including business cards, flyers, posters, stickers, menus, signage, packaging and stationery.
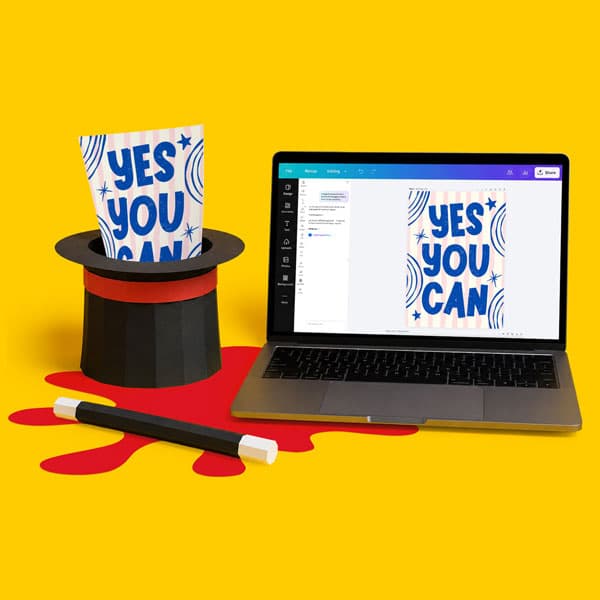
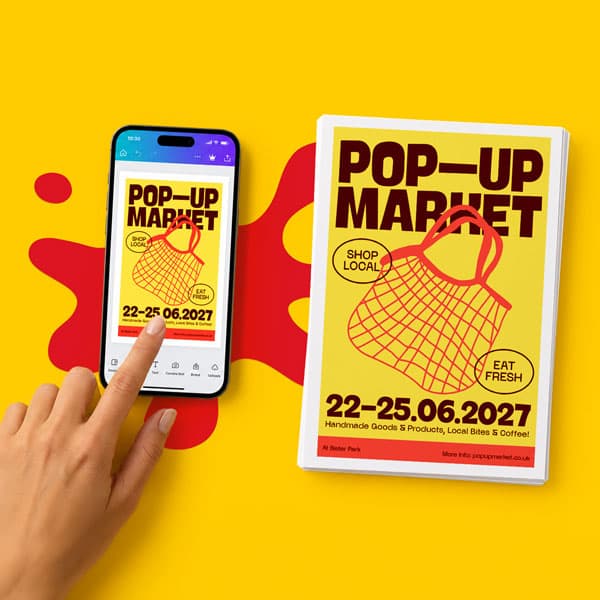
Choose the product, size and orientation you need, then upload your ChatGPT image into Canva.
If you're using the complete AI design, you can simply position it within the template.
If you want to refine it, this is where you can add sharper text, your logo, contact details, a QR code or any other elements you want to remain editable.
Using the template also lets you see how your design actually works within the dimensions of the finished product rather than judging it solely from the original image.
One of the biggest differences between screen and print is resolution.
An image can look sharp on a phone or laptop because it is being viewed relatively small. Once that same image is enlarged across a flyer or poster, softness and pixelation can become much more noticeable.
For professional print, we recommend images at 300 DPI at their final printed size.
It is worth knowing that asking ChatGPT to create an image at 300 DPI does not necessarily mean the downloaded image will automatically be suitable for printing at any size. What matters is how many pixels the image contains compared with the physical size you want to print it.
As a guide, an A5 image at 300 DPI would need to be approximately 1748 x 2480 pixels. An A4 image would need to be approximately 2480 x 3508 pixels.
Once you have added the image to the correct template, check it at the size you actually intend to print.
The same ChatGPT image might look perfectly suitable on an A5 flyer but noticeably softer if it is enlarged to fill an A2 poster.
If the image needs significant enlargement, Canva Upscale may help improve its appearance, or you may get a better result by generating a new version at a higher quality.
Canva has an Upscale tool, available with eligible Canva plans, that's designed to improve low resolution images by making blurry or pixelated imagery appear sharper and clearer.
That can be useful if your ChatGPT image needs a little extra help before you use it within a larger design.
It's worth remembering that upscaling isn't a guarantee that any small image can suddenly become suitable for a huge printed product. It can improve the appearance of an image, but there's a limit to how much detail can be recovered or recreated when the original doesn't contain enough information.
If an image needs to be enlarged dramatically, you may get a better result by returning to ChatGPT and generating a stronger version, changing the composition or choosing a different image.
The aim isn't necessarily perfection at extreme magnification. It's making sure the image looks good at the size and viewing distance of the product you're actually creating.
AI generated imagery can contain extremely vivid colours, glowing light effects and highly saturated backgrounds that look particularly striking on a screen.
Printed colour works differently.
Screens produce colour using RGB light, while professional print typically reproduces colour using CMYK inks or toners. Because the two processes create colour differently, your finished print won't necessarily look identical to the version you see on a backlit display.
That doesn't mean you need to avoid bright or colourful AI artwork. It's simply worth knowing that particularly vivid colours may reproduce differently once they're printed.
If colour is an important part of your design, our How Colour Works in Print guide explains RGB, CMYK and the differences between screen and printed colour in more detail.
Once your image is positioned in the Canva template, check what's happening around the edges.
If a background or image needs to continue all the way to the finished edge, it should extend into the bleed area. We advise 3mm bleed to give production a small amount of additional artwork beyond the final trim.
At the same time, important text, logos, faces and other essential details shouldn't sit too close to the trim edge.
This is why giving your AI generated image some breathing room at the prompt stage can make preparing the finished artwork much easier.
If your main subject is already touching every edge of the image, you may find yourself choosing between cropping something important or leaving insufficient room around the finished design.
Our Canva Print Checklist can help you check your size, bleed, safe areas, image quality and colour setup before you export.
Once your ChatGPT image is positioned, your text and branding are finished and you've completed your checks, you're ready to export the artwork.
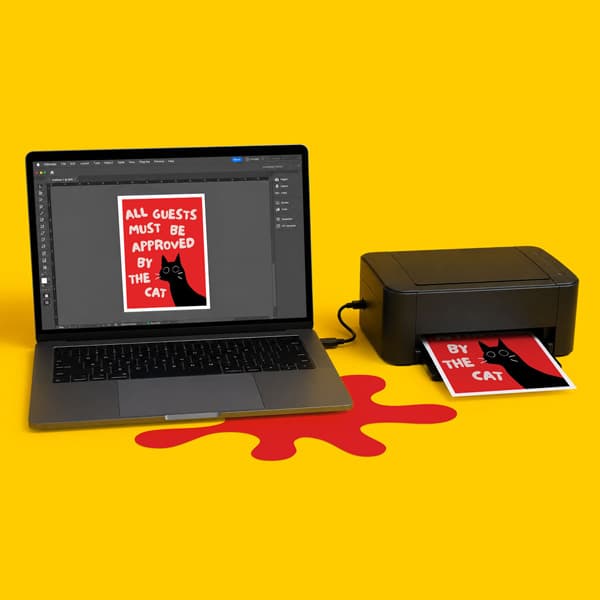
For WTTB orders, download your completed Canva design using PDF Print, with crop marks and bleed enabled where required.
It's also worth opening the exported PDF before uploading it. Check the artwork one final time and make sure nothing has moved, disappeared or been cropped unexpectedly.
Your workflow can be as simple as:
ChatGPT image → Canva template → final checks → PDF Print → professional print
Or, if you want more control:
ChatGPT image → Canva template → refine text and layout → check image quality → final checks → PDF Print → professional print
Neither approach is wrong. It depends on the design, the product and how much time you want to spend refining it.
ChatGPT can help you create an original flyer, poster or promotional design remarkably quickly. Turning that design into print doesn't need to undo that convenience.
If you're happy with the complete image ChatGPT gives you, you can use it. Just make sure it's positioned at the correct size, looks sharp enough for the finished product and has been checked carefully before ordering.
If you want to push the quality further, our Canva templates give you an easy way to refine the design, add sharper editable text, improve the image where necessary and prepare the artwork at the right dimensions.
AI can give you the creative starting point. A few simple checks can help make sure that idea still looks the part when it leaves the screen and becomes something you can hold.
Posted on August 11, 2026 by Emma Thompson
Related topics: