Prices
Professional printing involves much more than putting ink onto paper. Before a finished product reaches you, your artwork may pass through prepress checks, colour management, printing, cutting, folding, binding, laminating and other specialist finishing processes.
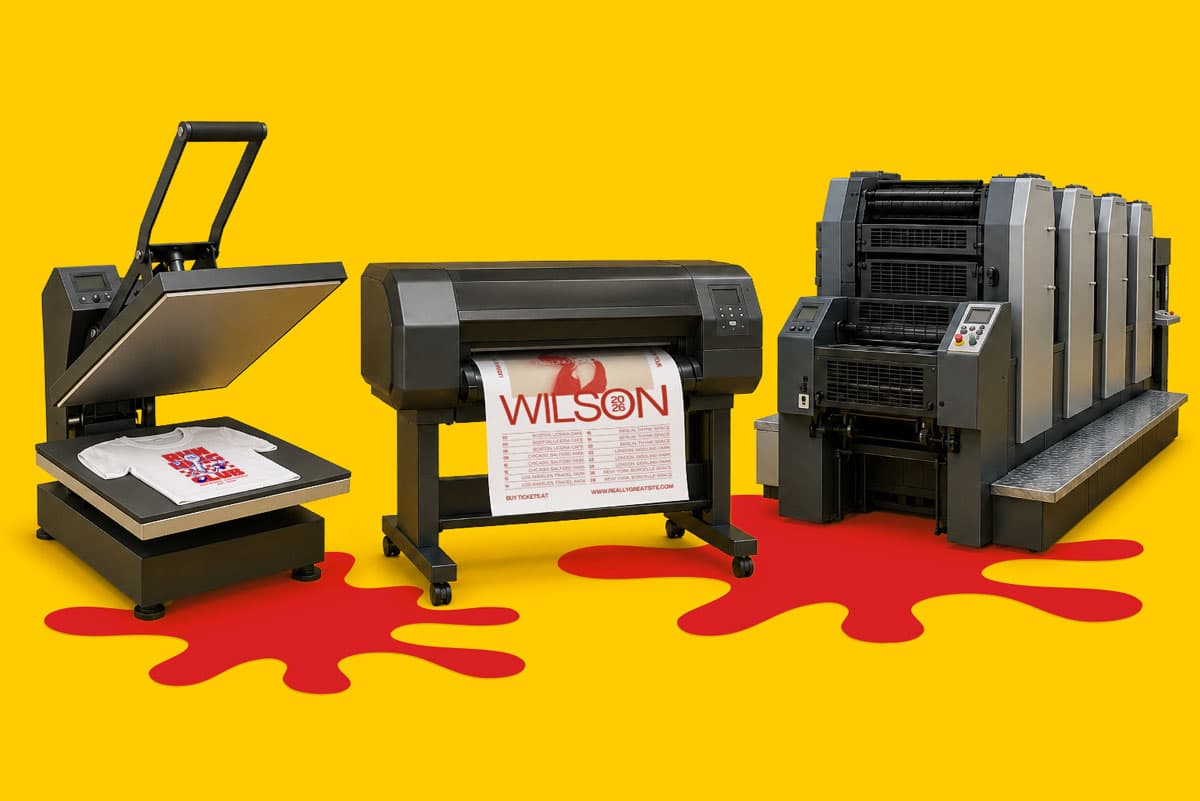
Different printing techniques are suited to different products, materials, quantities and applications. A business card, book, outdoor banner and printed garment all need very different production processes, even when they begin with a similar digital artwork file.
You don’t need to become a print technician to order professional print. However, understanding how the main processes work can help you prepare better artwork, select suitable materials and choose finishes that support the result you want to achieve.
This guide explains the main printing techniques used across commercial print production and the decisions that can make the biggest difference to your finished product.
A printing technique is a process used to reproduce artwork, text or photography on a physical surface. That surface is often called the substrate and might be paper, card, fabric, vinyl, film or a rigid display board.
Some processes transfer ink or toner directly from a digital file. Others use printing plates, transfer films or additional production stages. The right approach depends on the complete specification of the job, including its size, quantity, material, artwork and finishing requirements.
Printing is also only one part of production. A product may need to be trimmed, folded, creased, bound, laminated or cut into a custom shape before it is complete.
When you order printed products, your product selection, dimensions, quantity, material and finishing options form the production specification. These details allow the job to move through an appropriate professional print workflow.
Professional print production usually starts with prepress.
Prepress is the stage where artwork is prepared and checked before it reaches the printing equipment. It helps confirm that the file matches the dimensions and technical requirements of the product being ordered.
This can include checking:
Correct setup helps reduce the risk of unexpected borders, missing content, poor image reproduction or important elements being placed too close to a trim or fold.
Different products can also require different artwork preparation. A folded leaflet must account for its panel arrangement, while a perfect bound book needs a correctly sized spine. A roller banner requires space for artwork that enters the cassette, while cut to shape print needs a separate cutting path.
Our Support Guides explain how to prepare files across a wide range of products, formats and finishes. WTTB’s guides cover artwork setup, colour management, file formatting, folding, binding, large format products and specialist effects. You can also add an Artwork Technical Check when ordering. This examines technical elements of the file, although it does not proofread spelling, grammar or creative content.
Digital printing reproduces artwork directly from a digital file without requiring a separate printing plate for every design.
The file is processed by the press and reproduced using toner or ink, depending on the equipment and application. Removing the need to produce printing plates makes digital production flexible across a wide range of commercial print projects.
Digital printing can be used to produce detailed text, graphics, photography and full colour artwork. It also supports variable data, where elements such as names, numbers, addresses or codes change between printed copies.
Common applications include:
Modern digital printing is capable of producing professional results across both practical business print and more visually demanding creative work. The result still depends on the artwork, press setup, colour management and material being used.
Digital printing should not be treated as a lower quality alternative to another process. It is one of several professional production methods, each with different strengths and applications.
Lithographic printing, also known as offset printing, uses printing plates to transfer an image onto a rubber blanket before applying it to the paper or card.
The word offset refers to this indirect transfer. The image moves from the plate to the blanket and then onto the printed surface rather than passing directly from the plate to the paper.
Separate plates are normally created for the different process colours. Ink and water are carefully controlled before the sheets pass through the press and receive each colour in sequence.
Lithographic printing is widely associated with repeated commercial production. Once the press is prepared, it can produce large quantities efficiently while maintaining controlled colour and consistent reproduction across the run.
Digital and lithographic printing are not simply good and bad versions of the same process. They are complementary production technologies. Heidelberg describes offset production as cost effective for longer runs and digital production as flexible for shorter runs, with modern workflows able to direct jobs towards suitable equipment.
The production route used for a job is influenced by its full specification. From a customer perspective, the most important decisions are usually the product, quantity, material, finish, artwork and required delivery service.
Large format printing is used for products that go beyond the dimensions typically associated with commercial sheet printing.
This includes:
Large format equipment can print onto flexible rolls or rigid sheets depending on the product. Different inks, curing systems and materials may be used according to the application.
The environment matters as much as the artwork. An indoor exhibition graphic has different requirements from a banner installed outdoors. Size, viewing distance, weather exposure, installation method and expected lifespan can all influence the most appropriate material.
For example, a lightweight Correx sign can suit temporary campaigns, while Foamex provides a smoother and more solid display surface. Dibond is often selected where greater rigidity and durability are required. Mesh banner material can be useful in exposed locations because its perforated surface allows more air to pass through.
The Print Materials Hub compares paper stocks, banner materials, vinyl and display boards by appearance, durability, sustainability and intended use.
Direct to Film printing, commonly shortened to DTF, is a process used to apply printed artwork to clothing and fabric products.
The design is first printed in reverse onto a specialist film. Colour is followed by a white ink layer, which helps the design remain visible when applied to coloured garments. An adhesive powder is added while the ink is still wet and is then cured before the transfer is pressed onto the fabric using heat.
Once the transfer has been applied, the film is removed and the printed design remains on the garment.
DTF can reproduce full colour artwork, fine detail, gradients and relatively small elements. It can also be used across different fabric types and garment colours, making it suitable for branded clothing, promotional apparel and personalised designs.
The finished result can be affected by the garment fabric, artwork coverage, transfer preparation, temperature and pressing process. Large blocks of printed colour may also feel different from smaller logos or more open designs.
When creating artwork for printed clothing and apparel, think about the size and placement of the design as well as how it will interact with seams, pockets, zips and the natural movement of the garment.
Designs are usually viewed on an illuminated screen before being reproduced on a physical material. This means the screen and the finished product create colour in different ways.
Screens usually display colour using RGB, which combines red, green and blue light. Commercial printing commonly uses CMYK, which combines cyan, magenta, yellow and black inks or toners.
Not every bright RGB colour can be reproduced exactly within the printable CMYK colour range. The material also changes the appearance of the result.
Gloss and coated surfaces can make colours appear brighter and increase contrast. Uncoated papers absorb ink differently and can create a softer, more natural appearance. Recycled, kraft, textured and coloured stocks can influence the colour and brightness of the finished design.
Different print production methods, inks and equipment may also reproduce the same colour with slight variation. This is why artwork setup, colour profiles and realistic expectations are important when producing coordinated materials across several product types.
Read our guide to colour in professional printing for more information about RGB, CMYK and why a printed product may not look identical to your screen.
The material is not simply the surface that holds the design. It influences colour, detail, texture, readability, durability and how the finished product feels in someone’s hands.
Silk paper has a smooth surface with a subtle sheen, making it a versatile option for brochures, flyers and marketing materials. Gloss paper reflects more light and can strengthen colour and contrast, particularly in photographic designs.
Uncoated paper has a more natural, tactile surface and is often easier to write on. Textured and pearlescent stocks can add visual interest to invitations, stationery and premium print.
Materials used for signage and display work have their own practical properties. Some are lightweight and temporary, while others provide a more rigid or weather resistant result.
The best material depends on how the product will be used. Ask whether it needs to be written on, handled regularly, displayed outdoors, folded, mailed or kept for a long time.
The Print Materials Hub explains the characteristics of WTTB’s paper stocks, specialist papers, banner materials and rigid display boards. Different materials absorb and reflect ink differently, which can alter colour, sharpness and contrast.
Printing puts the design onto the chosen material. Finishing turns the printed sheet, roll or garment into the completed product.
Some finishing processes protect the surface. Others change its texture, structure, shape or visual impact.
Lamination applies a thin film to the surface of printed paper or card.
Matt lamination creates a smooth finish with reduced reflection. Gloss lamination produces a shinier surface and can strengthen colour and contrast. Soft touch lamination has a velvety feel that is often used for premium covers, cards and presentation materials.
Explore our guide to laminated finishes to compare matt, gloss and soft touch lamination in more detail.
Spot UV adds a gloss effect to selected parts of a design rather than covering the whole surface. It can be used to emphasise a logo, pattern, photograph, title or graphic element.
Scodix can create a more pronounced specialist effect, including raised clear areas and metallic foil details. These finishes usually need an additional artwork file that identifies exactly where the effect should be applied.
Our special print effect guides explain how to prepare artwork for Spot UV, Scodix and foil production.
Printed sheets often need to be cut down to their finished dimensions. They may also be creased and folded to create leaflets, greetings cards, folders, menus and packaging items.
A crease helps thicker stocks fold more cleanly by controlling where the material bends. Artwork must account for fold positions so text and important design elements remain correctly placed across the finished panels.
Binding brings printed pages together to form a book, brochure, magazine, manual or presentation document.
Saddle stitching uses staples through the fold and is often used for thinner publications. Perfect binding secures pages into a wraparound cover with a square spine. Wiro binding uses a metal wire that allows pages to turn easily.
Each binding method has its own page, spine, margin and artwork requirements. Visit the Book Super Centre and book printing support guides for more detailed help.
Print can also be cut into custom shapes or completed with rounded corners, drill holes and eyelets.
These production stages need to be included in the artwork setup. A cut to shape item requires a defined cutting path, while signs and banners need important content kept clear of holes, eyelets and other installation areas.
You do not need to begin by selecting a press or production process. Start with the purpose of the finished product.
Think about where it will be used, who will see it and how long it needs to last. A takeaway menu, outdoor sign, wedding invitation and exhibition brochure will each have different priorities.
Next, select the format and size. The product needs to provide enough space for the message while remaining suitable for how it will be distributed, displayed or stored.
Quantity is also part of the production specification. Order enough for the campaign or application while allowing for useful spares, repeat use and distribution requirements.
The material and finish should support the intended result. A writable appointment card needs different properties from a gloss promotional flyer. A temporary event sign does not necessarily need the same material as permanent branded signage.
Finally, prepare your artwork using the template and guidance supplied for that product. Check the document dimensions, bleed, safe areas, colours, images and finishing layers before uploading the final PDF.
These choices have a greater practical effect on the finished product than trying to identify which type of printing equipment will produce it.
Start with the correct dimensions rather than resizing the design at the end. Use the product template where one is available and add the specified bleed around the outside of the finished size.
Keep important text, logos and essential design details inside the safe area. Images should have enough resolution at their final printed dimensions, and fonts should be embedded or converted appropriately.
Check whether your product has any additional requirements. Books need correct page order and cover setup. Folded products need accurate panel positioning. Specialist finishes need separate artwork layers or files. Custom shapes need a defined cutting path.
Before uploading, inspect the complete PDF rather than relying only on the original design file. Check every page, orientation, edge and finishing layer.
Use the Support Guides for product specific instructions, the Print Dictionary for unfamiliar terminology and the Artwork Technical Checks service for an additional review of your file setup.
Professional print is created through a combination of artwork preparation, colour management, printing, materials and finishing.
Digital, lithographic, large format and DTF production each have distinct roles, but the equipment is only part of the process. The finished result also depends on choosing a suitable product, supplying accurate artwork and matching the material and finish to its intended use.
By focusing on those customer facing decisions, you can create print that looks appropriate, performs properly and supports the purpose it was ordered for.
Explore WTTB’s full range of printed products, compare options in the Print Materials Hub or visit the Support Guides to prepare your artwork correctly before ordering.
Common commercial techniques include digital printing, lithographic printing, large format printing and specialist textile processes such as DTF. Finishing processes such as lamination, binding and cutting are then used to complete the product.
No. Digital and lithographic printing are different professional production methods. The final result depends on the complete job specification, including the press, artwork, material, colour management and finishing.
Start by choosing the product, dimensions, quantity, material and finish you need. These details form the production specification and help determine the suitable workflow for the job.
Screens create colour using RGB light, while most commercial print uses CMYK ink or toner. The paper or material, surface finish and production equipment can also influence how colours appear.
Print finishing refers to the processes completed after the design has been printed. These can include trimming, folding, creasing, binding, laminating, foiling, adding Spot UV, cutting custom shapes and preparing products for installation.
Posted on May 6, 2026 by Ben Riches
Related topics:
£117.25
£41.04
£17.48
£38.46

£16.40